Introduction
Venetian plaster in bathrooms is a polished, lime-based finish that can show soap scum and water marks if not cleaned with care. This article gives practical, hands-on tips for keeping the surface clean without risking damage. It also covers when it’s not a good idea to use harsh cleaners on this finish.
White vinegar can help on tile surfaces, but it may harm plaster if left on too long or used undiluted. If you test it, use a light dilution with water, apply briefly, and rinse thoroughly; always check the product label, manufacturer instructions, and any local rules before proceeding. If you’re unsure, try a small inconspicuous spot first and consider gentler, plaster-friendly cleaners as safer options.
Key takeaways
- Venetian plaster in bathrooms requires sealed surfaces and careful cleaning routines.
- Soap scum adheres differently on plaster; use non-abrasive cleaners and soft cloths.
- White vinegar can be used cautiously, but may damage coatings; test first.
- Avoid acidic cleaners on plaster; rinse thoroughly and dry to prevent staining.
- Create a simple, repeatable cleaning routine with gentle products and minimal dwell time.
- Consider alternative bathroom claddings for higher moisture zones where longevity matters.
Table of Contents
- Introduction
- Key takeaways
- What Venetian Plaster Is and Bathroom-Relevant Properties
- Is Venetian Plaster Suitable for Bathrooms — Pros and Cons
- Why Soap Scum Behaves Differently on Venetian Plaster
- Cleaning Venetian Plaster in Bathrooms — Safe Methods and Step-by-Step Routines
- Tools, Materials Checklist and Product Guidance
- Safety, Chemicals to Avoid, and Protective Measures
- Maintenance, Preventative Strategies, and Common Mistakes to Avoid
- Cost-Benefit Comparison: Venetian Plaster Vs Other Bathroom Claddings
- Conclusion
- FAQ
What Venetian Plaster Is and Bathroom-Relevant Properties
Venetian plaster is lime-based plaster that’s worked to a smooth, glassy finish, historically made with lime putty and marble dust. In bathrooms you’ll see common mixtures described as lime-based, lime-putty, or marble dust blends, and these choices shape how the plaster breathes, dries, and withstands humidity. Finishes range from polished, smooth or troweled to textured options like tumbled, marmorino, or fresco, and each reacts differently to humidity, soap scum, and routine cleaning.
Key material properties matter in moist spaces: porosity and breathability control how moisture moves through the surface, while water absorption and capillary action influence dampness and risk of staining. In practice, expect to manage moisture with proper ventilation, watch for efflorescence, and avoid mold when ventilation lags. Sealing decisions and re-sealing frequency depend on the finish chosen, and cleaning should stay compatible with the plaster type without sealing the surface so it can breathe. Stay away from over-sealing or non-breathable coatings, and always check manufacturer instructions or product labels for specifics.
Composition and typical finishes
Venetian plaster is a traditional lime-based mixture, but modern versions may also use gypsum. Lime-based plasters are made from natural materials, giving them a warm, textured feel.
Commonly, marble dust or other fine aggregates are added to create different textures and sheens. Polishing, waxing, or sealing treatments alter the surface feel and sheen:
- Polished: Smooth, glossy.
- Waxed: Soft, matte.
- Sealed: Protects against moisture but reduces breathability.
Porosity, water resistance and vapour permeability
Untreated Venetian plaster is porous, allowing it to breathe. This means it can absorb and release moisture.
Sealing increases water resistance but reduces breathability. In bathrooms, this balance is crucial:
- Too much sealing traps moisture, leading to mold growth.
- Not enough sealing lets in too much moisture, causing damage.
How finish choice changes cleaning and durability
A polished or sealed finish reduces staining but makes the plaster less forgiving to harsh cleaners. Waxed finishes are more forgiving but may require more frequent maintenance.
Maintenance depends on the finish:
- Polished/Sealed: Clean with mild soap and water, avoid abrasives.
- Waxed: Re-wax every 2-3 years to maintain sheen. Clean with warm water and a soft cloth.
Is Venetian Plaster Suitable for Bathrooms — Pros and Cons
Venetian plaster can give a bathroom a luxurious, seamless look, with depth from polished surfaces. It is sensitive to abrasion and staining and its water tolerance varies, so sealing and substrate choice matter. It’s not a one-size-fits-all finish; weigh aesthetics against maintenance needs.
Plan for proper ventilation, a moisture-rated backing, and diligent sealing for best results. Maintain with non-corrosive, pH-neutral cleaners and avoid harsh acids or abrasive pads, and expect periodic resealing as part of upkeep. Always check the product label and manufacturer instructions, and consider professional prep to improve performance in moist environments.
Advantages: aesthetic and performance benefits
Venetian plaster brings a touch of luxury to any bathroom. It’s lime-based with marble inlay, giving it a seamless, polished look that reflects light beautifully.
Proper finishing can make Venetian plaster mould-resistant. When sealed correctly and applied over a breathable substrate, it can help prevent moisture buildup.
It’s highly customizable too. You can achieve different textures and colors to match your bathroom’s style.
Limitations and failure modes in wet areas
While Venetian plaster has its benefits, it’s not immune to issues in wet areas. Soap scum can build up over time, staining the surface.
Constant exposure to water can cause etching, where the surface becomes dull and loses its sheen. In severe cases, delamination may occur, leading to peeling or flaking.
These problems are more likely if the plaster isn’t sealed properly or maintained well. Regular cleaning and re-sealing are crucial to prevent these issues.
Where it’s a bad idea (high-splash and immersion zones)
Venetian plaster isn’t ideal in areas with constant standing water or direct, persistent immersion. This includes shower niches, bathtub surrounds, and behind faucets where water splashes constantly.
These high-splash and immersion zones put too much stress on the plaster, even with proper sealing. Over time, it can lead to premature failure, like delamination or staining.
If you must use Venetian plaster in these areas, ensure they’re properly reinforced and sealed. But remember, nothing beats ceramic tile for durability in high-moisture zones.
Why Soap Scum Behaves Differently on Venetian Plaster
Soap scum is built from soap residues and minerals in hard water, turning into salts that cling to mineral surfaces. Venetian plaster, with its lime-based binder and pores, traps these residues and makes them harder to remove, which can change how you see the film and how it sticks. The finish itself can influence whether the scum shows up or hides, especially as gloss level shifts.
In practical terms, moisture cycles from bathroom use drive where and how long the scum stays put on plaster. Porosity means cleaning is less forgiving and you’ll want to use safe, pH-neutral cleaners and avoid aggressive acids or abrasives that can scratch lime plaster. When scum becomes persistent, re-sealing or refreshing the top finish may be needed—check the product label or manufacturer instructions for guidance.
Soap Scum Chemistry vs Plaster Surface
Soap scum is a mix of soap, minerals from hard water, and oils. When they combine, they form calcium soaps – a fancy term for soap salts that cling to surfaces.
Venetian plaster has a lime-based binder that makes it slightly alkaline. This attracts the negatively charged soap molecules, drawing them in like a magnet. The porous nature of the plaster then traps these residues deep within its surface.
This is why soap scum removal can be tough on Venetian plaster – it’s not just sitting on top; it’s embedded.
Visual and Long-Term Effects of Soap Scum on Plaster
Over time, soap scum can stain your Venetian plaster. It starts as a dull haze but left unchecked, it turns into visible spots or streaks.
The scum also dulls the sheen of your finish. Glossy surfaces become matte, and textured ones lose their luster.
Worse still, soap scum can degrade your plaster’s surface over time. It breaks down the lime binder, making the surface more porous and vulnerable to further damage.
Cleaning Venetian Plaster in Bathrooms — Safe Methods and Step-by-Step Routines
Venetian plaster in bathrooms cleans best with a tiered ladder: routine light cleaning, then moderate soap scum management, then a safe deep-clean option. Use pH-balanced cleaners, mild soap, and non-abrasive tools; avoid acids, solvents, and harsh scrubbing pads that dull the finish. Always start with a test patch in an inconspicuous area, observe for any reaction, and proceed only if it looks and feels right.
This approach protects the plaster while you remove grime, reduces risk of damage, and makes routine maintenance quicker. The test-patch protocol matters: choose inconspicuous spots, document what you see, and decide step by step with ventilation, careful rinsing, and immediate drying; never soak the plaster and avoid steam or heavy chemical exposure. If in doubt, check product labels and manufacturer guidance for compatibility.
Step-by-Step Cleaning Process
Follow these practical steps to safely clean Venetian plaster in your bathroom, ensuring longevity and maintaining its aesthetic appeal.
- Preparation: Wear gloves, open windows for ventilation, and gather supplies – mild cleaner, soft cloths/microfiber, non-abrasive brush (optional), poultice (if needed).
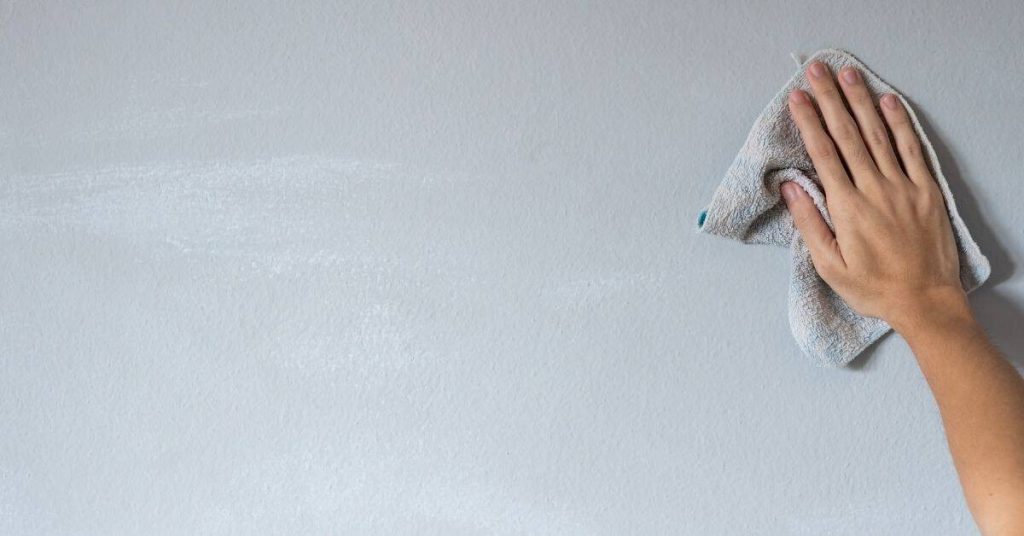
- Main Work – Routine Cleaning: Dampen cloth with water and a few drops of pH-neutral cleaner. Gently wipe the plaster in circular motions.
- Soap Scum Removal: For stubborn soap scum, dampen the area first, let it soak for 5 minutes, then gently scrub using a soft-bristled brush or cloth.
- Deep Cleaning (if needed): If soap scum persists, apply a diluted stone-safe cleaner or poultice following manufacturer’s instructions. Let it sit, then rinse and wipe off.
- Final Checks: Inspect your work, ensuring no residue remains. Dry the area thoroughly to prevent water damage.
Routine light cleaning: what to use and how
For regular maintenance, use soft cloths or microfiber and pH-neutral, stone-safe cleaners or mild non-ionic detergents. Here’s how:
Dampen your cloth with water, add a few drops of cleaner, then gently wipe the plaster in circular motions. Avoid scrubbing as it can dull the finish.
Avoid using acidic cleaners, vinegar, or ammonia which can damage the plaster’s surface and cause discoloration.
Rinse your cloth frequently to prevent spreading dirt around. After cleaning, dry the area thoroughly with a clean, soft cloth to remove any remaining moisture.
Removing soap scum safely (gentle escalation)
Tackle soap scum progressively, starting with mild methods and testing in an inconspicuous area first:
1. Damp soak: Wet the affected area, let it sit for 5-10 minutes to soften the soap scum.
2. Mechanical removal: Gently scrub with a soft-bristled brush or non-abrasive pad in circular motions. Avoid using steel wool or harsh pads that can scratch the surface.
3. Diluted cleaner: If soap scum persists, use a diluted stone-safe cleaner following the manufacturer’s instructions. Apply, let it sit, then rinse and wipe off.
4. Poultices: For tough stains, apply a poultice (a thick paste) according to package instructions. Let it dry, then gently remove with a soft brush or cloth.
Deep cleaning and when to call a pro
For deep cleaning, follow the same steps as routine cleaning but with more elbow grease. However, if you notice any of these signs, stop and contact a professional:
– Persistent staining that won’t budge with regular cleaning methods.
– Loss of finish or exposed substrate (the base material).
– Cracking, chipping, or other signs of damage.
Using aggressive DIY acids or abrasives can cause more harm than good. A stone/plaster specialist has the tools and knowledge to restore your Venetian plaster safely and effectively.