
Introduction
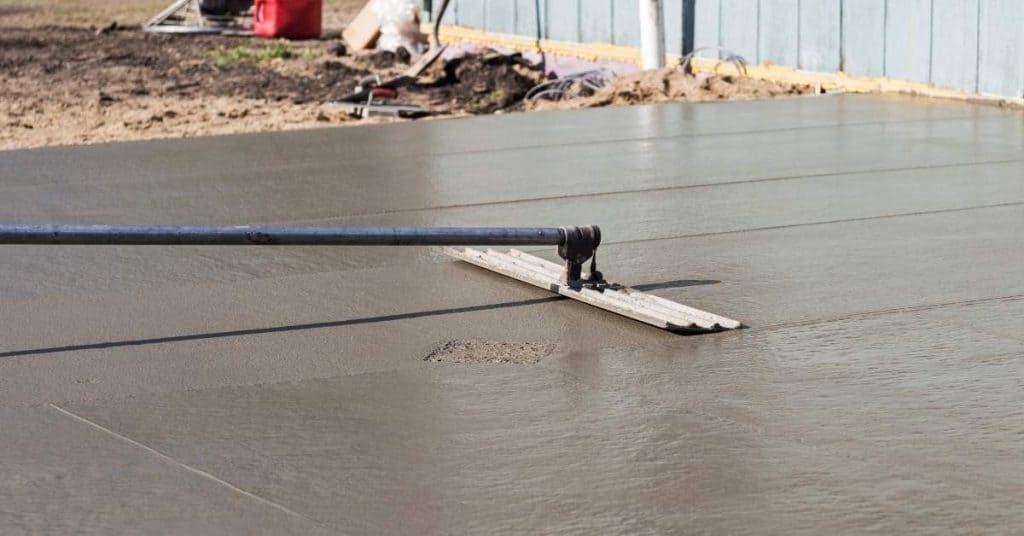
Tile can be bonded directly to a concrete slab when the slab is sound, clean, adequately flat for the tile, within the selected system’s moisture limit, and accepted by the mortar and tile manufacturers. Underlayment is not automatically required.
Use an underlayment or membrane only when it solves a documented need: crack isolation, uncoupling, waterproofing, or flattening. These are different systems with different limits; no single layer reliably provides all of them.
Key takeaways
- Direct-bond tile may be suitable over a sound, clean, adequately flat slab that meets the selected system’s moisture requirements.
- Choose a crack-isolation membrane for eligible dormant, in-plane cracks; choose uncoupling, waterproofing, or leveling products only for the purpose their instructions cover.
- Map cracks and every existing joint before patching, leveling, or tiling. Do not bridge structural or expansion joints.
- Use recognized moisture testing and compare the recorded result with the complete tile-system limit.
- Cement backer board is generally not the default underlayment for an ordinary concrete slab. Do not fasten it with generic screws unless a manufacturer-approved concrete-floor detail specifically permits it.
- Use the selected product’s current instructions for surface preparation, primer, trowel, seams, thickness, cure time, and movement joints.
Table of Contents
- Introduction
- Key takeaways
- Quick Overview and When You Need Underlayment
- Preparing the Concrete Slab
- Tools and Materials Checklist
- Step-by-Step Underlayment Installation
- Tile Layout, Setting, and Grouting over Underlayment
- Cutting, Fitting, and Finishing Details
- Safety, Dust Control, and Environmental Considerations
- Costs, Common DIY Mistakes, and Troubleshooting
- Conclusion
- FAQ
Quick Overview and When You Need Underlayment
Start with the slab—not with a product. Confirm the tile size and room use, then select one compatible assembly: tile, mortar, membrane or leveling product if needed, primer, grout, and sealant. Read the complete current instructions before buying materials.
| Slab condition or project need | Typical path | Important limit |
|---|---|---|
| Sound, clean, adequately flat slab with acceptable moisture | Direct-bond tile to concrete with the specified mortar | A membrane is not automatically required. |
| Dormant, in-plane cracks | Rated crack-isolation membrane | It does not correct structural movement or vertical displacement. |
| Sound slab where an uncoupling assembly is selected | Uncoupling membrane | It does not eliminate required movement joints. |
| Wet-area waterproofing requirement | Complete bonded waterproofing system | Seams, floor/wall transitions, penetrations, and drains must be detailed as one system. |
| Slab is not flat enough for the tile | Approved patch, mortar-bed, or self-leveling product | It corrects the plane; it is not automatically waterproofing or crack isolation. |
An uncoupling system may be approved over structurally sound, even concrete, including some cracked or young slabs, but its crack and joint limits still apply. Review the selected assembly’s requirements in the Schluter DITRA Installation Handbook rather than assuming those rules apply to another brand or membrane. Related guidance: Installing Ditra-Heat or Similar Uncoupling Heat Membranes: Common DIY Mistakes.
Benefits and Limitations
A membrane can address only the performance it is rated to provide. A crack-isolation product may not control moisture; an uncoupling membrane cannot correct differential vertical movement; and a leveling compound is not a substitute for crack repair or waterproofing. Added layers also affect door clearance, transitions, drains, and adjacent flooring heights.
Do not treat cement backer board as a routine concrete-slab solution. It is nonstructural and manufacturer board details should not be converted into a generic screw-fastened concrete-floor method. Use a membrane, mortar-bed, or leveling assembly approved for the actual slab instead.

Preparing the Concrete Slab
Clear the floor and inspect it in good light. Mark cracks, spalls, hollow or delaminated areas, stains, high spots, low areas, walls, door thresholds, and all visible joints. Identify radiant heat, plumbing, post-tensioned construction, and any water source before drilling or grinding.
The slab must be structurally sound and free of bond-inhibiting material such as wax, oil, paint, adhesive residue, curing compounds, sealers, and laitance when the selected system requires removal. Use the specified mechanical preparation method and remove the resulting dust thoroughly. Measure flatness with a straightedge appropriate to the tile size and installation method; large-format tile generally needs a flatter substrate than small tile. Use the selected tile-system requirement, not a generic “level enough” test.
Moisture Testing and What Results Mean
Do not use a salt container covered with plastic as a moisture test. It does not produce a standardized result that can be compared with an installation limit. Use the applicable recognized method: ASTM F1869 calcium-chloride testing reports moisture-vapor emission from the slab surface, while ASTM F2170 in-situ probes report relative humidity within the slab. The ASTM F1869 and F2170 reference information distinguishes these methods; their results are not interchangeable or directly convertible.
Follow the current test procedure, kit instructions, project requirements, and the selected system’s directions for test locations and quantity. Record the method, date, location, and result, then compare that result with the limit for the exact primer, mortar, membrane, leveling product, and tile assembly. A high result is not generically solved by adding “a vapor barrier.” Stop if the proposed moisture-mitigation system is not approved for the measured condition and compatible with every layer above it.
Repairing Cracks, Spalls, and Uneven Areas
A hairline crack with no vertical displacement may be eligible for a rated crack-isolation treatment, but confirm the membrane’s crack-width and movement limits. A crack that is widening, repeatedly reappears, has lippage across it, or is associated with settlement is not a routine membrane repair. Stop for structural cracks, vertical displacement, active water intrusion, unexplained movement, or suspected post-tensioning; obtain advice from a qualified building professional or the tile-system technical department.
Existing expansion, isolation, and structural joints must remain functional and continue through the tile assembly. Treatment of a control or contraction joint depends on the selected system. Do not fill, level over, bridge, or grout a joint merely because it is inconvenient.
Use only an approved patch or leveling product for sound, properly prepared concrete. Primer, surface profile, minimum and maximum thickness, mixing water, placement window, and time before tile are product-specific. Self-leveling products are substrate-preparation products, not universal moisture or crack-control layers.
Tools and Materials Checklist
Tool Checklist by Task
- Inspect and measure: tape measure, chalk line, straightedge, pencil, and a way to document cracks and joints.
- Clean and prepare: scraper, stiff brush, approved mechanical-preparation tool if required, and a HEPA vacuum.
- Test: recognized moisture-test equipment or a qualified testing service.
- Mix and place: clean buckets, measuring container, low-speed drill and paddle, plus the trowel, gauge rake, smoother, roller, or float specified by the selected product.
- Set tile: tile cutter or wet saw, spacers or leveling system if appropriate, grout float, sponge, and the mortar manufacturer’s recommended coverage-check tools.
- PPE: safety glasses, hearing protection, gloves, knee protection, and respiratory protection appropriate to the task and dust-control method.
Material Specs and Purchase Tips
- Selected assembly: tile, mortar, membrane or leveling product if needed, and primer from compatible instructions.
- Repair materials: approved patch or repair compound for the defect and substrate.
- Seam and edge materials: only where the chosen membrane or waterproofing system requires them.
- Movement-joint materials: specified flexible sealant or movement profile; do not plan to fill these locations with grout.
- Grout and sealer: grout compatible with the tile and joint width; sealer only if the specific tile, stone, or grout permits or requires it.
- Not applicable by default: cement backer board and generic concrete screws. Use them only if a manufacturer’s concrete-floor detail expressly approves the board, fasteners, spacing, embedment, and complete assembly.
Buy quantities from product coverage data, then round units up and include the manufacturer’s stated waste allowance if one is given. A self-leveling product’s coverage changes with thickness, and its primer, moisture limit, and time before tile may differ by product; see the ARDEX self-leveling underlayment data for an example of why a bag-count calculation must use the exact product and planned thickness.
Step-by-Step Underlayment Installation
Step-by-Step Installation Process
- Select the assembly. Confirm tile type and size, room exposure, slab condition, transitions, and whether direct bond, crack isolation, uncoupling, waterproofing, or flattening is actually needed.
- Read all current instructions. Match the concrete substrate, moisture result, primer, mortar, membrane, seam treatment, temperature range, and cure schedule. Do not combine products unless their manufacturers permit the combination.
- Inspect, map, and test. Document cracks and joints, check flatness, conduct the required moisture test, and resolve active leaks or unacceptable results before installation.
- Prepare the slab. Remove contaminants and weak concrete; mechanically prepare and vacuum when required. Repair sound defects with the specified product. Preserve all movement joints.
- Flatten if needed. Prime, mix, place, and cure patching or self-leveling material exactly as directed. Check the finished plane before covering it.
- Install the selected membrane only if needed. Use the specified mortar or adhesive, trowel, orientation, embedment method, roller or float, seam treatment, perimeter detail, and cure time. Check for complete bond, wrinkles, gaps, or unsealed seams where waterproofing is required.
- Set tile after the approved waiting period. Use the specified mortar and trowel. Work in manageable areas within the mortar’s open time. Periodically lift a freshly set tile to verify coverage and ridge collapse, especially with large-format tile.
- Protect movement locations. Leave perimeters, transitions, and field movement joints open for the specified flexible sealant or movement profile. Do not grout them.
- Grout, seal, and return to service. Wait for the mortar and grout manufacturer’s required cure conditions. Seal only products that call for or permit sealing, and follow their maintenance instructions.
Installing Cement Backer Board on Concrete
Cement backer board is generally not the default installation method over an ordinary concrete slab. Do not create an improvised assembly by bonding board to concrete and adding screws or mechanical fasteners. Use it only when a specific manufacturer detail approves the concrete substrate and identifies the required setting material, fastener type, spacing, embedment, joint treatment, and tile assembly. Otherwise, select an approved membrane, mortar-bed, patching, or leveling system.
Installing Uncoupling Membranes and Self-Leveling Underlayments
These methods are not interchangeable. For an uncoupling membrane, use the manufacturer-specified mortar, trowel, placement direction, embedment technique, seams, edge treatment, and tile-setting mortar. For a self-leveling product, use its specified primer, water ratio, mixing time, thickness, placement time, and cure schedule. Do not guess at a notch size or pour depth from a different product label.
Tile Layout, Setting, and Grouting over Underlayment
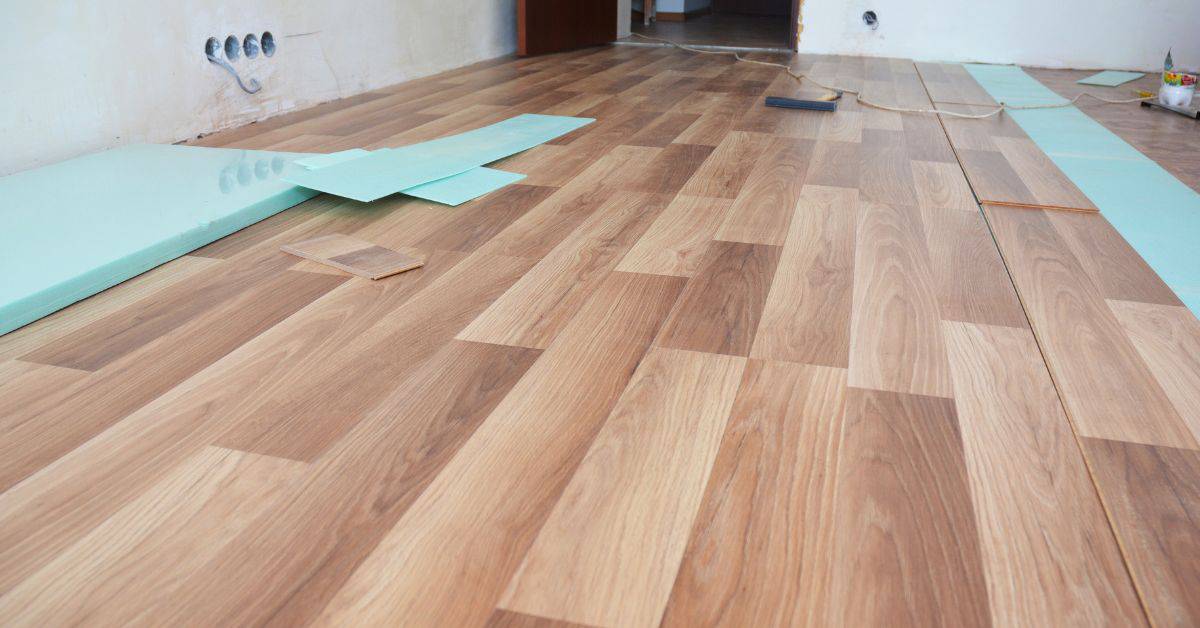
Dry-layout the tile from reference lines, accounting for thresholds, fixtures, and movement-joint locations before mixing mortar. Adjust the layout to avoid narrow, highly visible edge cuts where practical, but do not move or eliminate a required joint for appearance.
Finding Centerlines and Pattern Choices
Snap intersecting reference lines, dry-fit several rows in both directions, and mark cuts. Keep planned grout joints consistent. Confirm that perimeter clearance and transitions can receive the specified flexible sealant or profile.
Mortar Mixing, Coverage, and Curing Times
Use the mortar selected for the tile and underlayment assembly. Mix, slake if required, remix, and use it within its listed pot life. Comb mortar in one direction and set tiles while it remains workable. For large-format tile, use the manufacturer’s specified flatness, mortar, trowel, and coverage method; periodically lift a tile to check transfer rather than assuming the trowel size is correct.
Use hand pressure, a beating block, or another placement method only as directed for the tile and mortar. A rubber mallet is not a universal instruction because point impacts can damage tile or collapse mortar unpredictably. Grout only after the mortar has reached the product’s stated condition; there is no universal 24-to-72-hour cure rule.
Cutting, Fitting, and Finishing Details
Tile Cutting Techniques and Tool Recommendations
- Ceramic tile: Use a suitable score-and-snap cutter or wet saw, following the tool and tile manufacturer’s guidance.
- Porcelain tile: Use a wet saw or blade rated for porcelain; make test cuts before cutting visible finish pieces.
- Curves and notches: Use a tile nipper, wet saw, or appropriate diamond tool. Make relief cuts where needed and avoid forcing a fragile cut.
- Edges and transitions: Dry-fit trim pieces, keep required movement gaps open, and use trim or sealant compatible with the tile assembly.
Grout Sealing, Cleaning, and Final Inspection
- Before grouting: confirm tiles are firmly set, aligned, and free of mortar in grout joints and movement-joint locations.
- After grouting: clean according to the grout instructions and protect the floor through its stated cure period.
- Sealing: porcelain and many ceramic tiles may not need sealer. Natural stone, cementitious grout, epoxy grout, and specialty products have different requirements. Use a compatible sealer only after the tile and grout are clean and cured, and only where their manufacturers allow it.
- Final check: look for rocking tile, inadequate edge support, blocked joints, open membrane seams where waterproofing was required, and mortar or grout bridging perimeters or movement joints.
Safety, Dust Control, and Environmental Considerations
Concrete grinding and cutting can create respirable silica dust. Use the tool and manufacturer’s compliant dust-control method: wet methods where appropriate, or a grinder with an integrated shroud connected to a properly rated HEPA dust collector. Wear eye, hearing, skin, and respiratory protection appropriate to the exposure and task. Follow applicable local and workplace safety rules.
Silica Dust and Respiratory Protection
Do not dry sweep, dry brush, or use compressed air to redistribute concrete dust. Vacuum with suitable HEPA equipment, keep dust from occupied rooms, and clean slurry and debris before they dry or spread. Check that the dust-control setup is operating before starting a cut or grind.
Worksite Ventilation and Waste Management
Provide ventilation appropriate to the products in use, but do not rely on a generic air-change number as a substitute for dust capture or product safety instructions. Collect concrete slurry in containers and dispose of slurry, rinse water, chemical containers, used PPE, and uncured product waste according to local requirements. Do not wash cementitious slurry into drains. Related guidance: Ice and Water Shield Installation Instructions: What It Is, Where It Works, and DIY Tips.
Costs, Common DIY Mistakes, and Troubleshooting
Cost Estimate for Underlayment Installation
Do not rely on a universal per-square-foot estimate. Material cost varies sharply by system, slab preparation, local availability, and required accessories. For a 10-by-10-foot room, calculate from 100 square feet plus the selected product’s stated waste allowance, then round rolls, bags, primer, seam material, patch, mortar, and sealant up to whole units.
List tool rental, moisture testing, delivery, disposal, transition materials, and taxes separately. Self-leveling quantities must be calculated from the actual average thickness and the product’s published coverage; a shallow skim coat and a deeper pour do not use the same number of bags.
Top Mistakes and How to Avoid Them
- Treating all cracks alike: do not use a membrane over a structural, moving, or vertically displaced crack.
- Covering joints: preserve expansion, isolation, structural, and required movement joints through the tile surface.
- Skipping moisture testing: use the system-required recognized method and compare the result with the exact assembly limit.
- Installing over contaminants: remove curing compounds, sealers, wax, oil, paint, residue, and weak surface material as required.
- Mixing incompatible products: verify primer, patch, membrane, mortar, grout, and sealant compatibility before installation.
- Ignoring flatness: correct the slab to the requirement for the selected tile, especially large-format tile.
- Rushing cure or radiant heat: follow the specific mortar, grout, membrane, and heating-system commissioning schedule.
Conclusion
A suitable concrete slab can receive tile directly; add an underlayment only when the selected system needs it to solve a specific condition. Inspect and map the slab, test moisture correctly, preserve joints, prepare the surface, and follow one compatible product system from primer through grout.
Stop and seek qualified help for active leaks, unacceptable moisture without an approved mitigation assembly, structural or displaced cracks, settlement, post-tension concerns, or any condition the product instructions do not cover. Those problems are not safe DIY shortcuts.
FAQ
What underlayment should I use over a concrete slab for tile?
Choose based on the documented need: none for a suitable direct-bond slab, a rated crack-isolation membrane for eligible in-plane cracks, an uncoupling membrane for an approved uncoupling assembly, a waterproofing system for wet-area detailing, or an approved leveling product for insufficient flatness. Verify the complete assembly is compatible.
Do I need primer before applying underlayment?
Some patching, leveling, membrane, and moisture-mitigation systems require a specific primer; others do not. Use only the primer, coverage rate, dry time, and surface preparation listed for the selected product.
Can I tile directly over an existing slab without underlayment?
Yes, if the concrete is structurally sound, clean, adequately flat for the tile, within the selected mortar and tile-system moisture limit, and free of cracks or joints that require a different treatment. Direct bonding is not appropriate merely because the slab looks dry or smooth.
What are common mistakes to avoid with underlayment for tile on concrete?
Common failures come from installing over contaminants, guessing at moisture conditions, bridging movement joints, trying to cover structural cracks with a membrane, using incompatible products, exceeding a leveling product’s thickness limits, and grouting or commissioning radiant heat before the specified cure. Related guidance: How to Tile Over Radiant Heat Mats: Layout, Thickness Buildup, and Sensor Placement.