

Introduction
Tracking crack movement with cheap gauges means using simple, low-cost devices to measure how cracks in concrete or masonry open, close, or shift over time. Place the gauges at consistent points on or near the crack and record readings at regular intervals, then photograph the crack and note the date and weather each time. Stick to the device’s instructions and verify any important limits on what to measure, and check labels for proper setup.
Interpreting the data means watching for consistent direction or changes in the readings and comparing them to outside conditions like moisture or temperature. Keep a simple log of when readings change and how fast, and note any nearby work that could affect the crack. If readings look unusual or worsening, check the device instructions, manufacturer guidance, or local rules before taking further steps.
Key takeaways
- Label each crack, install gauges at mid-span and shoulder locations for consistency.
- Record readings at the same time daily, noting weather, vibration events.
- Distinguish noise from real movement by comparing consecutive readings and trend direction.
- Protect gauges from impact, moisture, dirt; wear PPE when inspecting.
- Escalate if readings show sustained drift beyond seasonal shifts and cracks widen.
- Regularly calibrate and validate data with a second gauge when feasible.
Table of Contents
- Introduction
- Key takeaways
- Why Track Crack Movement?
- Cheap Gauges and Sensors: Options and Trade-Offs
- Tools and Materials Checklist
- Where and How to Install Gauges
- What to Record and How Often
- Interpreting Readings: Distinguishing Noise from Real Movement
- Thresholds, Risk Levels, and When to Escalate
- Maintaining Gauges and Validating Your Data over Time
- Conclusion
- FAQ
Why Track Crack Movement?
Tracking crack movement helps you see what is changing over time. It supports safety decisions, routine maintenance, and documenting the condition for records. Regular checks reduce uncertainty and help you act with confidence.
DIY monitoring is fine for temporary or low-risk situations, but not all cracks are the same. If you notice rapid changes, or if the crack is in a critical structural member, seek a professional evaluation and verify any guidance you follow with official instructions or local rules.
Risk assessment basics
Cracks in your home’s structure can be a cause for concern, but not all cracks are created equal. Understanding the difference between active and stable cracks is key to assessing risk.
Active cracks are those that are growing or changing over time. They may widen, lengthen, or change shape. Visible indicators of increased risk include:
- Crack width increasing (you can see it getting wider)
- Crack lengthening (it’s getting longer)
- Crack changing direction or shape
- Crack appearing suddenly after an event like an earthquake or heavy rain
If you notice any of these signs, urgent action may be required. Always consult a professional if you’re unsure.
Monitoring goals and decision triggers
The primary goal of monitoring crack movement is to answer key questions about the nature and extent of the damage. By regularly recording changes, you can determine if:
- The crack is growing or accelerating
- The crack is seasonal (e.g., widening in winter due to temperature changes)
- The crack is stable and not changing over time
Monitored data helps inform your next steps. If the crack is growing, you may need to:
- Increase the frequency of monitoring
- Consult a professional for an evaluation
- Consider temporary repairs or support while planning permanent fixes
Cheap Gauges and Sensors: Options and Trade-Offs
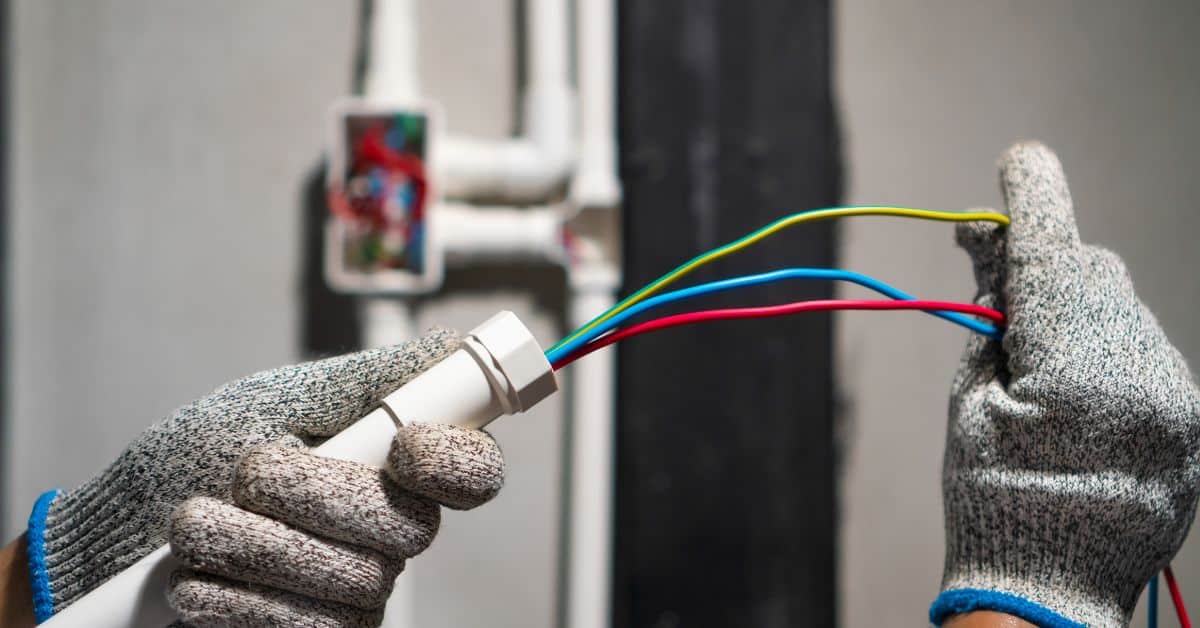
Common low-cost options include tell-tale strips, mechanical crack monitors, simple dial gauges, and smartphone-based methods. Each comes with its own accuracy, durability, and installation considerations. Be aware of typical failure modes like adhesive failure or misalignment.
Choose devices that match your confidence level and budget. Read product labels and manufacturer instructions to verify installation limits and expected performance, and consider how easy it will be to read and log results over time.
Tell-tale strips and basic mechanical monitors
These simple devices are cheap, easy to install, and great for beginners. They work by placing a strip or monitor across the crack, which records any movement.
Tell-tale strips use a thin, flexible material with a printed scale. As the crack moves, the strip bends, showing you how much it’s shifted. They’re best for detecting large movements (0.1mm or more).
Mechanical monitors, like demountable dial gauges, use a needle that moves across a scale. They can detect smaller movements (0.025mm), but they need to be recalibrated each time you check them.
DIY alternatives: rulers, calipers, and smartphone methods
If you’re on a tight budget or prefer to use what you have, here are some simple measurement setups.
Rulers can be used by marking the crack’s position with a pencil, then measuring the distance between the mark and the current crack edge. It’s not precise (0.5mm or more), but it’s better than nothing.
Calipers offer more precision (0.1mm). Mark the crack, then use the calipers to measure the gap. For best results, take multiple readings and average them.
Smartphone methods involve taking photos of the crack over time. Use a consistent camera angle and distance. Compare photos using an app that measures distances on images. It’s not as accurate as dedicated gauges but can still show trends.
Tools and Materials Checklist
Gather a practical set of gauges, mounting hardware, adhesives, and protective coverings. Include basic tools for cleaning and prep, plus safety gear for working around cracks. Have spare parts or alternatives ready if a preferred item isn’t available.
When selecting adhesives and protective materials, compare options that suit indoor or exterior exposure and substrate type. Avoid proprietary claims and rely on manufacturer instructions, labeling, and local recommendations to choose safe, compatible products.
Adhesives, Mounting Hardware, and Surface Prep
Before installing your crack gauges, ensure the surface is clean and you have the right adhesives. This checklist helps maintain measurement accuracy.
- Clean surface: Remove dust, dirt, and loose material using a wire brush or compressed air.
- Degrease: Use a suitable degreaser to remove any oils or grease that could affect adhesion.
- Etch concrete: For better adhesion on concrete, use an etchant like muriatic acid (follow safety guidelines).
- Adhesive type: Choose between epoxy, silicone, or acrylic adhesives based on surface material and gauge requirements. Epoxy is strong but slow-curing.
- Mounting hardware: Use appropriate screws, bolts, or brackets for mechanical gauges. Ensure they’re compatible with your gauge’s design.
- Surface temperature: Adhesives perform best at specific temperatures. Check and adjust if needed.
- Avoid joints/cracks: Do not mount gauges on joints or cracks as they can move independently, skewing readings.
- Test adhesion: Perform a small test patch to ensure chosen adhesive works well with your surface material.
Quick rule: Poor surface prep and incorrect adhesives can lead to gauge failure or inaccurate readings.
Measurement Recording Templates
Consistent record-keeping helps track crack movement over time. Here’s a suggested logbook/spreadsheet template.
- Timestamp: Record the exact date and time of each measurement to monitor changes over days, weeks, or months.
- Measured displacement (mm/k): Note the change in gauge reading since the last measurement. Use consistent units (millimeters or thousandths of an inch).
- Temperature (°C/°F): Record ambient temperature as it can affect crack movement and adhesive performance.
- Observer: Note who took the reading to maintain consistency in measurement technique.
- Notes: Add any relevant observations, such as weather changes or unusual events that might impact readings.
Quick rule: Inconsistent recording practices can make it hard to spot trends and identify issues.
Where and How to Install Gauges
Plan gauge locations to capture movement in the most relevant direction for the structure. Align devices so they measure the intended vector and avoid diagonals that mislead readings. Keep readings in a consistent orientation for easy comparison over time.
Anchor gauges to stable reference points and document exactly where each device sits. Check that mounting surfaces are clean and sound, and note any temporary supports that could affect readings during installation.
Positioning to capture relevant movement
Place gauges along the crack’s length, spacing them evenly. This helps track movement consistently.
Orient each gauge so its measurement arm runs parallel to the crack. This ensures you’re capturing linear movement accurately.
Choose stable adjacent substrate for reference points. Avoid areas with known settlement or movement issues.
Installation steps and common pitfalls
Mistakes during installation can lead to inaccurate readings. Here’s how to avoid them:
- Avoid uneven surfaces: Ensure the surface where you’re mounting the gauge is flat and smooth.
- Don’t over-tighten screws: Tightening too much can stress the gauge, affecting its readings.
- Keep gauges level: Ensure they’re perpendicular to the substrate to capture vertical movement accurately.
- Avoid direct sunlight: Extreme temperatures can affect readings. Keep gauges out of direct sunlight if possible.
- Seal properly: Use a suitable sealant around the gauge to protect it from moisture and debris.
Follow these steps for accurate, reliable data: clean the surface, apply adhesive or use mounting hardware, align the gauge, secure it, and seal it.
What to Record and How Often
Record displacement with units, timestamp, observer identity, and environmental notes. Include nearby events that could influence readings, such as temperature changes or heavy loads. Keep data fields consistent across all entries.
Choose monitoring frequency based on risk level and observed behavior, not a fixed schedule. Make sure units and timekeeping stay consistent to avoid misinterpretation later.
Measurement fields and units
The first step is to decide what data you’ll record each time you check your gauges. Keep it simple, but thorough:
- Displacement: How much the crack has moved since the last reading.
- Units: Use a single unit consistently – millimeters (mm) or inches (in) work well.
- Timestamp: When you took the reading. Use a consistent date/time format.
- Observer: Who made the observation. This helps track any differences in readings.
Also, note down anything unusual about the environment or nearby events that might affect crack movement:
- Temperature extremes.
- Heavy rain or snow.
- Construction activity nearby.
Scheduling and event-driven recording
How often you check your gauges depends on the risk level of the crack. Here’s a simple guide:
- Low Risk: Check every 2-4 weeks.
- Medium Risk: Check every week or two.
- High Risk: Check daily, or even more frequently if possible.
But don’t stick to a rigid schedule. Be ready to adjust based on what you’re seeing:
- After events: Heavy rain, snow, or temperature extremes can cause sudden movement. Check your gauges soon after these events.
- When movement increases: If the crack is moving faster, check it more often to monitor the situation closely.
Interpreting Readings: Distinguishing Noise from Real Movement
Learn to separate measurement noise from actual movement by looking for repeatable patterns over multiple checks. Note environmental effects that can shift readings, like temperature swings or moisture. Use simple corrective notes to mark suspected causes.
Look for readings that persist beyond short-term fluctuations and for readings that align with other indicators. Patterns of sustained change or direction suggest real movement rather than normal variability.
Environmental corrections and baseline drift
Temperature, humidity, and seasonal cycles can sway your readings. Keep notes on these factors to see their impact.
Temperature: Warmer temps expand materials, cooler ones contract. Record daily highs and lows near your gauges.
Humidity: Moisture affects concrete’s moisture content, causing expansion or contraction. Note relative humidity changes.
Seasonal cycles: Watch for annual patterns in movement. Spring thaw, summer heat, winter freeze – each can cause shifts.
Simple trend analysis and red flags
Look for consistent directional change over time. Sudden jumps or accelerating movement could signal trouble.
Consistent directional change: If readings keep going one way, it might indicate a persistent issue. Note the direction and rate of change.
Accelerating movement: If cracks are widening faster over time, that’s a red flag. Keep track of how quickly things are changing.
Step changes: Sudden jumps in readings could mean new cracks forming or existing ones growing rapidly. Any step change warrants closer inspection.
Thresholds, Risk Levels, and When to Escalate
Define conservative alert levels based on trend behavior and the project context. Consider talking through suggested thresholds with a qualified engineer or aligning with local regulations before acting. Use clear decision logic to decide escalation steps, not fixed numbers alone.
Document when you escalate and what information supported the decision. Include your observations, readings, and any recommendations from professionals or authorities to justify the next steps.
Setting alert criteria and conservative guidance
The first step is to set your alert levels. Be conservative, better safe than sorry.
Relative Change: Set alerts for significant changes in crack width or movement. For example, if the initial reading was 0.1mm, an increase of 0.05mm (50%) could trigger an alert.
Acceleration: If readings are increasing rapidly over time, that’s a red flag. Set alerts for sudden acceleration in movement.
Event-linked shifts: Major events like heavy rain, earthquakes, or nearby construction can cause sudden movements. Be ready to adjust your alert levels after these events.
Reporting and communication during escalation
When you hit an alert level, don’t panic. Act promptly but carefully.
Prepare a report: Include time-stamped logs of readings, photos of the crack, a location plan showing where the gauge is installed, and any observed events that might have caused the movement.
Notify the right people: Contact the building owner immediately. Also, inform a qualified engineer or your local building department. They can provide expert advice and help you decide next steps.
Keep records of all communications for future reference.
Maintaining Gauges and Validating Your Data over Time
Schedule routine maintenance tasks like cleaning, re-zeroing, and re-attaching gauges as needed. Verify that gauges remain properly zeroed and adhered to the surface. Keep a maintenance log for traceability.
Preserve long-term records to help validate trends, and where possible, cross-check with higher-accuracy methods. Note any changes in method or equipment that could affect comparability for future reviews.
Routine maintenance checklist
Use this checklist every 6 months to keep your crack gauges in tip-top shape.
- Check adhesive: Ensure it’s still firmly attached. If not, reapply carefully.
- Inspect alignment: Make sure it’s level and plumb. Tighten if needed.
- Clean gauge face: Wipe off dirt or debris with a damp cloth.
- Test electronic devices: Check batteries and ensure they’re still functioning.
- Check for moisture: Ensure there’s no water buildup behind the gauge. If so, dry it out.
- Inspect measuring pins: Make sure they move freely. Lubricate if necessary.
- Verify zero point: Check that the gauge reads ‘0’ when there’s no movement.
- Check data logging: Ensure it’s working and data is being recorded correctly.
Quick rule: Regular maintenance prevents data loss and keeps your gauges accurate.
Validating with secondary methods
Occasionally, verify your gauge readings with a more precise tool or professional survey. This ensures accuracy over time.
Why validate? Gauges can drift or lose accuracy over time due to environmental factors or wear and tear.
Use a theodolite or laser level for cross-checks. Here’s how:
– Set up your secondary device at a known, stable point.
– Measure the same crack points as your gauges.
– Compare readings. If they differ significantly, recalibrate your gauge or check for errors.
Professional surveys: Every 2-3 years, consider hiring a professional surveyor to validate your data. They use high-precision instruments and can provide an independent assessment.
Conclusion
Tracking crack movement is about guarding safety, protecting your structure, and avoiding costly repairs. With a simple setup and steady checks, you can catch a problem before it shows up as a big crack or a saggy wall.
Check that you have the right gauges for the job, mount them in stable spots away from heavy vibration, record readings at the intervals you planned, compare new data to past trends, note any unusual jumps, then escalate if readings cross your safety thresholds. Start small: test one area, verify the setup, then expand only after you’re confident the data makes sense. Keep a plain log and keep tools clean and accessible so you don’t miss signals.
Common mistakes to avoid are over-tightening mounting hardware and misreading noise as movement, ignoring drift over weeks, and skipping validation after sensor changes. Always test in a safe, small area first, verify a reading with a second gauge if possible, and protect gauges from weather or accidental impact. If readings show rapid movement, if you don’t understand a spike, or if you’re unsure about the structure’s load path, stop and reassess before pushing on.
When in doubt, call a qualified professional rather than pushing a repair you can’t safely justify. Use the data you’ve collected to explain the issue clearly and to guide the next steps. Stay practical, stay safe, and you’ll preserve both the structure and your peace of mind.
FAQ
What should you actually record each time you check gauges?
Record the date, the reading, and which direction the crack moved. Note any changes in the surrounding concrete or doors and windows, plus weather or moisture conditions. Keep it simple and consistent so you can compare over time.
How do you verify a gauge isn’t giving false readings?
Check that the gauge is securely mounted and level. Compare readings from nearby reference points or another gauge if you have one. Look for loose hardware or obvious damage that could skew results.
How can you set up a simple monitoring plan without breaking the bank?
Place a few key gauges at critical spots rather than monitoring every crack. Check them at regular, practical intervals and record every reading in one place. Use a basic notebook or a single spreadsheet so you don’t lose track.
What should you do if readings show movement?
Don’t panic, but don’t ignore it either. Validate with additional checks and document the trend before deciding on next steps. If movement continues or accelerates, escalate to a pro and follow their guidance.