

Introduction
Concrete rarely fails because a homeowner can identify a low “tensile-strength number” at home. More often, the warning signs are cracks, a dusty or soft surface, scaling, hollow-sounding areas, loose anchors, or concrete that dried too quickly after placement. Start by making the area safe, documenting what you see, and separating a cosmetic surface problem from possible structural distress.
Tensile strength is concrete’s resistance to being pulled apart. It matters because concrete cracks readily in tension, but a visible crack does not by itself prove that the concrete is weak or unsafe. This guide helps you inspect practical symptoms, protect fresh or damaged concrete, make limited repairs when appropriate, and recognize when a qualified testing agency or engineer is needed.
Do not inspect, drill, chip, repair, or load-test without professional direction when the concrete is a structural member, retaining wall, suspended slab, overhead attachment, or vehicle-supporting concrete. The same limit applies where the concrete supports people, equipment, earth, water, or another structure.
Understanding the Timeline for Tensile Strength Development
Concrete gains strength as cement hydrates, but there is no universal timetable for tensile strength. Mix design, temperature, moisture, curing, admixtures, and the test method all affect the result. Follow the ready-mix delivery ticket, project specification, and producer’s instructions rather than treating elapsed time alone as a pass/fail test.
- Fresh placement: Do not add water simply to make concrete easier to finish. Approved water adjustments must follow the delivery ticket and producer’s directions; uncontrolled water addition or working rainwater into the surface can leave a weak, dusty surface.
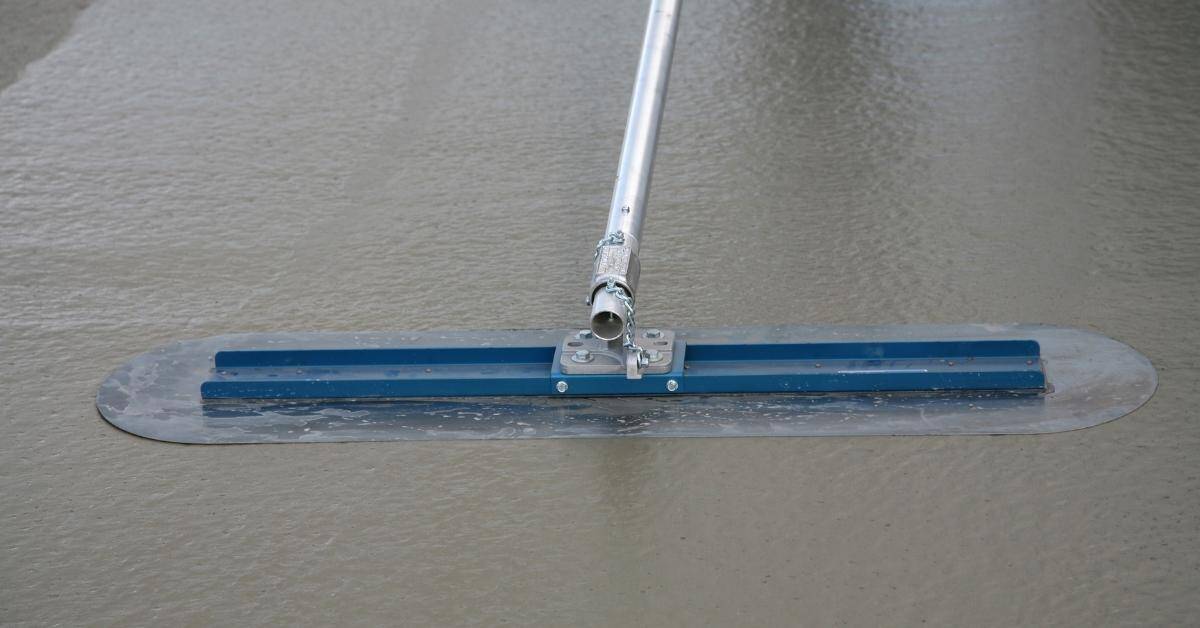
- Setting and finishing: Do not finish while bleed water remains on the surface. Wait for the surface condition required by the mix or product instructions, then begin curing as soon as finishing permits.
- Early age: Keep traffic, equipment, and construction loads off the concrete until the project requirements or product instructions allow them. Cold conditions slow strength development; hot, dry, or windy conditions can cause damaging moisture loss.
- Later evaluation: A 28-day result is commonly a reference age for specified compressive strength, not a promise that concrete has reached a particular tensile strength. Tensile and flexural properties need their own test methods.
Key takeaways
Use symptoms and construction history to decide what to do next. A home inspection can document deterioration and guide a small cosmetic repair, but it cannot establish the load capacity of an existing structural member.
- First identify the concrete element and what it supports; this determines whether DIY inspection is appropriate.
- Cracks, dusting, delamination, and loose anchors have different causes and different safe responses.
- Keep fresh concrete from losing moisture too quickly; do not add water or finish over bleed water to solve a surface problem.
- Control joints manage shrinkage cracking. Reinforcement distributes and limits cracking, but neither guarantees a crack-free slab.
- Rebound hammers, ultrasonic pulse velocity, and penetration resistance are specialized screening methods—not direct tensile-strength tests.
- Stop DIY work for movement, displacement, corroding reinforcement, failed anchors, or any concrete that supports vehicles, a structure, earth, or water.
Table of Contents
- Introduction
- Key takeaways
- Understanding tensile strength vs. compressive strength
- On-site non-destructive tests DIYers can use
- Simple destructive and semi-destructive checks for small DIY jobs
- Maturity method and quick strength estimation
- Planning, calibration and equipment maintenance
- Weather, curing and safety — factors that affect test accuracy
- Common DIY mistakes, cost considerations, and when to call a professional
- Conclusion
- FAQ
Understanding tensile strength vs. compressive strength
Compressive strength is resistance to squeezing; tensile strength is resistance to pulling apart. A concrete designation such as “4,000 psi” normally refers to specified compressive strength at a stated age, often 28 days. It is not a tensile-strength rating. The American Cement Association’s concrete FAQ explains the conventional use of 28-day compressive strength.
Tensile behavior matters for crack control, flexing slabs, reinforcement bond, and anchors loaded in tension. Still, high compressive strength does not eliminate cracking. Concrete shrinks, moves with temperature, and can crack where movement is restrained or joints are missing, too shallow, poorly located, or cut too late.
Why tensile strength matters for DIY projects
For a patio, sidewalk, driveway, or small slab-on-ground, the practical goal is not to prove tensile capacity with a home test. It is to control predictable cracking and prevent avoidable surface damage: use the specified mix, prepare and compact the base as designed, keep reinforcement at its designed position on supports, install planned control joints, finish correctly, and cure the concrete.
Reinforcement helps distribute cracking and limit crack width when it is placed at the designed depth. It does not prevent every crack, and mesh left on the subgrade or pushed down during finishing cannot be assumed to work as intended. A crack filler may improve appearance or help exclude water from a stable, nonstructural crack; it does not restore structural capacity or solve an active leak or moving crack.
How tensile strength is measured (overview)
Laboratories use distinct methods for compressive, core, flexural, splitting-tensile, bond, and surface-hardness questions. A compression result from a cylinder or drilled core is not a direct tensile-strength result. Before ordering testing, tell the testing provider the element type, placement date, curing history, exposure, suspected problem, and the decision the result must support.
At home, inspect symptoms and trends instead: map cracks, measure visible width and offset, photograph them with a date, and note water entry, rust staining, hollow areas, or movement. That record is more useful than guessing a strength number from appearance.
On-site non-destructive tests DIYers can use
The safest homeowner “test” is a documented visual inspection. Wear gloves, eye protection, and sturdy footwear; use a camera, flashlight, straightedge, ruler or crack comparator, and a marker. Do not drill, core, chip, or load-test a member that may be structural.
Ordered homeowner inspection workflow
- Make the area safe. Stop vehicle, equipment, overhead, suspended, retaining-wall, or other visible loading if distress is evident. Keep people away from loose concrete and from beneath a failed anchor.
- Classify the element and its loads. Identify whether it is a slab-on-ground, sidewalk, driveway, footing, wall, beam, column, retaining wall, or suspended slab. If it supports vehicles, people, equipment, earth, water, or another structure, do not proceed beyond documentation without professional direction.
- Photograph, map, and measure. Take overview and close photographs with the date and location. Mark defects where this will not damage the finish. Record crack width with a ruler or crack comparator, visible offset with a straightedge, and whether the crack is wet, diagonal, stair-step, random, or associated with rust staining.
- Look for active deterioration. Check for widening, displacement, leakage, loose concrete, scaling, ongoing dusting, exposed reinforcement, rust staining, anchor movement, settlement, or heaving. Repeat measurements at the same marked points when the project condition makes monitoring appropriate.
- Review the construction history. Gather delivery tickets, bag or mix information, placement date, weather, curing method, rain or freezing exposure, any authorized added water, loading history, repair-product data, and anchor instructions.
- Choose the next step. A stable superficial defect on an accessible, nonstructural slab may be suitable for the limited repair process below. Active distress, uncertain depth, or any load-capacity question requires a qualified testing provider or engineer.
| Symptom | Likely contributors | Safe check and immediate action | Repair boundary and escalation |
|---|---|---|---|
| Fine, stable surface cracks | Shrinkage, rapid drying, restraint, or joint layout | Photograph and map the crack. Measure width and any visible offset; note leakage. Do not assume a crack is structural from width alone. | Only a stable, dry, superficial crack in nonstructural concrete may receive a compatible crack repair after cleaning and following the product instructions. Get help if it widens, leaks, shows offset, or continues through a structural member. |
| Dusting, scaling, or soft surface | Excess surface water, finishing over bleed water, inadequate curing, rain, freezing, or wear | Keep traffic off. Wearing gloves, lightly wipe a small dry area with a gloved hand or soft brush: loose powder that returns after cleaning suggests ongoing dusting. Look for flaking, exposed aggregate, or a soft layer rather than relying on a scratch test. | Do not apply a sealer, hardener, or topping until the surface condition is known. Escalate if material flakes away, aggregate or reinforcement is exposed, the affected depth is uncertain, hollow areas are present, or the surface serves vehicles. |
| Hollow or detached area | Delamination, poor bond, freezing, or a failed prior repair | On accessible nonstructural concrete only, gently tap a marked grid with a light non-destructive sounding tool. Compare the response with adjacent intact-looking concrete. A repeatable dull or hollow change in the same area is a reason to mark it; do not strike hard, probe, or chip to investigate. | Do not bridge a hollow area with a coating. Get help if it is loose, expanding, deep, near reinforcement, on a suspended slab, or if sounding could dislodge material. |
| Loose or failed anchor | Wrong hole preparation, inadequate cure, incorrect anchor, edge effects, cracked concrete, or overload | Unload and isolate what it supports. Prevent access below or around an overhead item if needed. Save the anchor model, installation instructions, concrete age, and installation information; do not retighten or pull-test it. | Professional review is required for safety-critical, overhead, guardrail, structural, or occupied-space loads and whenever the anchor rotates, pulls out, or cracks surrounding concrete. |
| Rapid drying while fresh | Sun, wind, low humidity, hot concrete, or delayed curing | Stop adding surface water. Shield from wind and sun, and begin the specified curing method once finishing permits. | Get direction from the producer or project professional if plastic-shrinkage cracks form widely, the surface crusts before finishing, or the placement cannot be protected. |
Rebound hammer (Schmidt) — a limited surface check
A rebound hammer measures near-surface rebound hardness, not tensile strength or load capacity. Readings are influenced by surface condition, moisture, aggregate, orientation, and support. The FHWA report on curing verification discusses the need to correlate rebound results appropriately and interpret them with other information.
If a qualified provider uses one, it can help compare consistent locations or identify areas that merit further evaluation. Do not treat a high rebound number as proof that an anchor is safe, a slab can carry a vehicle, or tensile performance is adequate.
Ultrasonic pulse velocity (UPV) — professional evaluation
UPV can help a qualified provider investigate consistency, voids, or cracking, but results depend on equipment, coupling, path geometry, moisture, reinforcement, calibration, and interpretation. It is indirect and does not directly measure tensile strength. Request it when a testing professional believes it will answer a specific question; it is not a reliable improvised DIY test. Related guidance: Ultrasonic Pulse Velocity (UPV) for Concrete: What It Can Detect and What It Can’t.
Penetration resistance / Windsor probe
Penetration-resistance equipment is specialized and can damage the concrete. It requires mixture-specific interpretation and trained operation. Do not use gun-fired probes or similar equipment as a homeowner diagnostic tool.
Simple destructive and semi-destructive checks for small DIY jobs
Do not take cores, drill around reinforcement, or remove concrete merely to satisfy curiosity. Coring leaves a hole, may cut reinforcement or embedded services, and can compromise a thin slab, wall, beam, column, retaining wall, or suspended slab. A qualified provider should select locations, obtain specimens, interpret the applicable test method, and specify the patch. Related guidance: