
Introduction
Stucco moisture-meter readings are most useful as a repeatable screening record, not as a stand-alone diagnosis. This timeline shows what to do before testing, on test day, after a wetting event, and when a persistent pattern warrants professional help.
Use the same meter mode, locations, orientation, and weather notes each time. A displayed number may be a relative index or wood-moisture equivalent (WME), rather than the true moisture content of stucco, so compare patterns instead of treating one number as a repair order.
For the full guide, see Stucco Moisture Meter Readings Explained: When High Numbers Matter and When They Don’t.
Stucco Moisture-Reading Timeline
- Before test day: Identify the meter’s mode, stated sensing depth, output units, and check procedure. Map the wall and choose sound comparison locations.
- On test day: Inspect first, verify the meter, then take a consistent grid of readings and targeted readings at vulnerable details. Record the displayed value with its unit and mode.
- After rain, washing, or irrigation: Wait until the surface is visibly dry, then take a comparison reading after 24–48 hours if weather permits. This is a starting interval, not a universal drying time; thick stucco, shade, humidity, coatings, and wet layers behind the finish can require longer.
- Follow-up: Retest the same mapped points in comparable dry-weather conditions. Declining readings support transient wetting; persistent, rising, or patterned readings need corroboration and possibly professional investigation.
This sequence helps distinguish a wet surface from a wall-area concern without drilling, patching, or repainting on the basis of a single reading.
Key takeaways
A meter reading is comparable only when the meter setup, location, and conditions are comparable. Start with a mapped baseline, then use repeat checks and visible evidence to decide what the number means.
- Verify the meter according to its manufacturer’s instructions before each test session.
- Record the exact displayed value and its mode or unit: relative index, WME, or material-specific moisture content.
- Use a grid plus targeted points at openings, penetrations, cracks, wall bases, and roof-to-wall details.
- Pinless readings reflect a sensing volume at the model’s stated depth; pin readings reflect the material path between the electrodes.
- Metal lath, fasteners, wiring, flashing, salts, coatings, and wet underlying layers can affect electrical readings.
- Retest after visible surface drying and comparable weather; do not rely on one high reading or a universal threshold.
Table of Contents
- Introduction
- Key takeaways
- Understanding Stucco and Moisture Basics
- Types of Moisture Meters and How They Work
- Preparing for Accurate Measurements
- How to Take Reliable Stucco Moisture Readings
- Interpreting Meter Readings: When High Numbers Matter
- When High Readings May Not Indicate a Problem
- Visual Checkpoints, Documentation, and Reporting
- Conclusion
- FAQ
Understanding Stucco and Moisture Basics
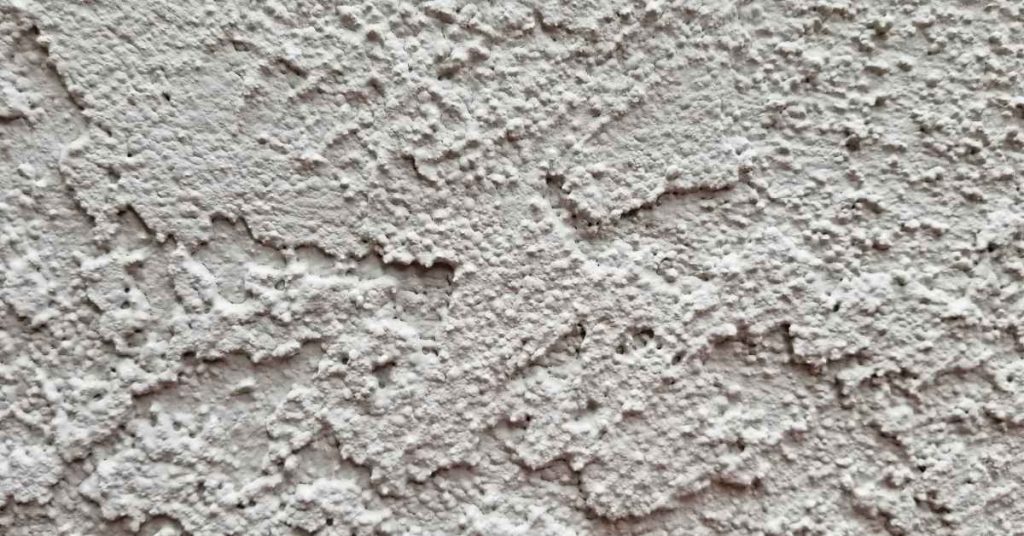
Stucco is a layered exterior finish, commonly cement- or lime-based, applied over lath, foam, masonry, or another backup. Direct-applied masonry stucco, lath-and-scratch-coat walls, and foam-backed EIFS can respond very differently to water and meter signals.
Cement stucco can resist most bulk rain while allowing some vapor movement, but the wall’s drying and water-management behavior depends on the finish and coatings, substrate, water-resistive barrier, drainage space, climate, and installation details. Do not infer the condition of concealed layers from the finish coat alone. The Stucco Manufacturers Association overview of stucco systems describes why framed stucco walls are designed as a complete moisture-management assembly.
How moisture moves in stucco assemblies
Water can enter through cracks, failed sealant joints, poorly detailed openings, roof or deck intersections, splashback, or irrigation. It may also be temporarily stored in the finish after rain. Liquid water, vapor diffusion, air movement, temperature, and the permeability of every wall layer affect how and whether the assembly dries.
Flashings primarily direct liquid water toward drainage paths and out of the wall. Vapor transport is a separate assembly-level question. Before interpreting readings, note the wall type, visible coatings, nearby grade or irrigation, and likely water-entry details.
Types of Moisture Meters and How They Work
Moisture meters used on stucco generally fall into two classes: pin meters that measure electrical resistance between probes and pinless meters that respond to changes in an electromagnetic sensing field. Their displayed values are not automatically interchangeable across meter types or models.
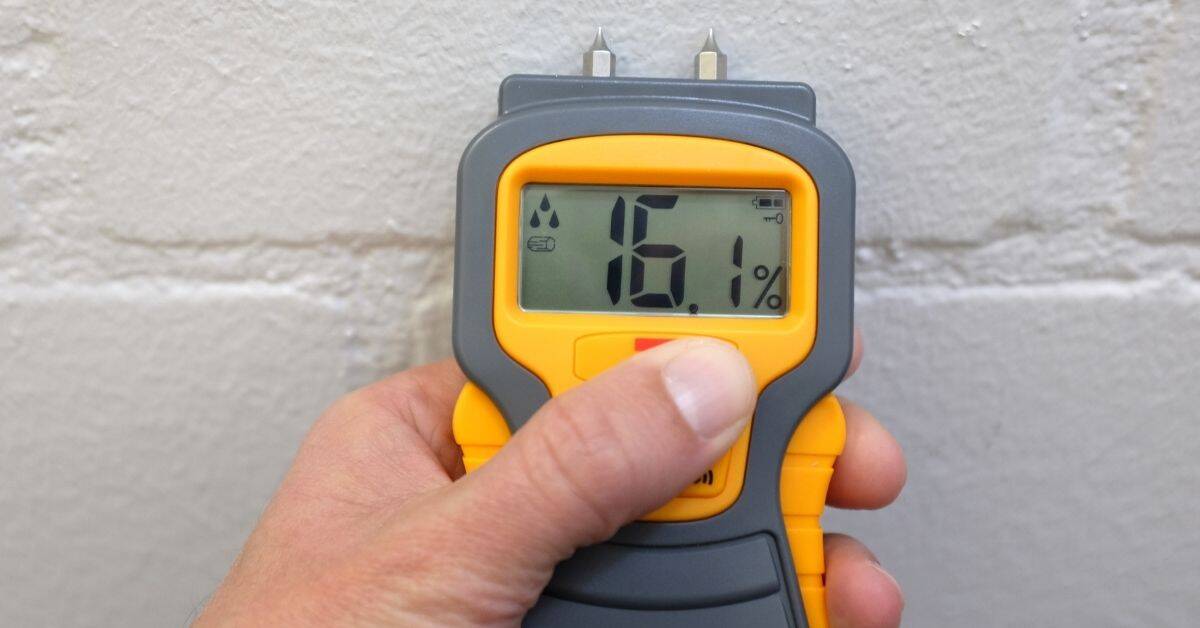
Check the manual for the selected mode, material setting, output, check procedure, and stated sensing depth. Some instruments report a relative scale; others report WME for non-wood porous materials. Record what the screen actually displays rather than calling every result a percentage of moisture in stucco. For example, this Protimeter manual explains relative readings and classifications used by that meter family.
Pin meters vs. pinless (non-contact) meters
Pin meters measure the electrical path between the pins at their contact points. They can be useful for a limited, authorized check, but pins can damage the finish and may contact more than stucco. A reading can be influenced by coating, stucco, sheathing, lath, fasteners, salts, or moisture in another layer. A deeper probe does not prove that the reading is from stucco alone. Related guidance: Diagnosing Moisture Behind Stucco: Basic Probe Holes, Borescopes, and What to Look For.
Pinless meters are useful for non-invasive comparative scans. They respond to material within a sensing volume, not a single pinpoint depth, and do not identify the exact depth of wetting. Use only the sensing depth stated for your model and selected mode; effective depth changes with density, thickness, geometry, coverings, and nearby conductive materials. Keep the meter flat, aligned, and pressed with similar force at every location.
Useful limits on secondary tools
An infrared camera can help identify temperature patterns for follow-up, but it does not confirm moisture. A thermo-hygrometer can document conditions. For homeowner screening, visual inspection, photographs, accessible interior areas, and non-invasive meter mapping are safer than drilling.
Do not drill through stucco or interior finishes for a borescope, RH probe, or deep pins unless a qualified professional has addressed utilities, plumbing, structural components, mold, and the wall’s water-management layers. Even a small opening can penetrate stucco, lath, a water-resistive barrier, or flashing and must be properly repaired.
Preparing for Accurate Measurements
Preparation makes the follow-up meaningful. Choose a dry-weather test window when possible, remove loose dirt without washing the wall immediately before testing, and record recent rain, irrigation, washing, direct sun, shade, wind, and visible surface dampness. EPA guidance also recommends recording and mapping moisture problems and inspecting after significant wind or rain events.
Tools and materials checklist
- Moisture meter and manual: Know the meter’s mode, unit, sensing depth, and check procedure.
- Fresh batteries and supplied check accessory: Use the manufacturer’s verification method where provided.
- Site map, tape measure, labels, camera, and logbook: These make retesting possible.
- Flashlight and clean cloth: For visual checks and dry, consistent contact areas.
- Gloves and eye protection: For routine exterior inspection.
- Optional thermo-hygrometer: Useful for documenting, not diagnosing, conditions.
Meter calibration and verification
Follow the manufacturer’s stated check or calibration routine. A known dry comparison area can show whether readings are stable for your site, but it is not a substitute for a manufacturer check block or service. Clean pins and sensors, confirm battery condition, and use one mode throughout a comparison run.
Make a simple sampling plan
For a suspect elevation, start with a screening grid of about nine points: three across the wall at the base, middle, and upper area. Add targeted points near windows, doors, roof-to-wall intersections, decks, hose bibs, penetrations, cracks, control joints, corners, kick-out flashing, staining, and wall bases. Include at least three apparently sound comparison points on the same elevation or a similar wall with the same finish. Related guidance: What Is Roof Flashing – Basics + Pro Tips.
Label each point on a sketch or wide photo. This is a practical screening plan, not a universal inspection standard; expand it around any anomaly rather than assuming a sparse grid clears a wall.
How to Take Reliable Stucco Moisture Readings
Test comparison locations first, then the suspect area. Keep mode, orientation, contact pressure, and test-point placement consistent. Do not compare values from different modes, meters, wall materials, or substantially different wetting conditions as though they were one scale.
Step-by-Step Process
- Inspect before measuring. Photograph staining, cracks, blistering, efflorescence, damaged sealant, grade, drainage paths, and nearby openings. Do not test where electrical or other hazards are present.
- Verify the meter. Check battery condition and perform the model-specific verification procedure. Select and note the material setting or mode.
- Map and mark points. Use the grid and targeted locations described above. Mark apparently sound comparison points separately from suspect points.
- Take baseline readings. At each comparison point, use the same meter orientation and contact. Record the displayed value, unit or mode, location, and surface condition.
- Test the suspect area. Repeat the same method. At an unexpected high point, repeat at the same spot and at nearby points rather than relying on one pass.
- Check for interference. Note whether the response forms a narrow line, follows fastener spacing, changes sharply with orientation, or occurs at corners and openings. Treat these patterns as possible conductive interference, not proof of wetting.
- Retest instead of forcing a conclusion. After rain, washing, or another wetting event, wait for visible surface drying. A 24–48 hour comparison is a reasonable starting point when conditions are similar, but extend it as needed for shade, cool or humid weather, heavy assemblies, coatings, or suspected wet layers behind the finish.
- Clean up and preserve the record. Remove temporary labels, clean the meter as directed, and keep photos and the location map for the next run.
Spot readings and scan techniques
Use spot readings at mapped points and vulnerable details. Use a pinless scan to find areas that differ from nearby wall sections, then stop and map the pattern with repeat spot readings. Do not interpret a scan as a depth profile.
If you are professionally authorized to use pins, use only the planned depth and document it. Never push probes blindly into a wall. Differences between depths may reflect different materials or a moisture gradient, not a definitive source or extent of damage.
What to log
For every point, record date and time; elevation and coordinates; height and distance from openings; meter make/model; mode and displayed unit; surface condition; recent rain, washing, or irrigation; sun or shade; and visible wall conditions. Note suspected metal, flashing, wiring, salts, coatings, or an unknown substrate.
Interpreting Meter Readings: When High Numbers Matter
A high displayed value becomes more consequential when it repeats at the same mapped location, remains elevated through several dry-weather checks, rises over time, or clusters near a likely water-entry detail. It is more concerning when paired with staining, blistering, cracking, spalling, efflorescence, soft trim, damp or swollen interior finishes, musty odor, visible mold, or rot.
There is no universal stucco meter number that proves a leak, rot, mold, wet sheathing, or failed flashing. Compare the suspect pattern with sound locations, conditions, the manufacturer’s guidance, and visual evidence. Do not treat local building codes as providing a universal meter-reading action threshold unless a specific jurisdiction and adopted provision actually does so.
Transient wetting versus a persistent pattern
Recent rain, dew, washing, and irrigation can temporarily increase readings. Retest the exact points once the surface is visibly dry and weather is comparable. A downward trend is consistent with drying, but it does not prove that every concealed layer is dry. A stable or increasing pattern after several dry-weather checks deserves further assessment.
A fan or dehumidifier may be used only as a documented comparison, not as proof that the assembly dries normally. Keep equipment, placement, operating time, indoor conditions, meter mode, and points consistent. Avoid high heat or aggressive airflow. A rapid change only under forced drying describes the test condition, not normal wall performance.
When to stop and escalate
Arrange evaluation by a qualified building-envelope, stucco, restoration, or inspection professional when readings persist or increase; cluster at openings, roof intersections, decks, penetrations, cracks, joints, or wall bases; or coincide with interior symptoms or visible damage. Also stop if you would need to drill, remove stucco, disturb suspected mold, inspect near wiring or plumbing, or investigate an unknown wall assembly. Water from flooding, sewage, or another contaminated source requires appropriate professional handling.
When High Readings May Not Indicate a Problem
High readings can result from temporary surface wetting, salts or contamination, dense or variable substrates, coatings, wet material behind the finish, and conductive components. Metal lath, corner reinforcement, fasteners, flashing, foil, and wiring can affect electrical measurements. The effect depends on the meter, mode, wall construction, and exact location.
Check for false-positive patterns
Wipe obvious surface moisture with a dry cloth, allow the area to visibly dry, and repeat under the same meter setup. Compare a suspect point with nearby points and a sound reference area. A narrow linear response, a pattern that repeats at fastener spacing, or a major change when the meter is rotated can indicate conductive interference.
Efflorescence and other salts can complicate resistance-based readings. A pin meter does not automatically solve the problem: pins may register a composite electrical path through finish, stucco, lath, sheathing, or another contacted layer.
Use non-invasive confirmation first
Confirm an anomaly with repeat mapped readings, visual inspection, exterior detail checks, and accessible interior observations. Look for staining, peeling paint, damp drywall, soft trim, recurring condensation, or odor on the other side of the wall. An infrared image may help choose points for further inspection, but it cannot confirm moisture by itself.
Do not make inspection holes as a routine homeowner confirmation step. Hidden-wall investigation can involve utilities, mold, and water-control layers; EPA notes that concealed moisture and mold investigations can require experienced professionals. If an authorized opening is made, it must be repaired as a compatible water-shedding detail, not merely patched for appearance.
Visual Checkpoints, Documentation, and Reporting
Pair meter values with a map and photos. A useful record lets you compare the same point after drying weather and gives a professional enough context to decide whether further investigation is justified.
What photos and notes to capture for each reading
- Location: Elevation, point label, height, and distance from a window, door, corner, or penetration.
- Meter information: Make/model, mode, material setting, and exact displayed value with its unit or scale.
- Conditions: Time, recent precipitation, irrigation or washing, sun or shade, and whether the surface was visibly dry.
- Context photos: One wide photo and one close-up showing the test point and nearby details.
- Visible conditions: Cracks, stains, efflorescence, bulging, damaged sealant, grade, drainage paths, or interior symptoms.
- Possible interference: Suspected lath, fasteners, flashing, wiring, salts, coating, or an unknown substrate.
A concise report for a contractor or inspector
- State the inspection purpose: screening, post-wetting comparison, or monitoring.
- Include the wall map, reading log, photos, and dates of each test run.
- Describe the meter method, mode, verification steps, and any suspected interference.
- Identify the pattern: isolated, widespread, declining, persistent, or increasing.
- Separate observations from conclusions. A meter pattern can justify investigation; it does not by itself establish the failed component or repair.
Conclusion
Use the timeline: verify the meter and map the wall before testing; measure a consistent grid and vulnerable details on test day; then retest the same points after visible drying and comparable conditions. Record the meter’s actual unit or mode, not an assumed stucco moisture percentage.
Act on patterns, not one number. Persistent or rising readings, readings concentrated at water-entry details, and readings supported by interior or exterior damage warrant professional assessment. Avoid drilling, removal, or repairs based only on a meter result.
FAQ
What should I do if I get a high reading near a window sill or door opening?
Map and photograph the point, then compare it with nearby wall and sound-reference points using the same meter mode. Inspect visible sealant, cracks, drainage, and flashing-related details without dismantling them. Retest after visible drying; persistent readings or damage near an opening justify professional assessment.
Can environmental factors cause a high reading even if the wall is fine?
Yes. Recent rain, dew, washing, irrigation, sun and shade differences, coatings, salts, metal, and substrate variation can affect readings. Record conditions and repeat the same mapped points under comparable conditions before drawing a conclusion.
What should I do if readings differ a lot from one wall to the next?
Different elevations can have different sun exposure, weather exposure, coatings, assemblies, irrigation exposure, and conductive materials. Compare each suspect area first with sound points on the same or a similar wall, then look for a repeatable pattern and visible evidence.
How do I decide when to act based on readings?
Escalate when readings remain elevated or rise through multiple dry-weather checks, cluster at vulnerable details, or accompany staining, deterioration, interior dampness, odor, mold, or rot. Do not use a universal displayed number as the sole trigger for repair.