

Introduction
Traditional exterior stucco is a coordinated wall assembly, not simply several layers of cement. On a framed wall, the usual sequence is drainage layer and flashings, lath, scratch coat, brown coat, and finish coat. Each part has a different job; a failure behind the visible finish can cause staining, cracks, or loose stucco later.
The key distinction is simple: lath is a plaster base, not a cementitious coat. The scratch and brown coats form the cement-based base, while the finish coat provides the final appearance.
Key takeaways
- For a traditional framed-wall assembly, work from the wall outward: WRB and flashing, lath, scratch coat, brown coat, then finish coat.
- The scratch coat locks into the lath and is scratched to key the next coat; the brown coat establishes the wall plane; the finish coat supplies texture and color.
- Coat thickness, lath attachment, joint layout, mix water, curing, and weather limits are system-specific—not universal DIY numbers.
- Do not cover drainage, flashing, lath, or accessories until the approved assembly and any required inspection sequence are clear.
Table of Contents
- Introduction
- Key takeaways
- What Is Stucco and Common Stucco Systems
- Component Breakdown — Lath and Substrate
- Scratch Coat — Purpose and Application
- Brown Coat — Leveling and Structural Strength
- Finish Coat — Aesthetics and Protective Layering
- Installation Workflow and Safety Best Practices
- Durability, Common Problems, and Troubleshooting
- Costs, Codes, and Choosing a Contractor
- Conclusion
- FAQ
What Is Stucco and Common Stucco Systems
Portland cement-based stucco is commonly made with cement, aggregate, water, and often lime or approved admixtures. Use the exact product or project mix design; do not substitute a generic sand-to-cement ratio, add water for convenience, or add accelerants unless the selected manufacturer permits it.
Traditional three-coat system overview
Over metal or wire lath, a traditional system has a scratch coat, brown coat, and finish coat. The adopted code, project specifications, manufacturer instructions, and applicable lath and plaster standards govern the assembly. The residential code distinguishes three-coat plaster over lath from plaster applied to prepared masonry or concrete, and addresses WRBs, lath, accessories, and plaster separately. See the code’s exterior-plaster provisions for the scope of those requirements.
| Component | What it does | Place in a traditional framed-wall assembly |
|---|---|---|
| WRB or approved drainage layer | Manages incidental water behind the plaster. | Over sheathing and integrated with flashings. |
| Lath | Corrosion-resistant base that supports and mechanically keys plaster. | Over the drainage layer and accessories. |
| Scratch coat | Encapsulates lath and creates a rough key. | First cementitious coat. |
| Brown coat | Builds the specified base and establishes a level, uniform plane. | Second cementitious coat. |
| Finish coat | Provides the visible color and texture. | Final coat. |
Assembly diagram: framing/sheathing → WRB or drainage layer → flashings and accessories → lath → scratch coat → brown coat → finish coat.
One-coat systems
“One-coat” is not a universal assembly and should not be treated as a single pour or as another name for foam-backed stucco. Some proprietary cementitious products are reinforced and approved for one-coat use over specified lath and substrates; foam-based exterior insulation systems have their own WRB, reinforcement, drainage, accessory, and finish details. For example, QUIKRETE identifies its fiberglass-reinforced stucco for specified one-coat or three-coat applications. Check the manufacturer’s stated system uses before planning materials or steps.
Compare complete approved assemblies rather than assuming that either coat count determines cost, insulation, sound control, fire performance, or durability. Those results depend on the entire wall, climate, drainage design, workmanship, and finish.
Component Breakdown — Lath and Substrate
Lath may be expanded metal, woven wire, or another system-approved plaster base. Select corrosion-resistant lath, fasteners, beads, and screeds for the substrate and exposure. Fastener type, penetration, spacing, overlaps, furring, and edge details must come from the approved system and applicable requirements; a single spacing rule is not reliable across substrates or wind conditions.
Properly prepared masonry or concrete can receive specified plaster coats without lath in some assemblies. Framed walls, foam systems, and walls with changes in substrate require their own details. Do not assume a lath detail transfers from a masonry repair to a wood-framed exterior wall.
Weather-Resistive Barriers and Flashing
The WRB or drainage layer belongs behind the stucco and must remain continuous to flashings, weep screeds, and drainage exits. At windows and doors, integrate sill, jamb, and head flashing so water is directed outward rather than trapped behind the cladding. Building-science guidance explains why stucco over water-sensitive walls needs a drainage plane and a drainage space or bond break connected to flashings or weep screeds. Understand the drainage-plane principle before closing the wall.
Install weep screeds, casing beads, corner accessories, and control or expansion joints before plaster. Keep weep openings clear. Locate joints from the system design and wall geometry—especially at openings, substrate changes, corners, floor lines, and transitions—not from a universal spacing rule. Related guidance: Control Joints Vs Expansion Joints in Concrete: Placement, Spacing, and Timing.
Prep and Inspection Checklist Before Lath
- Identify the wall type, selected stucco system, required permits, and inspection points.
- Confirm that framing, sheathing, or masonry is sound, clean, aligned, and within the selected system’s documented tolerances.
- Repair movement, rot, loose masonry, cracks, gaps, and water-entry paths before installation.
- Complete WRB laps, flashing, weep screeds, beads, joints, and penetrations before installing lath.
- Verify that lath and attachments match the substrate and approved assembly.
- Protect windows, roofing, paving, landscaping, and adjacent finishes from mortar and rinse water.
Scratch Coat — Purpose and Application
The scratch coat is the first cementitious coat over lath. It must fully engage and cover the lath as the selected system requires, then receive uniform grooves or scratches that provide a mechanical key for the brown coat. It is not merely a thin coating applied over exposed mesh.
Mix, application, and curing
Use the selected base-coat product or specified mix. Follow its written instructions for water quantity, mixing time, working time, coat thickness, substrate conditioning, retempering, additives, and curing. These details vary with the material, weather, substrate, and assembly.
Apply the material to the specified thickness, embed it into the lath, and scratch it after it has set enough to hold a clean groove without tearing. Protect fresh work from rain, freezing conditions, direct drying, and wind as the product instructions require. Cure and recoat only when the manufacturer’s conditions are met; elapsed days alone do not establish readiness.
Visual checkpoints for a quality scratch coat
- Lath is covered as required, with no loose areas, visible unsupported sections, or unfilled voids.
- Scratch grooves are continuous and reasonably uniform without cutting through the coat.
- The coat is sound and clean, with no soft, dusty, crumbling, or hollow-sounding areas.
- Weep paths, joints, and accessories remain open and visible where intended.
If the coat debonds, remains soft, cracks extensively, or exposes lath, stop rather than burying the problem under the brown coat. Check substrate moisture, lath attachment, mix compliance, and curing conditions.
Brown Coat — Leveling and Structural Strength
The brown coat is the second cementitious base coat in a traditional three-coat assembly. Its job is to bring the wall to the specified plane and provide a uniform base for the finish—not to compensate for missing flashing, loose lath, or a badly misaligned substrate.
Application and readiness for finish
Apply the compatible brown-coat material only after the scratch coat meets the system’s recoat requirements. Use screeds, darbies, straightedges, and levels to establish the plane called for by the project. Work from planned reference points; repeatedly adding material to isolated low spots can leave an uneven base.
Float or texture the surface as required for the selected finish. Cure and condition the brown coat according to the product documents. Before finishing, it should be sound, clean, uniformly prepared, and free of loose material, uncontrolled cracks, standing water, or contamination.
Common brown-coat problems
- Fine shrinkage cracking: Review drying conditions, coat thickness, mixing, and curing requirements before finishing.
- Hollow or loose areas: Do not patch over them without finding the bond failure or moisture source.
- Waves and out-of-plumb areas: Correct while the work is still within the system’s application limits; a finish coat will not straighten the wall.
- Cracks at openings or transitions: Investigate flashing, joints, substrate movement, and accessory placement rather than treating them as cosmetic alone.
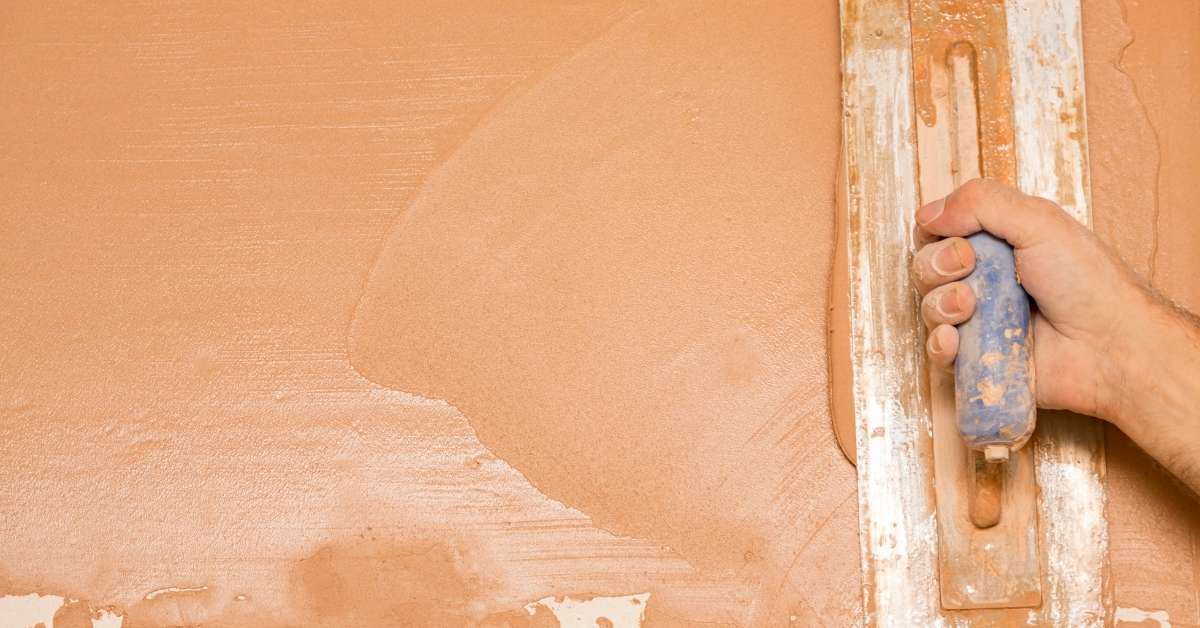
Finish Coat — Aesthetics and Protective Layering
The finish coat supplies the visible texture and color. It may be a cementitious finish or a proprietary acrylic, elastomeric, or other finish approved for the base coat. Compatibility matters: confirm the base coat, primer if required, finish, pigment, curing, and maintenance instructions as one system.
Choosing a Finish Type and Texture
Texture affects appearance and repair visibility. A smooth finish reveals unevenness; a heavier texture can disguise minor variations but must still be applied consistently. Do not assume vapor permeability from a finish category alone. Compare the selected product’s technical data and suitability for the wall assembly.
Color and maintenance
Use consistent batches, water, mixing, application method, and curing conditions across a continuous elevation to reduce color variation. Darker colors can heat more in sun, so follow the finish manufacturer’s color and substrate guidance.
Clean cured stucco only with the finish manufacturer’s approved method. Inspect after severe weather for cracks, stains, damaged sealant, blocked weeps, and peeling or chalking coatings. Refinish when the existing coating’s condition and the compatible product instructions call for it—not on a fixed calendar interval. Related guidance: Fog Coating Stucco Explained: When a Thin Coat Beats a Full Repaint.
Installation Workflow and Safety Best Practices
Tools, materials checklist, and staging
- Approved WRB, flashings, weep screeds, beads, joints, lath, and fasteners for the selected wall assembly.
- Specified stucco base and finish materials, clean water, mixing equipment, buckets, hawk, trowels, scarifier, straightedge or darby, level, and sprayer if directed for curing.
- Masking and protection for adjacent surfaces, plus cleanup tools that will not block drainage openings.
- Gloves, eye protection, long sleeves, suitable footwear, and properly selected respiratory protection for dry-material dust.
- Safe access equipment; use fall protection and follow scaffold instructions when work is above grade.
Ordered workflow
- Confirm the substrate, approved system, permits, product documents, and inspection sequence.
- Correct substrate defects and complete the drainage layer, flashing, weep screed, beads, joints, and penetrations.
- Install and inspect lath and attachments before covering them.
- Mix and apply the scratch coat exactly as specified; scratch, protect, and cure it.
- Apply, straighten, float, protect, and cure the brown coat within the system requirements.
- Confirm the base is sound, clean, dry or conditioned as directed, and ready for the selected finish.
- Apply the finish consistently, remove protection promptly, and confirm that joints and weeps remain clear.
Health, weather, and cleanup
Dry cementitious materials create dust, and wet cement or lime can irritate or burn skin an