Introduction
Spray foam and rigid foam are two insulation options you can install in rim joists to stop drafts. Spray foam expands to fill gaps, while rigid foam provides a solid, flat layer. Check product labels and local rules for where each type is recommended and how it should be installed.
Think about fire safety, moisture, and how comfortable you are with the installation when choosing. Both options need proper sealing at edges and around any penetrations, and you should follow manufacturer instructions and any fire safety guidance. If in doubt, check the label and local codes to see what is allowed near living spaces.
Key takeaways
- Assess thermal performance and moisture control differences between spray foam and rigid foam.
- Document installation methods, common mistakes, and retrofit options before covering rim joists.
- Understand fire safety requirements, barriers, and code considerations; avoid improper gaps.
- Check compatibility with existing systems, penetrations, and future access for servicing.
- Evaluate cost, durability, warranties, and lifecycle impacts with local climate and use.
- Prepare tools, PPE, materials checklist, and verify standards with product labels and manuals.
Table of Contents
- Introduction
- Key takeaways
- Thermal Performance and Moisture Management
- Installation Methods, Common Mistakes, and Retrofit Approaches
- Fire Safety, Thermal/Ignition Barriers, and Code Considerations
- Compatibility with Systems, Penetrations, and Future Access
- Cost, Durability, Warranties, and Lifecycle Considerations
- Tools, Materials Checklist, and Standards to Verify
- Decision Flow, Visual Checkpoints, and Next Steps
- Conclusion
- FAQ
Thermal Performance and Moisture Management
In rim joists, how insulation slows heat transfer matters for comfort and energy bills. Spray foam expands to seal gaps, reducing air leakage more aggressively than some rigid options. Rigid foam adds a solid thermal barrier, but may rely on careful sealing at edges to limit convective paths.
Moisture control hinges on the material and its installation. Watch for moisture that travels with framing, and for areas where condensation can form on cold surfaces. Common failure modes include hidden moisture buildup and mold development if gaps and vents aren’t managed, so verify that the method chosen addresses vapor movement and drainage per product guidance.
Air sealing vs thermal resistance
Spray foam and rigid foam both insulate, but they work differently. Spray foam expands to fill gaps, creating a tight air seal. This stops heat loss from air leakage. Rigid foam doesn’t expand, so it won’t seal gaps on its own. But it provides strong thermal resistance, keeping heat in where it’s supposed to be.
Don’t get hung up on R-values here. Both can insulate well. Check manufacturer data for specific needs.
Spray foam: Air sealing is its strength. It stops drafts and reduces energy loss from air leakage.
Rigid foam: Thermal continuity is key. It keeps heat in, reducing heat transfer through the rim joist.
Vapor and condensation risks
Both foams let some moisture vapor pass through, but at different rates. Spray foam is semi-permeable, letting vapor pass slowly. Rigid foam is permeable, allowing more vapor to pass.
Condensation happens when warm, moist air meets a cold surface. In rim joists, this can happen if there’s no vapor control or if the insulation isn’t installed correctly.
Spray foam: Its semi-permeability means it can trap moisture if not vented properly. Consider a vapor control strategy with spray foam.
Rigid foam: More permeable, so it’s less likely to trap moisture. But it needs proper assembly details to prevent condensation.
Mold, rot, and moisture mitigation
Poor installation or gaps can lead to big problems. Moisture gets trapped, leading to mold growth or wood rot.
Prevent this with proper sealing, drainage, and ventilation. Seal gaps before installing foam. Ensure the rim joist area is dry and well-ventilated.
Spray foam: Properly seal gaps first. Then apply spray foam to fill and insulate. Ventilate to prevent moisture buildup.
Rigid foam: Seal gaps before installing. Ensure the foam fits snugly, with no gaps. Ventilate to keep moisture levels low.
Installation Methods, Common Mistakes, and Retrofit Approaches
For new construction, spray foam typically requires a clean, accessible space and proper ventilation during application. Rigid foam is often installed in panels or boards, then taped and sealed at edges to minimize gaps. Both approaches should follow the manufacturer’s instructions and local practice for rim joists.
Retrofits demand careful access to the joist cavity, clean surfaces, and reliable sealing around penetrations. Common mistakes include leaving gaps, over-compressing boards, or failing to address moisture barriers. Always tailor the workflow to the space and verify methods for existing framing and moisture conditions.
Spray Foam Application Essentials
Before you start, ensure your rim joists are clean and dry. Remove any old insulation, debris, or moisture.
Key prep steps: Seal air leaks with caulk or foam sealant first. Protect floors and nearby surfaces from overspray.
Spray foam expands rapidly, so work quickly but carefully. Apply evenly across the joist cavity, following the manufacturer’s instructions for coverage rate. Avoid overfilling; let it expand naturally.
Common mistakes to avoid: Not wearing proper PPE, rushing application leading to uneven coverage, and not allowing enough time for foam to cure before installing drywall or other materials.
Rigid Foam Installation Essentials
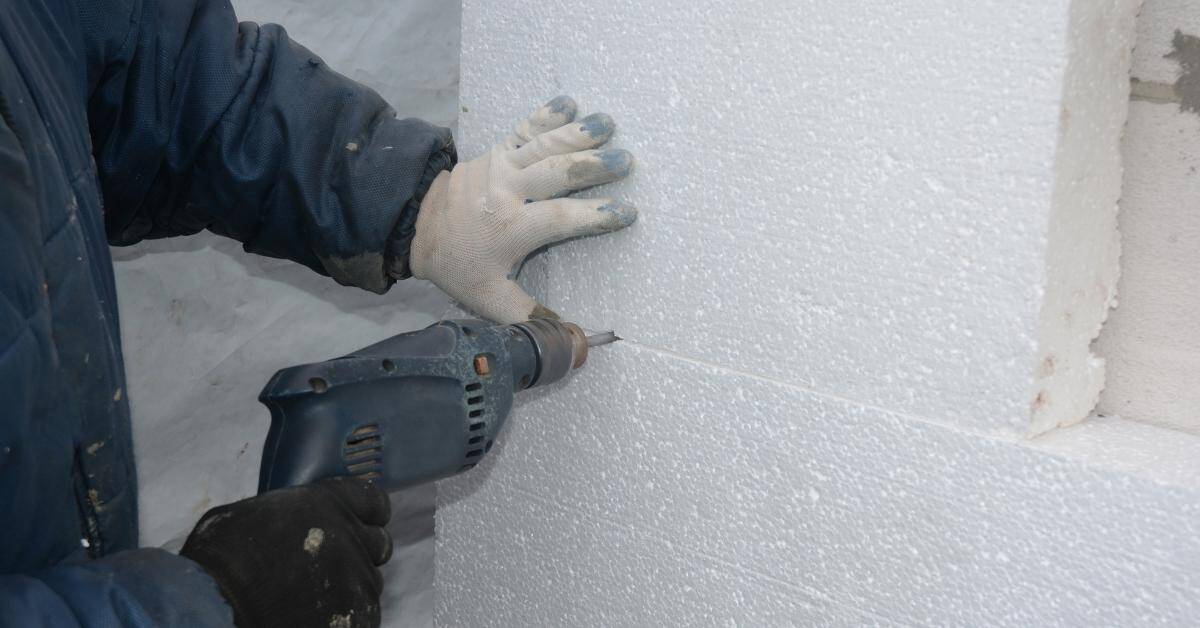
Start by measuring your rim joist cavities. Cut rigid foam panels to fit snugly, leaving no gaps but not so tight that you damage the foam.
Installation: Fit the panels into place, using a straight edge to ensure they’re level. Fasten with screws or nails every 6-8 inches along the joists, following the manufacturer’s recommendations.
Seal seams and edges with expanding foam sealant or rigid foam adhesive tape to prevent air leaks. Ensure a tight fit at corners and around any obstructions.
Pro tip: Consider using two layers of rigid foam for better insulation, staggering the joints between layers like bricklaying for added strength.
Retrofit Strategies and Hybrid Approaches
If your rim joists are already insulated but you need better performance, consider a retrofit. Remove any old insulation and follow the same prep steps as new construction.
Hybrid approach: Use rigid foam panels for the main cavity, then fill gaps and hard-to-reach areas with canned spray foam. This combination provides good insulation and air sealing.
For staged retrofits, start by insulating one side of the rim joist, then wait a few days before installing drywall or other materials. This allows any moisture to escape before you seal it in. Repeat on the other side.
Safety note: Always wear appropriate PPE when working with insulation materials. Follow manufacturer’s guidelines for safe handling and disposal of old insulation.
Fire Safety, Thermal/Ignition Barriers, and Code Considerations
Fire behavior differs between spray foams and rigid foams, so plan for thermal protection where required. Most installations rely on barriers or ignition barriers as a precaution near living spaces or when the insulation is exposed. Check that any barrier choice matches what the local rules and manufacturer instructions permit.
Always verify with local codes and the product data sheets before progressing. Avoid quoting exact code numbers here; instead, confirm applicability with the building department and the insulation supplier. Keep a copy of the barrier requirements and install notes on site for quick reference.
How foam products behave in a fire
Both spray and rigid foams can pose fire risks, but they behave differently when exposed to flames.
Spray Foam: It tends to char and smolder. Once ignited, it may not spread flames quickly but can produce toxic fumes. It’s important to note that open-cell spray foam can absorb oxygen from the air, potentially leading to reduced oxygen levels in enclosed spaces.
Rigid Foam: It has a higher flame spread rating compared to spray foam. Once ignited, it can burn fiercely and spread flames quickly. However, it does not produce as many toxic fumes as spray foam.
Thermal and ignition barriers and approved treatments
To protect your home from fire, you’ll need to install thermal or ignition barriers over foam insulation in rim joists.
Thermal Barriers: These slow down the transfer of heat from a fire. Common examples include gypsum board (drywall) and intumescent paint.
Ignition Barriers: These prevent flames from directly contacting the foam. Examples include metal or other non-combustible materials.
Always use products approved by the manufacturer of your foam insulation, and ensure they meet local building codes.
Inspection, documentation, and getting permits
Before you start work on your rim joists, check if you need a permit. Inspections are usually required to ensure compliance with building codes.
- Check local codes: Understand what’s required in your area before starting any work.
- Gather documentation: Keep records of foam product approvals, barrier materials used, and manufacturer instructions.
- Contact your inspector: Find out when they need to visit and what they’ll be checking.
- Install barriers first: Before installing foam, ensure thermal/ignition barriers are in place.
- Check foam installation: Ensure it’s properly installed according to manufacturer instructions.
- Verify barrier coverage: Make sure barriers cover all foam insulation.
- Document your work: Keep records of inspections and any changes made during the process.
- Get final approval: Once inspected, get written confirmation that your work is in compliance with codes.
Quick rule: Always confirm compliance before finishing work to avoid costly re-dos.
Compatibility with Systems, Penetrations, and Future Access
Insulation in rim joists must accommodate electrical, plumbing, and HVAC openings without trapping moisture or blocking access. Spray foam tends to seal around irregularities and penetrations, but may complicate later work if access panels are not planned. Rigid foam can be cut or removed to service lines, but requires careful sealing afterward.
Design with future access in mind. Ensure penetrations are properly sealed and that there is a clear plan for servicing or upgrading components. Always verify compatibility with nearby structural elements and any existing moisture barriers before sealing.
Dealing with wiring, plumbing, and vents
When insulating rim joists, you’ll encounter penetrations from electrical, plumbing, and HVAC systems. Here’s how to handle them:
Seal around penetrations using expanding foam or caulk to prevent air leaks. But be careful not to block vents or seal too tightly around pipes and wires.
Protect services during installation by covering or taping off openings to keep debris out. After installation, clean up any residue that could interfere with future repairs.
Be mindful of hidden problems. For instance, don’t seal around vents that need access for maintenance. And avoid blocking pipes or wires that might need repair in the future.
Serviceability and removability
Both spray foam and rigid board can be used in rim joists, but they differ in how easy it is to access the area later:
Spray foam adheres to surfaces, making it hard to remove without damaging surrounding materials. If you need to access the area for repairs or upgrades, you’ll have to cut through the foam.
Rigid board, on the other hand, can be removed and replaced easily, giving better access to services hidden in the rim joist. This makes it a good choice if you think you might need to get into the area later.
However, rigid board may not seal as tightly against penetrations as spray foam, so consider using both together for best results – foam seal around penetrations and rigid board for easy access.
Interaction with adjacent insulation and framing
Rim joist insulation should integrate seamlessly with the rest of your home’s insulation system. Here’s how:
Use flashing or housewrap at the top of the rim joist to connect it to the wall insulation. This creates a continuous air barrier and prevents moisture from getting trapped.
If you’re using cavity insulation, make sure it extends into the rim joist area. If not, use rigid board or foam to fill the gap and maintain thermal continuity.
When installing rigid board, ensure it’s tightly fitted against the framing to prevent air gaps. Use foam sealant if necessary. And remember, always follow local building codes for insulation installation.