Back-Buttering Tile: When It Matters and When It’s Overkill
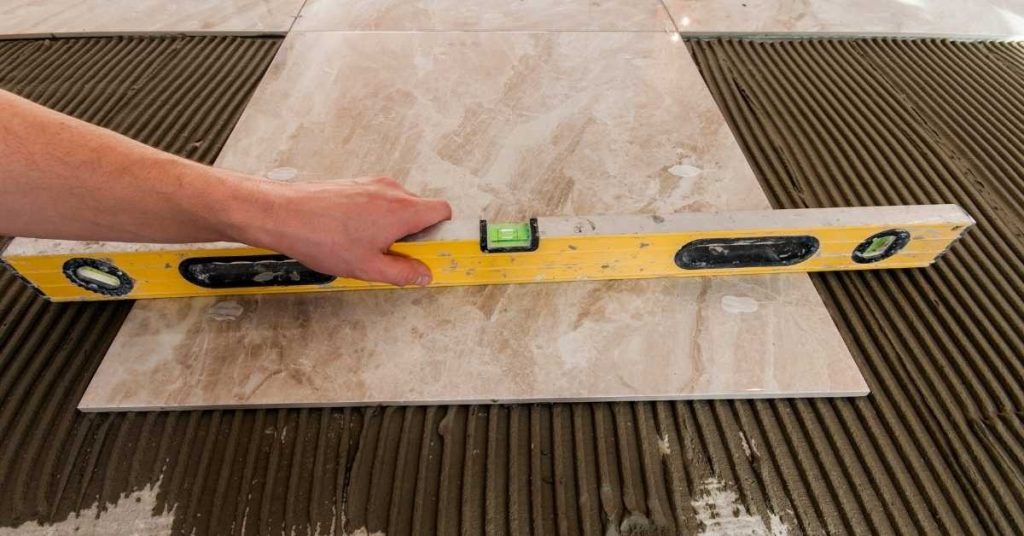
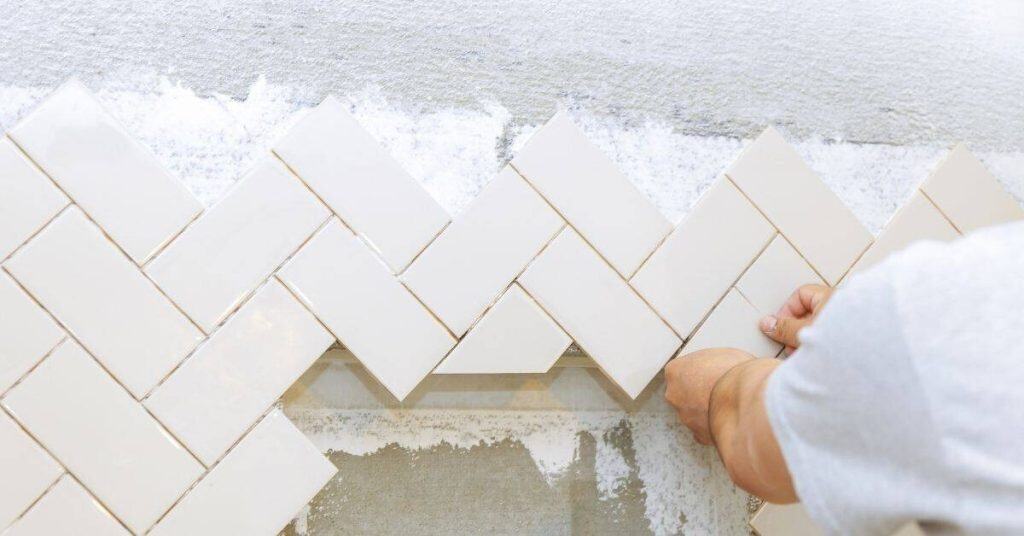
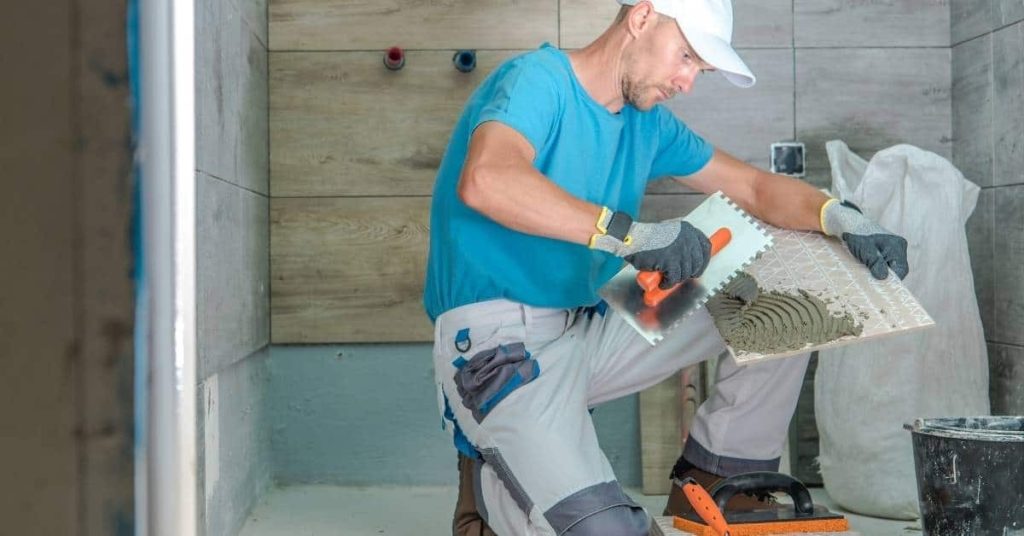
Introduction Back-buttering tile is applying a thin layer of adhesive to the back of the tile before setting it. This helps improve contact on rough backs or when setting over a slick surface. Check your tile and thinset instructions to see if back-buttering is recommended for your project. It can be overkill for small, uniform […]
Back-Buttering Tile: When It Matters and When It’s Overkill Read More »