Search Results for: weep

closeup of hollow clay blocks stacked together

Roman Clay Maintenance: Spot Repair & Re-Seal Timeline – Step-by-Step in Under 3 Hours

Introduction Tackling Roman clay maintenance doesn’t have to be a time-consuming chore. With the right approach, you can complete spot repairs and re-sealing in under three hours. Let’s break down the process into manageable steps, ensuring you stay on schedule without compromising quality. For the full guide, see Roman Clay Maintenance: Spot Repair, Re-Seal, and […]

Roman Clay Maintenance: Spot Repair & Re-Seal Timeline – Step-by-Step in Under 3 Hours Read More »

Hand with roller applying green coating over taped surface

Reducing Hot-Tire Pickup on Garage Coatings: A Step-by-Step Timeline

Introduction Applying garage coatings and preventing hot-tire pickup requires careful timing. From surface preparation to final cure, each step takes time, and rushing through them can lead to premature failure. This guide walks you through the process, breaking down each stage with estimated durations to help you plan your project effectively. For the full guide,

Reducing Hot-Tire Pickup on Garage Coatings: A Step-by-Step Timeline Read More »

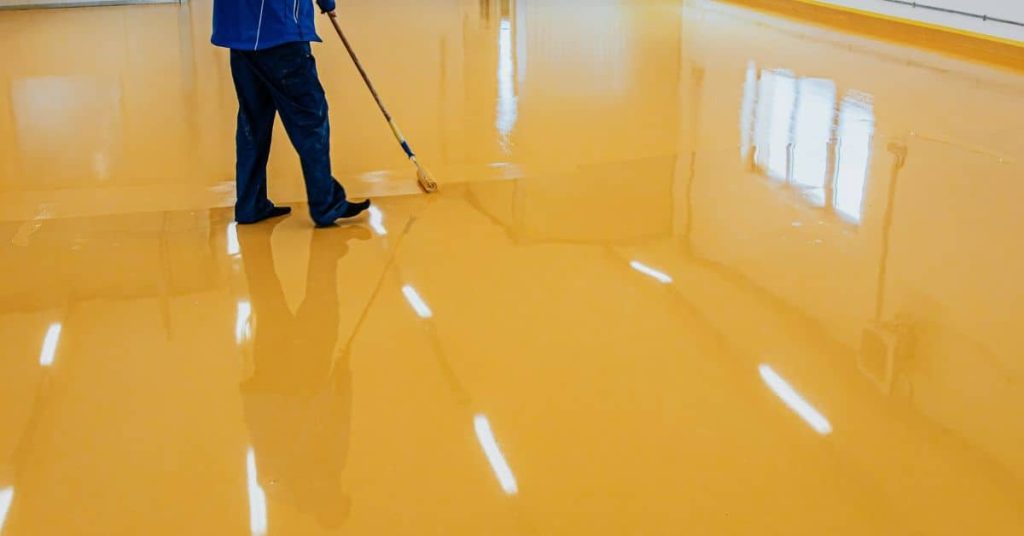
Person applying yellow epoxy coating on garage floor

Painting a Garage Floor: Epoxy vs Polyurea vs Polyaspartic Systems Compared

Introduction Painting a garage floor means choosing between epoxy, polyurea, and polyaspartic systems based on what you need: epoxy is durable and affordable but slower to cure, polyurea is extremely tough and fast-curing, and polyaspartic sits between them with quick return-to-service and good UV resistance; check product labels and manufacturer instructions for exact cure times

Painting a Garage Floor: Epoxy vs Polyurea vs Polyaspartic Systems Compared Read More »

Two paintbrushes two open cans of wood stain on wooden boards

Shellac vs Oil vs Waterborne Primers: Application Timeline and Project Scheduling

Introduction The timeline of your painting project is crucial, especially when it comes to applying primers. Each primer type—shellac, oil, or waterborne—has its own application time, dry time, and recoat window. Understanding these timelines helps you plan your project efficiently, ensuring you have enough time for each step without rushing through the process or waiting

Shellac vs Oil vs Waterborne Primers: Application Timeline and Project Scheduling Read More »

Liquid concrete pouring onto rough concrete slab

Concrete Overlay Over Old Broom Finish: How to Lock Down Loose Sand and Prevent Delamination

Introduction Locking down loose sand and preventing delamination means preparing a broom-finished surface so the new overlay bonds firmly without peeling. Start by cleaning the surface, removing dust and loose particles with a stiff brush and a vacuum. Check the old slab for cracks and moisture and address any defects before proceeding. Choose a compatible

Concrete Overlay Over Old Broom Finish: How to Lock Down Loose Sand and Prevent Delamination Read More »

Person pressure washing concrete patio surface

Degreasing Concrete the Right Way: Detergents, Poultices, and Rinse Methods That Don’t Leave Soap

Introduction Degreasing concrete means removing oil and grease from the surface without leaving a soapy film. Start by loosening the stain with a detergent or degreaser as per the product label, then use a poultice or a scrub with a stiff brush and rinse thoroughly with clean water. Make sure you rinse lots and check

Degreasing Concrete the Right Way: Detergents, Poultices, and Rinse Methods That Don’t Leave Soap Read More »

Partially covered brick wall with stucco and exposed bricks

Stucco Termination at Brick or Stone: A Step-by-Step Timeline for DIY Success

Introduction A stucco edge beside brick or stone is not one universal detail. The correct termination depends on the stucco system, the wall’s drainage plane, and whether the masonry is full-bed masonry, adhered veneer, framed veneer, a jamb, a roof intersection, or a base-of-wall condition. A visible joint can look simple while the flashing and

Stucco Termination at Brick or Stone: A Step-by-Step Timeline for DIY Success Read More »

Hands wearing gloves applying stucco with trowel on wall

Stucco at Roof Parapets: Coping, Drips, and How to Stop Water From Getting Behind

Introduction A parapet leak is rarely solved by filling the nearest crack. Water may enter at a coping joint, a roof-membrane-to-wall transition, a wall crack, a penetration, a window intersection, or—when dampness occurs without rain—from condensation. A durable repair restores the water-shedding layers in the right order: roof flashing and coping first, then the wall

Stucco at Roof Parapets: Coping, Drips, and How to Stop Water From Getting Behind Read More »

Hands removing electrical wire from wall outlet box

Stucco Penetrations for Electrical Conduit: Sleeve Details That Stay Dry

Introduction Stucco penetrations for electrical conduit are the sleeve and sealing details that keep water out where the conduit passes through the stucco wall. In practice that means a rigid sleeve or short piece of conduit, a backing, and a proper sealant or flashing so water sheds away from the opening; check product labels and

Stucco Penetrations for Electrical Conduit: Sleeve Details That Stay Dry Read More »

Wooden stair stringers attached to deck framing outdoors

Deck Ledger Through Stucco: Retrofit Flashing Strategy That Preserves Drainage

Introduction Deck ledger through stucco means installing the ledger board and flashing so water shed from the deck doesn’t get behind the stucco; it’s a retrofit move to tie the ledger into the house while preserving the wall’s drainage plane. This usually involves removing a section of stucco and lath to access the sheathing or

Deck Ledger Through Stucco: Retrofit Flashing Strategy That Preserves Drainage Read More »