Search Results for: surface prep

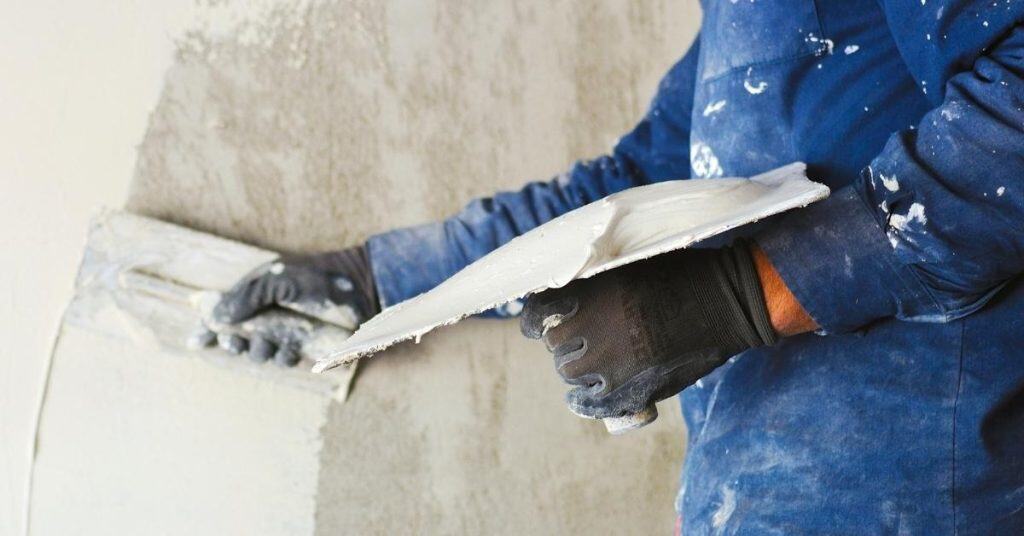
Worker applying plaster to an interior wall

Plaster Patch Shrinkage: How to Reduce It with Layering and Timing

Introduction Plaster patch shrinkage is the small pullback and cracking that happens as a plaster patch dries. It occurs when the patch loses moisture and the set plaster contracts, often showing up as fine cracks or a mismatch in texture with the surrounding wall. Watch for hairline cracks, edges that pull away, or visible ridges […]

Plaster Patch Shrinkage: How to Reduce It with Layering and Timing Read More »
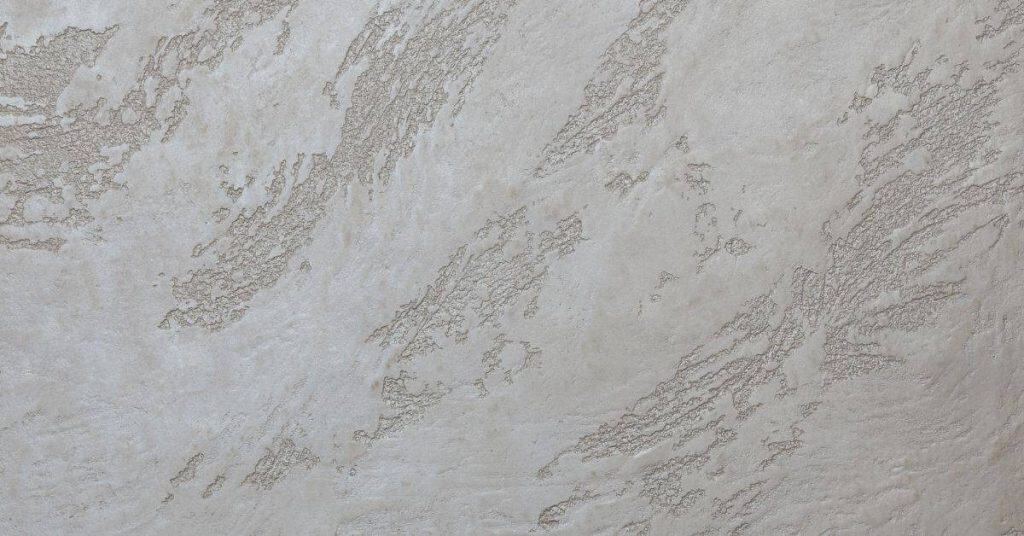
close-up of textured plaster wall with subtle sheen

Primers for Plaster Before Paint: What Stops Suction and Gives Uniform Sheen

Introduction Primers for plaster before paint are coatings that seal the surface and even out suction so paint goes on smoothly. In plain words, you dampen any dry areas, fill small flaws, and create a uniform base. Choose a primer labeled for plaster and follow the label for surface prep and drying times. Prepare the

Primers for Plaster Before Paint: What Stops Suction and Gives Uniform Sheen Read More »

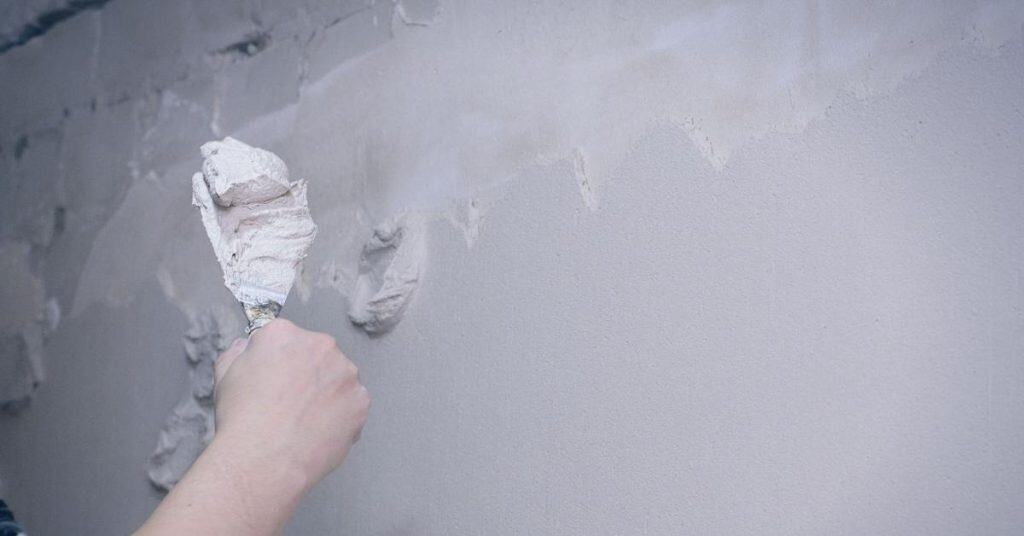
Hand applying plaster smoothly on wall with trowel

Preventing Future Cracks: Adding Movement Control Where Plaster Meets Different Materials

Introduction Movement control at plaster interfaces is the planned allowance for expansion and contraction where plaster meets wood, drywall, or masonry. Cracks often form when the different materials move differently over time, so knowing where to place joints helps. Using proper joints and careful bedded seams can keep transitions stable as conditions change. To manage

Preventing Future Cracks: Adding Movement Control Where Plaster Meets Different Materials Read More »

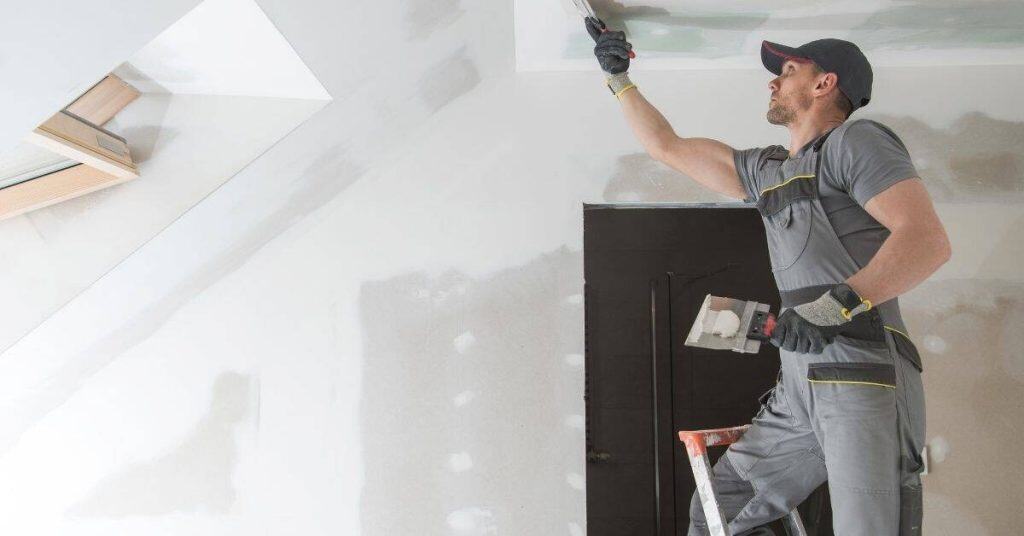
Worker applying plaster patch on ceiling using putty knife

Fixing Nail Pops in Plaster: Why They’re Different from Drywall and How to Lock Them Down

Introduction Nail pops in plaster are protruding fasteners that back out and push the plaster away from the wall surface. They’re different from drywall because plaster walls are typically thinner and thicker, with a different substrate and bond. In plain terms, you’re dealing with a plaster shell that’s moved and needs to be re-secured and

Fixing Nail Pops in Plaster: Why They’re Different from Drywall and How to Lock Them Down Read More »

Close-up of blue plaster wall with rough texture

Matching Old Plaster Texture: Brushing – A Step-by-Step Timeline

Introduction The process of matching old plaster texture by brushing can seem daunting, but breaking it down into a clear timeline makes it manageable. This step-by-step guide walks you through the entire process, from preparation to completion, with approximate time frames for each stage. Whether you’re repairing a small patch or restoring an entire room,

Matching Old Plaster Texture: Brushing – A Step-by-Step Timeline Read More »

Worker smoothing plaster wall wearing blue overalls and helmet

How to Test Painted Plaster Before Skim Coating

Introduction Before skim coating painted plaster, establish two separate things: whether the existing paint is firmly attached to the plaster, and whether your chosen skim product will bond to the prepared painted surface. A clean-looking wall can still have weak paint layers, contamination, gloss, moisture damage, or incompatible coatings. Related guidance: A Simple Test to

How to Test Painted Plaster Before Skim Coating Read More »

Worker smoothing plaster on wall with trowel wearing gloves and cap

Hardwall Plaster on Masonry: Achieving a Flat Plane Without “Waves”

Introduction Hardwall plaster on masonry is applying a cement-based coating to brick or block to create a flat, level surface. It means you’re sealing the rough masonry and guiding the plaster down to a true plane. Start by checking the wall for moisture and any loose material, then read the instruction on the product label

Hardwall Plaster on Masonry: Achieving a Flat Plane Without “Waves” Read More »

Worker applying plaster to wall with trowel and hawk

Plaster Bonding Agent Application: Coverage Rates and “Tacky Vs Dry” Timing

Introduction Plaster bonding agent application is applying an adhesive coat to help plaster bond, focusing on how much area it covers and when it becomes tacky or dries. In practice, you spread or roll on the bonding agent following the surface you’re working with, pausing long enough for it to tack to the right feel

Plaster Bonding Agent Application: Coverage Rates and “Tacky Vs Dry” Timing Read More »

Hand applying plaster to wall with a trowel

Patching Plaster After Plumbing Access Holes: How to Keep the Patch from “Drumming”

Introduction Patching plaster after plumbing access holes means rebuilding the damaged wall so it won’t drum when you tap it. Start by carefully removing loose plaster around the hole and cleaning the edge so the patch bonds well. Check the backing and, if needed, install a thin scrim or patching plaster to create a solid

Patching Plaster After Plumbing Access Holes: How to Keep the Patch from “Drumming” Read More »