Search Results for: surface prep

paint roller with blue handle and paint tray on floor

Caulk and Paint Compatibility: A Step-by-Step Timeline to Prevent Cracking

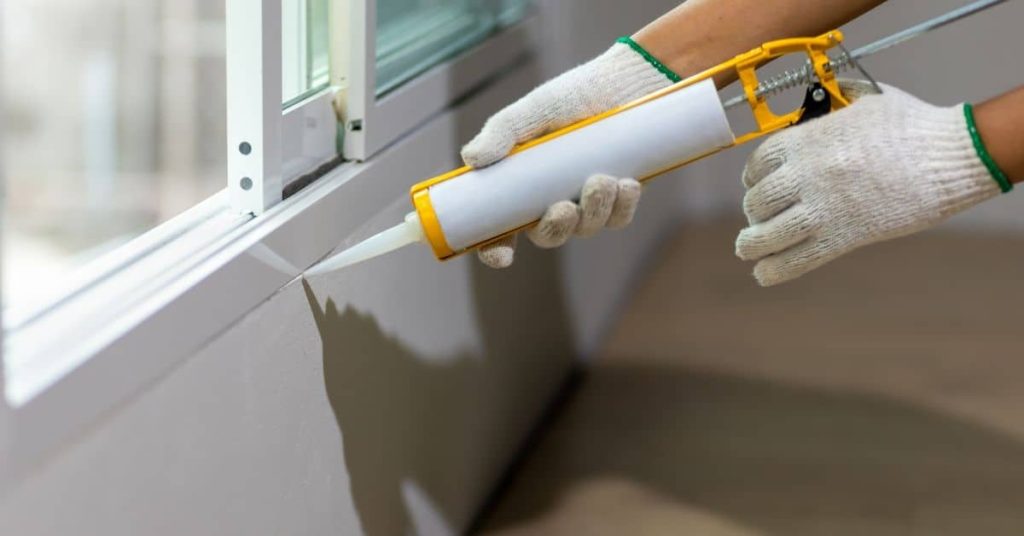
Introduction The timeline of caulk and paint application is crucial for a durable, crack-free finish. Understanding the duration of each step helps you plan your project efficiently. From surface preparation to painting, follow this step-by-step timeline to ensure your sealant and paint work together seamlessly. For the full guide, see Caulk and Paint Compatibility: Choosing

Caulk and Paint Compatibility: A Step-by-Step Timeline to Prevent Cracking Read More »

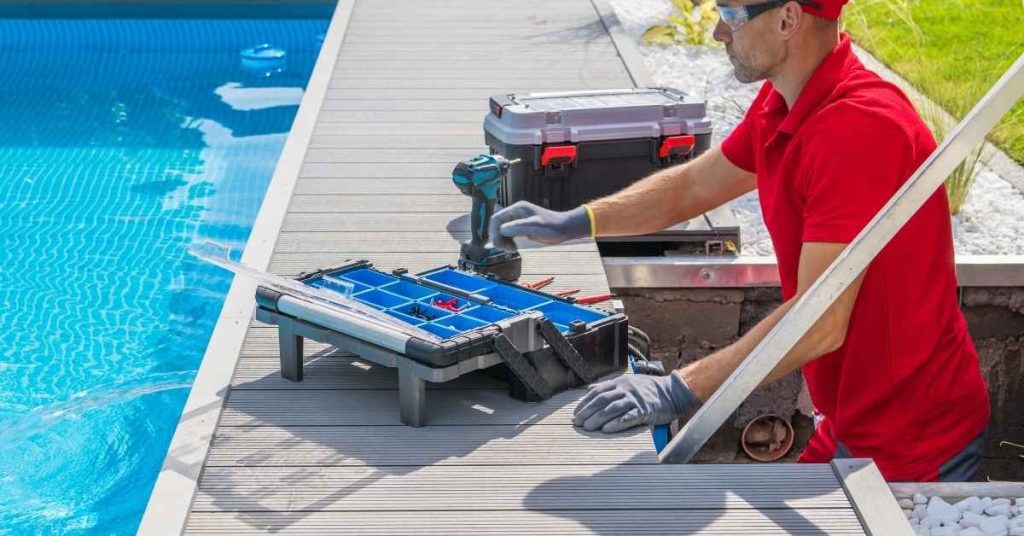
Man in red shirt working on pool deck with tools

Painting Pool Decks: Step-by-Step Timeline and Duration Guide

Introduction The timeline for painting pool decks is crucial to ensure a durable, long-lasting finish. Understanding the duration of each step helps you plan your project effectively. From surface preparation to final curing, this guide walks you through the process, helping you allocate time wisely and avoid common delays. For the full guide, see Painting

Painting Pool Decks: Step-by-Step Timeline and Duration Guide Read More »

Person painting white edge of wooden board with brush

Painter’s Tape Alternatives: Liquid Mask & Edge Sealers – Step-by-Step Timeline

Introduction Tackling a DIY painting project? Understanding the timeline for painter’s tape alternatives like liquid mask and edge sealers can save you time and ensure crisp, professional-looking results. Here’s a step-by-step guide to help you plan your project efficiently. Whether you’re working on tight corners, porous surfaces, or delicate finishes, these alternatives offer a softer

Painter’s Tape Alternatives: Liquid Mask & Edge Sealers – Step-by-Step Timeline Read More »

hand with glove smoothing wet plaster on wall with trowel

How to Create a Zero-Lap-Mark Wall: Timing Your Sections for a True Wet Edge

Introduction The key to achieving a seamless, zero-lap-mark wall lies in meticulous timing and coordination. Every minute counts when you’re working with wet materials, so understanding the timeline is crucial. In this guide, we’ll break down the process into manageable timeframes, helping you plan your sections effectively and maintain that all-important true wet edge. For

How to Create a Zero-Lap-Mark Wall: Timing Your Sections for a True Wet Edge Read More »

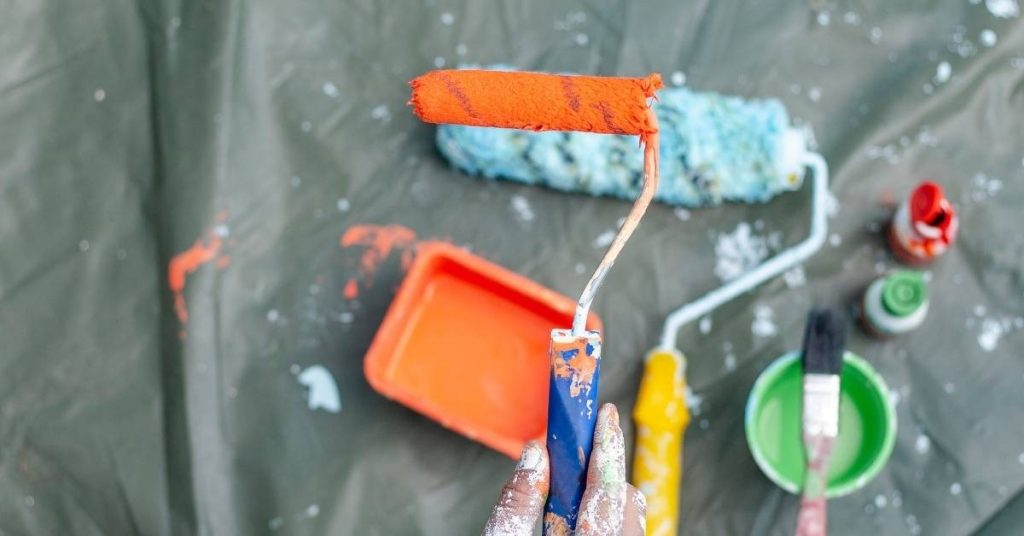
Hand holding paint roller with orange paint above paint tray

Orange Peel After Rolling: Step-by-Step Timeline & Duration Guide

Introduction The appearance of orange peel after rolling can be frustrating, but understanding the timeline and duration of fixes can help you plan your project effectively. This guide walks you through each step, from diagnosis to completion, ensuring you allocate enough time for a successful outcome. Whether you’re tackling this as a DIY or hiring

Orange Peel After Rolling: Step-by-Step Timeline & Duration Guide Read More »

Close-up of weathered pink stucco wall texture

Making Stucco Sample Boards: Test Panels That Predict Color and Texture

Introduction Making stucco sample boards means applying small, finished panels that show how a specific mix, color, and texture will look on the real wall. These test panels let you see drying color shifts, surface texture, and how the base and finish layers interact before you commit to the whole job. Keep the process hands-on:

Making Stucco Sample Boards: Test Panels That Predict Color and Texture Read More »

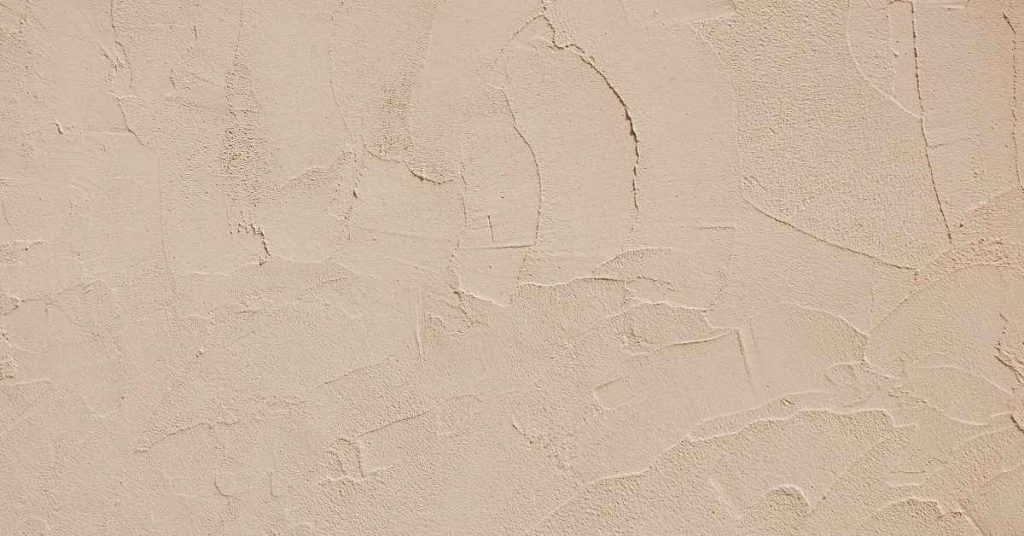
Close-up of beige textured stucco wall surface

Stucco Color Coat Touch-Ups: Why They Flash and How to Blend Better

Introduction Stucco color coat touch-ups flash when the new skim or color coat reflects light differently than the existing finish—usually due to differences in mix, texture, moisture, or application method. In plain jobsite terms, that means the patched area looks brighter, duller, or a different sheen because something about how it was mixed or applied

Stucco Color Coat Touch-Ups: Why They Flash and How to Blend Better Read More »