Search Results for: sealer

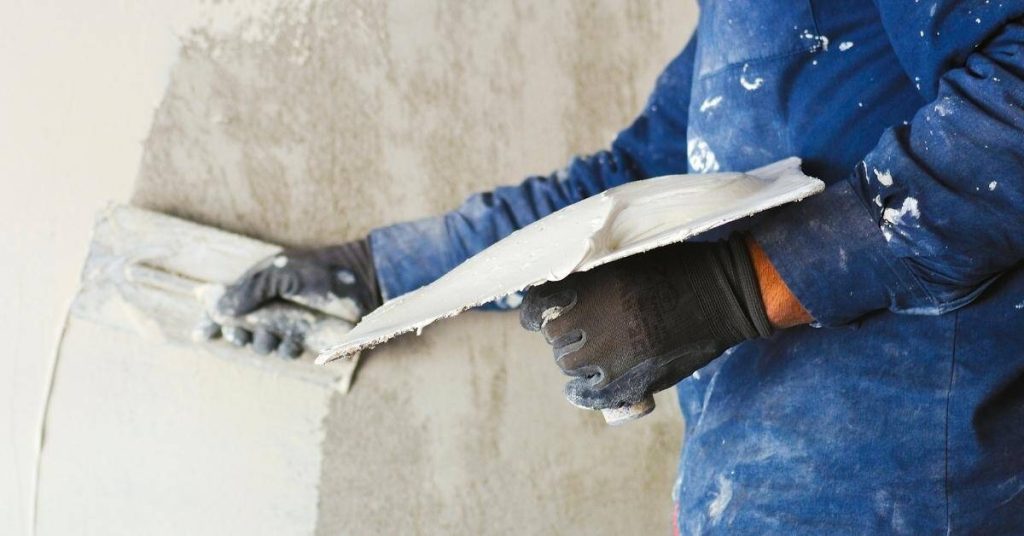
Hand smoothing plaster on wall with trowel

Polished Lime Plaster in Wet Areas: What ‘Waterproof’ Really Means and Safe Details

Introduction Polished lime plaster in wet areas is not automatically waterproof; it’s a breathable finish that can resist splashes when detailed and sealed correctly. In practice that means treating the wall system—substrate, cement backer, membranes, and sealers—as a complete assembly rather than relying on the lime plaster alone. Check product labels and manufacturer instructions for […]

Polished Lime Plaster in Wet Areas: What ‘Waterproof’ Really Means and Safe Details Read More »

Gloves paintbrushes putty knives and level covered in plaster dust

Plaster Repair on Curved Walls: Flexible Tools and How to Keep Profiles Smooth

Introduction Plaster repair on curved walls means using flexible tools and techniques so the repair follows the wall’s arc without creating bumps or hollows. In practice that means choosing a flexible float or trowel, feathering edges, and working in thin passes until the profile blends with the surrounding surface. Keep expectations realistic and check product

Plaster Repair on Curved Walls: Flexible Tools and How to Keep Profiles Smooth Read More »

Person applying plaster to wall with trowel and hawk

Plaster Baseboard Dings and Gouges: Fast Patch Options That Don’t Shrink Back

Introduction Plaster baseboard dings and gouges are shallow to moderate damages along the plaster or drywall near the floor that you can tack quickly without later sinking or cracking. In plain terms: pick a stable, shrink-resistant patch material, prepare the area, and feather it to the surrounding surface so the repair bonds and stays flat.

Plaster Baseboard Dings and Gouges: Fast Patch Options That Don’t Shrink Back Read More »

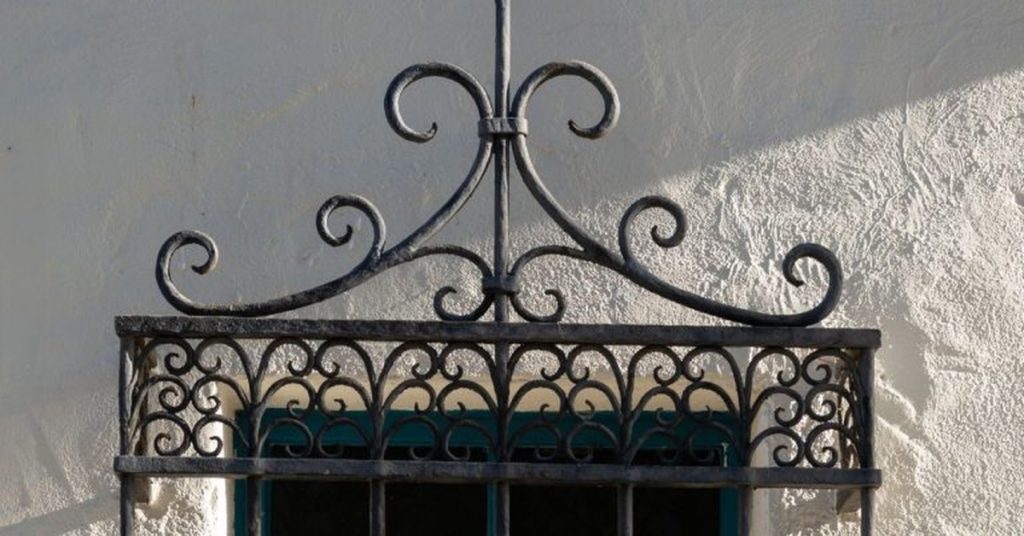
metal window grille on textured plaster wall

Fixing Rust Bleed Through Plaster: Metal Isolation and Stain-Blocking Strategy

Introduction Fixing rust bleed through plaster means stopping iron staining at the metal source and isolating it so stains don’t reappear through new finishes. In practice that means exposing the area, treating or replacing corroded metal, and using an appropriate isolation/stain-blocking primer before replastering or painting. Check product labels and manufacturer instructions for compatibility with

Fixing Rust Bleed Through Plaster: Metal Isolation and Stain-Blocking Strategy Read More »

Person applying plaster to wall with putty knife

Adding Fibers to Plaster: Hemp, Cellulose, and Horsehair Alternatives Compared

Introduction Adding fibers to plaster means mixing natural fibers like hemp, cellulose, or horsehair into a lime or clay binder to improve crack resistance and tensile strength; choose the fiber type and preparation based on the binder and final exposure. From a DIY foreman’s view, hemp is strong and long fibers need chopping, cellulose is

Adding Fibers to Plaster: Hemp, Cellulose, and Horsehair Alternatives Compared Read More »

Close-up of textured lime plaster wall surface

Can You Use Casein Paint on Lime Plaster? Prep Steps to Prevent Flaking

Introduction Casein paint can be used on lime plaster only when the specific product is approved for that substrate and the plaster is sound, dry, free of active salts, and properly prepared. “Casein paint” is not one uniform system: premixed paints, powder paints, casein primers, and traditional casein-lime formulations can have different binders, alkalinity, dilution,

Can You Use Casein Paint on Lime Plaster? Prep Steps to Prevent Flaking Read More »

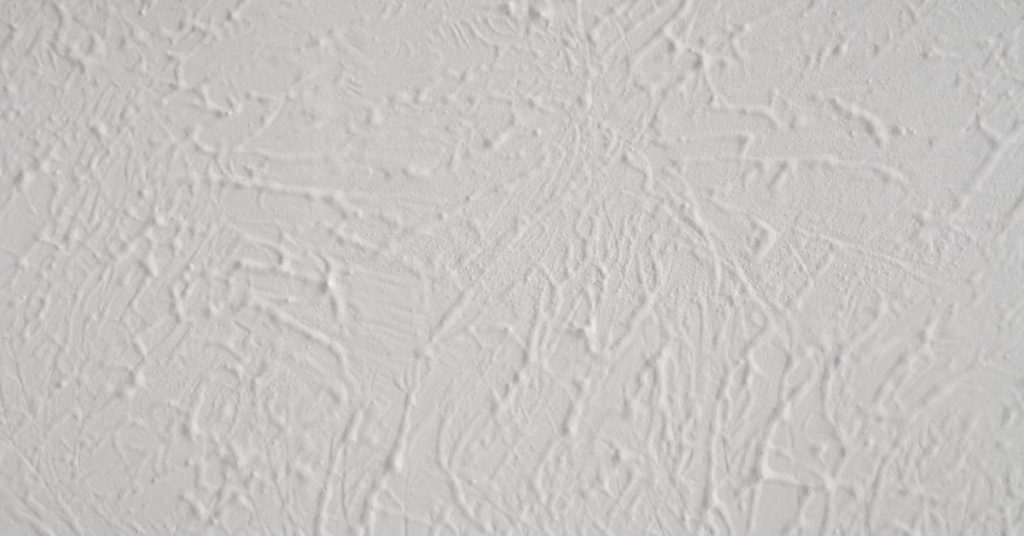
Close-up of textured white plaster wall finish

Plaster Feather Edges That Don’t Flake: Keying, Wetting, and Finish Timing

Introduction Plaster feather edges that don’t flake are thin finish edges keyed and bonded to the existing surface, wetted and timed correctly so the new plaster grabs without lifting. Check whether the area needs repair by tapping or scraping loose material and by checking for movement; if substrate is dusty, crumbling, or contaminated you must

Plaster Feather Edges That Don’t Flake: Keying, Wetting, and Finish Timing Read More »

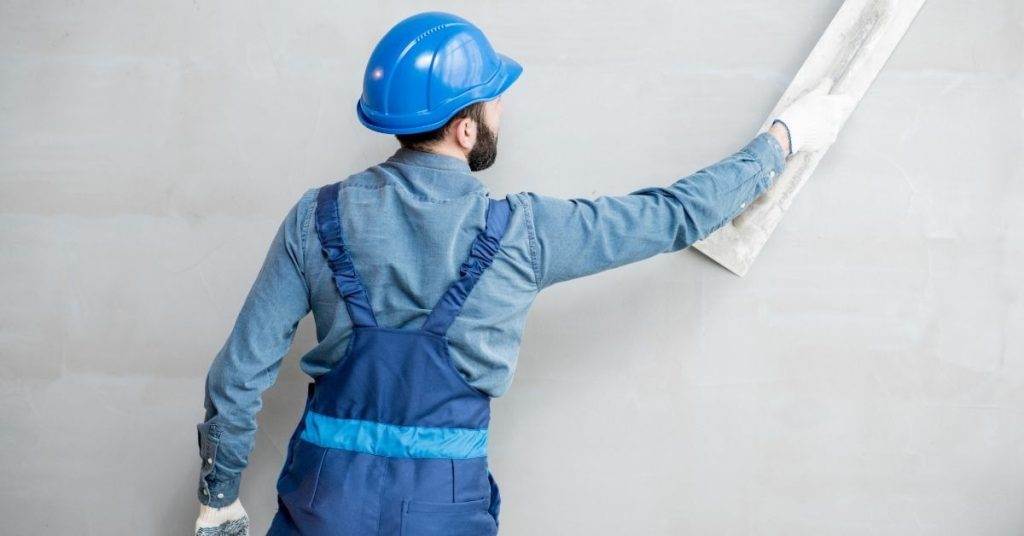
Construction worker smoothing plaster on wall wearing blue helmet

Repairing Polished Plaster Chips: Patch Blending Without Visible ‘Halos’

Introduction Repairing polished plaster chips means filling and feathering the damaged area so the patch matches surrounding sheen and texture without a visible ring. Start by cleaning and undercutting loose edges, use compatible repair material, and build thin layers that are troweled and polished to blend into the existing finish. Check product labels and manufacturer

Repairing Polished Plaster Chips: Patch Blending Without Visible ‘Halos’ Read More »

white plaster wall with uneven textured surface

Venetian Plaster Over Existing Texture: When to Skim, When to Sand, and When to Remove

Introduction Venetian plaster over existing textured walls means deciding whether to skim, sand, or remove that texture so the final finish looks smooth and bonds properly. In plain jobsite terms: skim if the texture is shallow and solid, sand if it’s flaky or slightly high, and remove if it’s loose, highly uneven, or has adhesion

Venetian Plaster Over Existing Texture: When to Skim, When to Sand, and When to Remove Read More »

Hand holding plastering trowel against white wall background

Venetian Plaster Burnishing: Tool Choice, Timing, and How to Avoid Black Marks

Introduction Venetian plaster burnishing is the final rubbing of a polished plaster surface to compact and shine it using the right tools at the right moment. Pick flexible trowels or burnishers suited to your plaster type and check the product label for recommended tools, and make sure the base coat is dry and sound before

Venetian Plaster Burnishing: Tool Choice, Timing, and How to Avoid Black Marks Read More »