Search Results for: sealer

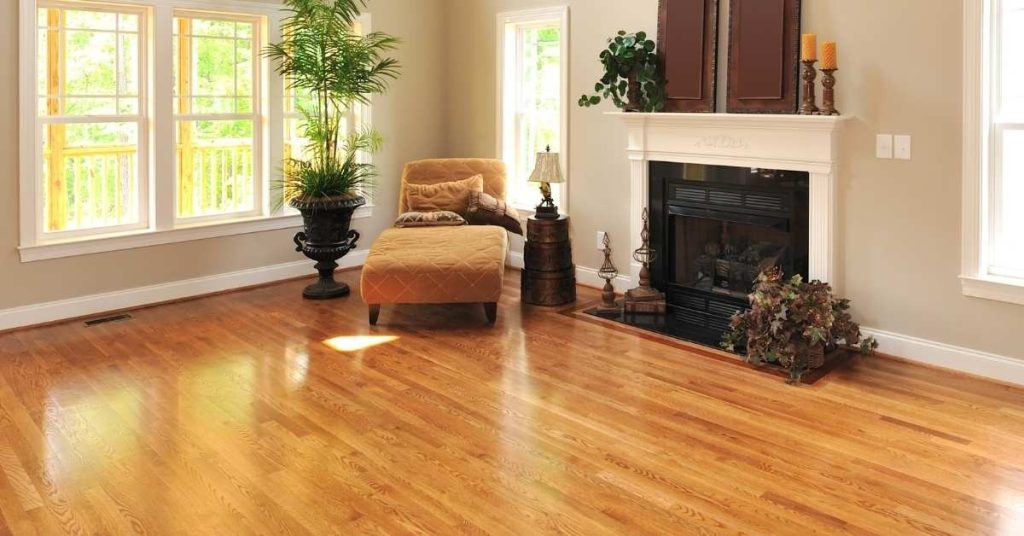
Living room with natural hardwood flooring and large windows

Transitions at Doorways: Clean Ways to Meet Hardwood/Lvp/Carpet Without Ugly Reducers

Introduction Transitions at doorways are the finished edge where hardwood, LVP, or carpet meet, creating a smooth, safe path. They hide uneven cuts and tiny gaps while guiding foot traffic. This article shows plain‑spoken, hands‑on ways to handle the join without ugly reducers. Start by inspecting the subfloor and the edge of each floor covering

Transitions at Doorways: Clean Ways to Meet Hardwood/Lvp/Carpet Without Ugly Reducers Read More »

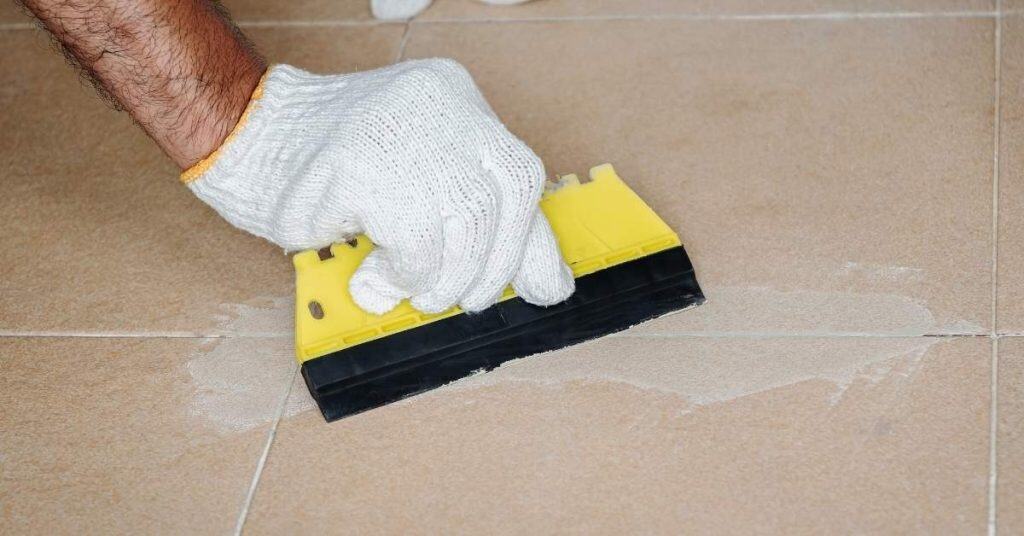
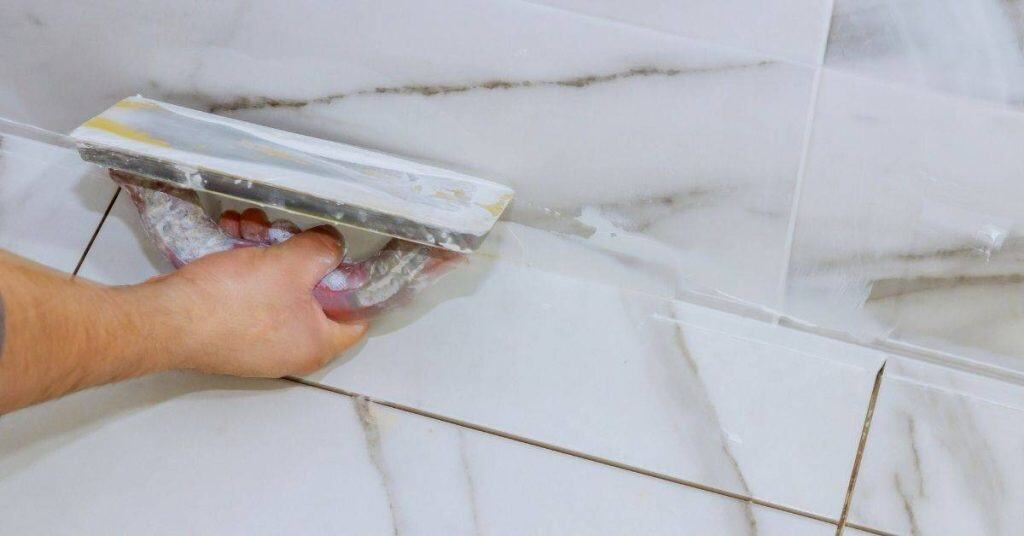
Hand with white glove spreading grout on floor tiles

Tile on Plywood: the Right Build-up so You Don’t Get Cracked Grout Lines

Introduction Tile on plywood is a build-up method that stabilizes a tile surface on a plywood base to prevent cracking. Prep the plywood by cleaning it, dulling any slick spots, and making sure the panel is firmly fastened. Choose an adhesive and any underlayment per the label and local rules, and follow the manufacturer’s prep

Tile on Plywood: the Right Build-up so You Don’t Get Cracked Grout Lines Read More »

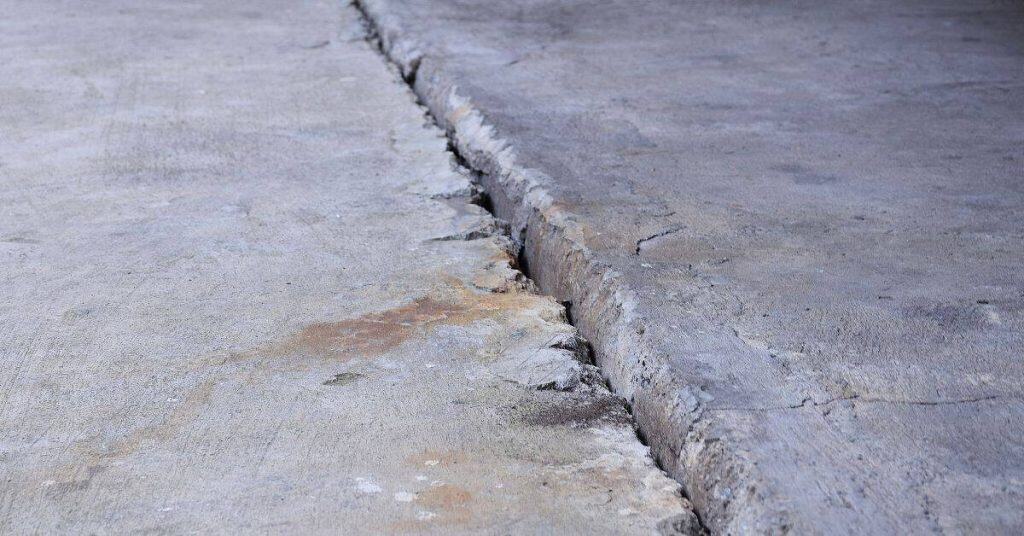
Large crack and gap between two old concrete slabs

Crack Isolation Membranes: What They Can and Can’t Do on Older Slabs

Introduction Crack isolation membranes are thin sheets or coatings that separate a flooring layer from the concrete to limit crack transfer. They’re installed between the slab and the finish, acting as a buffer rather than a full repair. On older slabs, you’ll need to verify compatibility and follow product instructions for best results. What they

Crack Isolation Membranes: What They Can and Can’t Do on Older Slabs Read More »

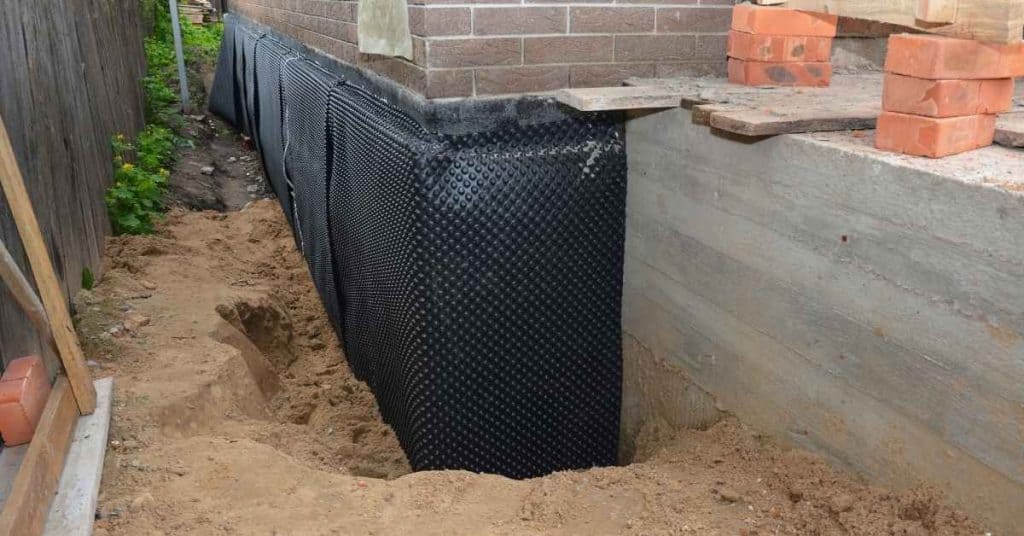
Black dimpled membrane installed on concrete foundation wall

Uncoupling Membrane Basics: Where It’s Worth the Money and Where It Isn’t

Introduction Uncoupling membranes are a lightweight underlayment that helps separate layers to move with the substrate. They’re designed to reduce cracking and relieve some movement, but you need to check what the product is rated for and follow the label. In plain terms, you install them between the substrate and the finish to give you

Uncoupling Membrane Basics: Where It’s Worth the Money and Where It Isn’t Read More »

Hand applying white grout to ceramic tiles with a grout float

Tile over Tile: When It’s Acceptable and the Surface Prep That Makes It Work

Introduction Tile over tile is acceptable when the existing tile surface is sound, clean, and properly stabilized. If the current tile is loose or cracked, or the surface is delaminating, you’ll want to address that first. This article walks you through what to check and why, in plain DIY language. First, inspect the substrate for

Tile over Tile: When It’s Acceptable and the Surface Prep That Makes It Work Read More »

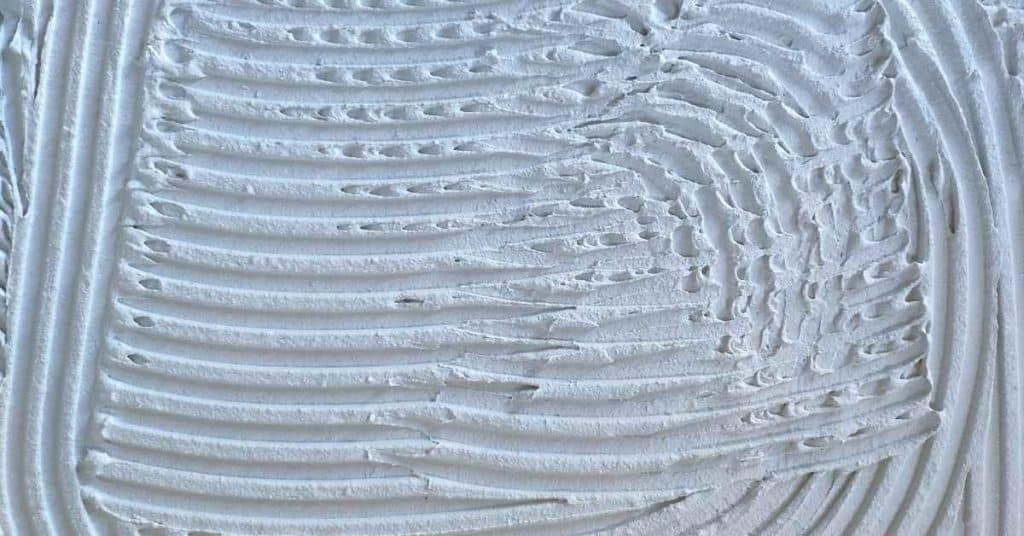
Close-up of white tile adhesive with combed lines

Setting Mosaic Sheets Straight: How to Hide Sheet Lines and Avoid “Snake” Rows

Introduction Setting mosaic sheets straight means aligning the sheets so the grout lines stay in straight, even rows and the sheet edges blend with the pattern. You’ll want a straight edge, a notched trowel, spacers, and a level, plus a method to back-butter where needed. Always check the adhesive label and tile sheet instructions for

Setting Mosaic Sheets Straight: How to Hide Sheet Lines and Avoid “Snake” Rows Read More »

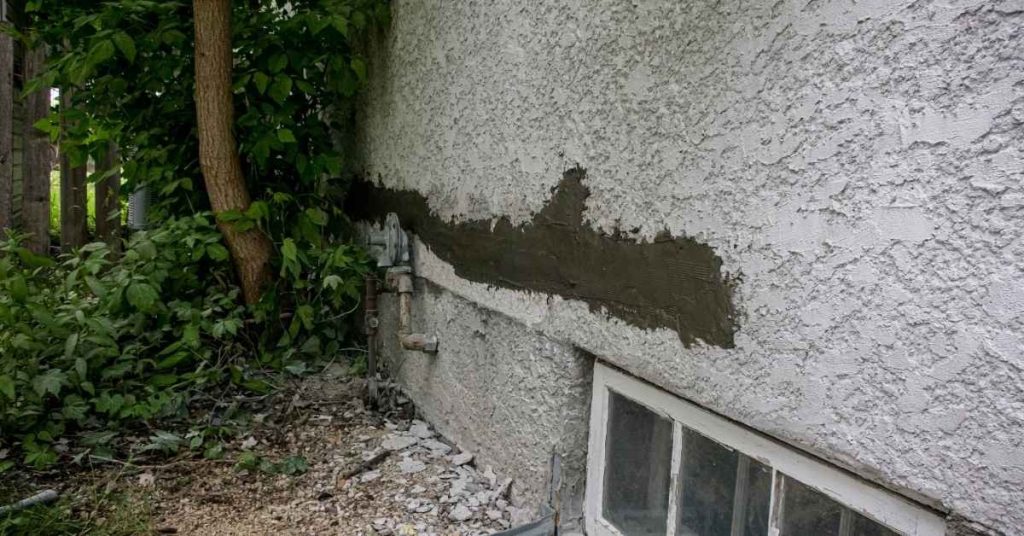
Stucco Color Coat Repairs: Why They Fail and How to Avoid Weak “Skim” Patches

Stucco Color Coat Repairs: Why They Fail and How to Avoid Weak “Skim” Patches

Introduction A Stucco Color Coat Repair is fixing the top stucco layer to seal cracks and restore the surface. This kind of patch relies on proper surface prep, compatible material, and a smooth skim to blend with the surrounding wall. If the skim is weak, patches can crack, delaminate, or look obvious. You’ll need basic

Stucco Color Coat Repairs: Why They Fail and How to Avoid Weak “Skim” Patches Read More »

Parapet Caps and Stucco: Where Water Gets in and How to Detail the Top Edge

Parapet Caps and Stucco: A Step-by-Step Timeline for Installation and Top-Edge Detailing

Introduction The installation of parapet caps is a critical step in protecting your building’s exterior from water intrusion. But how long does it take, and what are the key steps involved? In this guide, we’ll walk you through a detailed timeline for installing stucco parapet caps, ensuring that each stage is completed efficiently and effectively.

Parapet Caps and Stucco: A Step-by-Step Timeline for Installation and Top-Edge Detailing Read More »

Stucco Patch Curing Stains: How to Reduce “Dark Rings” Around Repairs

Stucco Patch Curing Stains: How to Reduce “Dark Rings” Around Repairs

Introduction Dark rings around stucco repairs are staining caused by moisture during the curing process. This article calls out a practical, hands-on approach to reduce those stains while you patch. What you do and when you do it matters for a cleaner, longer-lasting repair. Plan ahead for weather, especially in Eugene, and keep the surface

Stucco Patch Curing Stains: How to Reduce “Dark Rings” Around Repairs Read More »