Search Results for: seal brick

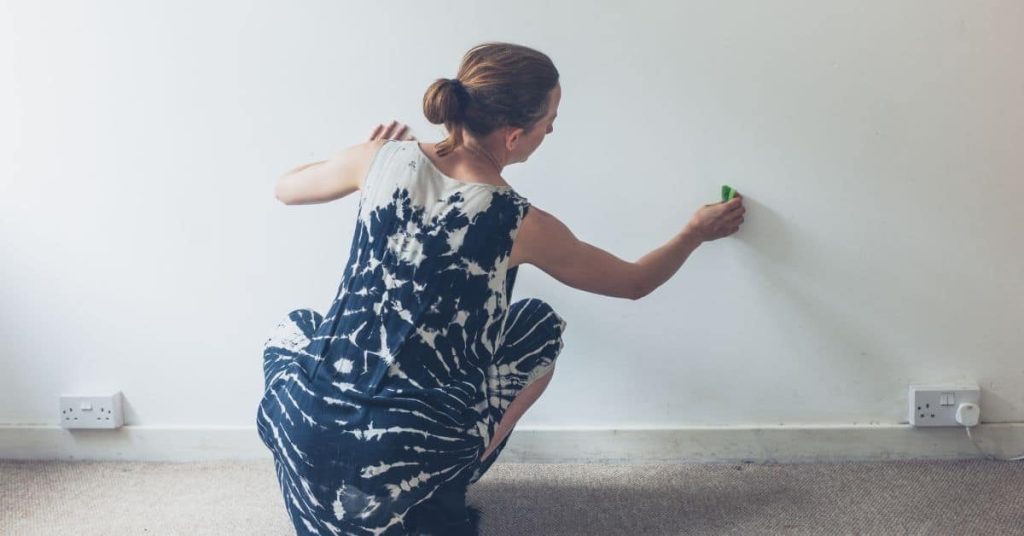
Woman scraping paint from white interior wall

Removing Paint From Masonry: Chemical Strippers vs Grinding and How to Avoid Scarring

Introduction Removing paint from masonry means choosing between chemicals that soften coatings and mechanical grinding that abrades them, and the right choice depends on the paint type, the masonry surface, and how careful you need to be to avoid damage. For a DIYer that often means weighing slower, gentler chemical strippers against faster, more aggressive […]

Removing Paint From Masonry: Chemical Strippers vs Grinding and How to Avoid Scarring Read More »

Hand painting wooden cabinet door with blue paint roller

Painting Over Old Limewash: Identification, Neutralization, and Best Primers

Introduction Painting over old limewash can be a challenge due to its unique composition and properties. This guide will help you identify, neutralize, and prime your limewashed surfaces for successful painting. Key takeaways Identify limewash by chalky finish, mineral content, and matte, breathable film. Test adhesion with scrape and moisture penetration before priming. Contain dust,

Painting Over Old Limewash: Identification, Neutralization, and Best Primers Read More »

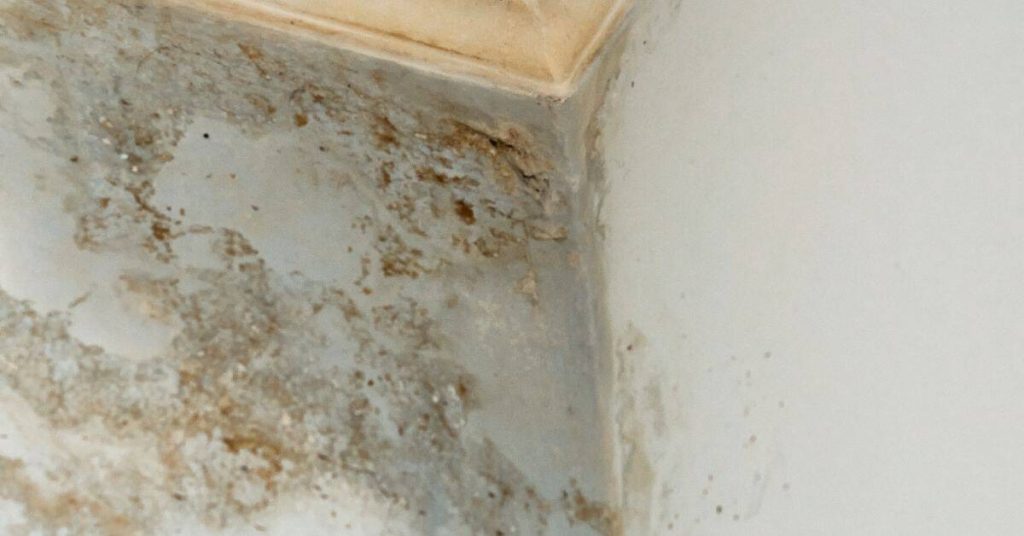
Wall corner with visible mold and water damage stains

Repainting After Mold Remediation: Drying Targets, Primers, and Mildew-Resistant Topcoats

Introduction Repainting after mold remediation means waiting until the surface is fully dry, priming any repaired or stained areas, and finishing with a mildew-resistant topcoat chosen for the substrate. Do the drying check yourself and follow product label instructions for primer and paint compatibility. Treat it like a site repair: clean, dry, prime, then topcoat.

Repainting After Mold Remediation: Drying Targets, Primers, and Mildew-Resistant Topcoats Read More »

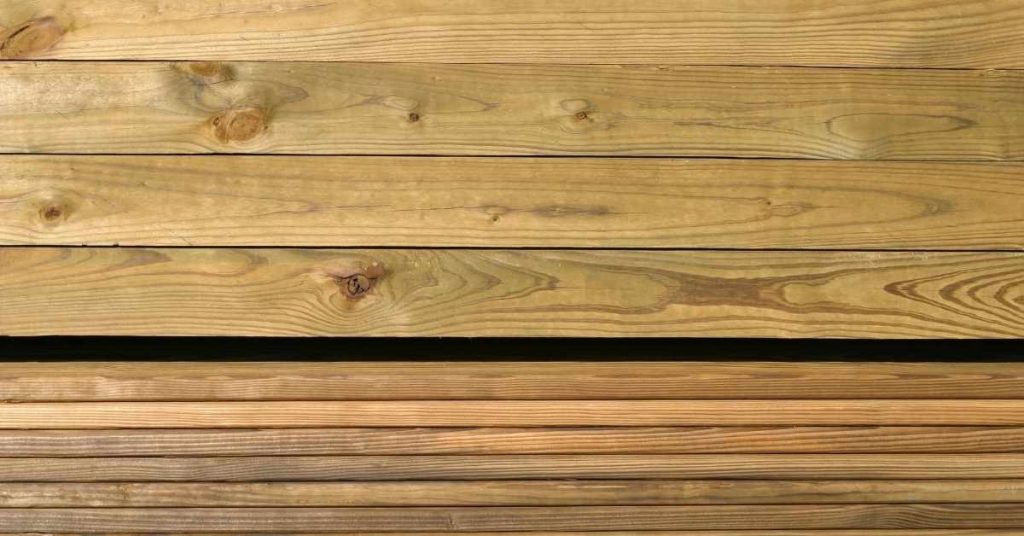
Stacked pressure-treated lumber boards with visible wood grain

Painting Pressure-Treated Lumber: Moisture Tests and When It’s Actually Ready

Introduction Painting pressure-treated lumber means waiting until the wood’s moisture content is low enough for paint or stain to stick and dry properly. In practice that means testing the wood or following the product label and letting the lumber weather or dry under cover until it feels and measures ready. Check the preservative label or

Painting Pressure-Treated Lumber: Moisture Tests and When It’s Actually Ready Read More »

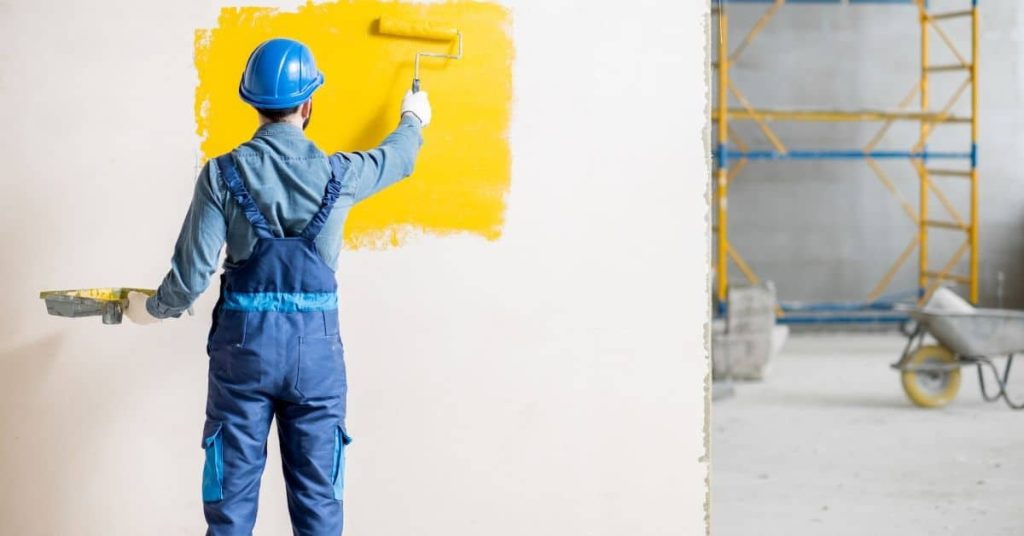
Worker painting wall yellow with roller wearing hard hat

Choosing a Respirator for Painting: Cartridge Types and Real-World Fit Checks

Introduction Choosing a respirator for painting means picking the right cartridge type for the materials you’re using and making sure the mask actually seals to your face. Cartridges filter different hazards so check the paint product labels and the cartridge manufacturer instructions to match the cartridge to the solvents or particulates you’ll encounter. For DIY

Choosing a Respirator for Painting: Cartridge Types and Real-World Fit Checks Read More »

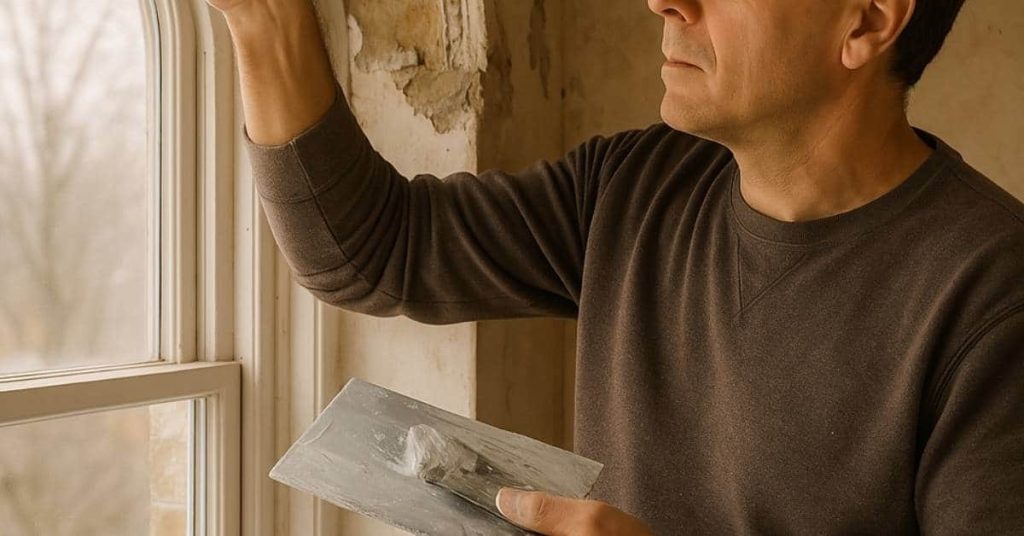
Man applying plaster around window casing with trowel

Repairing Plaster Around Window Casings: A Step-by-Step Timeline for Straight Returns and Crisp Corners

Introduction Tackling plaster repairs around window casings can seem daunting, but with a clear understanding of the timeline, you’ll find it’s a manageable project. This step-by-step guide breaks down the process into digestible stages, helping you complete your repair efficiently and effectively. From assessing damage to applying the final coat of paint, let’s explore how

Repairing Plaster Around Window Casings: A Step-by-Step Timeline for Straight Returns and Crisp Corners Read More »

Worker plastering ceiling with trowel in orange outfit

Plastering Over Painted Masonry: A Step-by-Step Timeline for Optimal Bonding

Introduction The process of plastering over painted masonry can be time-consuming, but with a well-planned timeline, you can ensure a strong bond and professional-looking results. This step-by-step guide walks you through the entire process, from surface preparation to application, with an emphasis on how long each stage takes. Understanding the duration of each step is

Plastering Over Painted Masonry: A Step-by-Step Timeline for Optimal Bonding Read More »

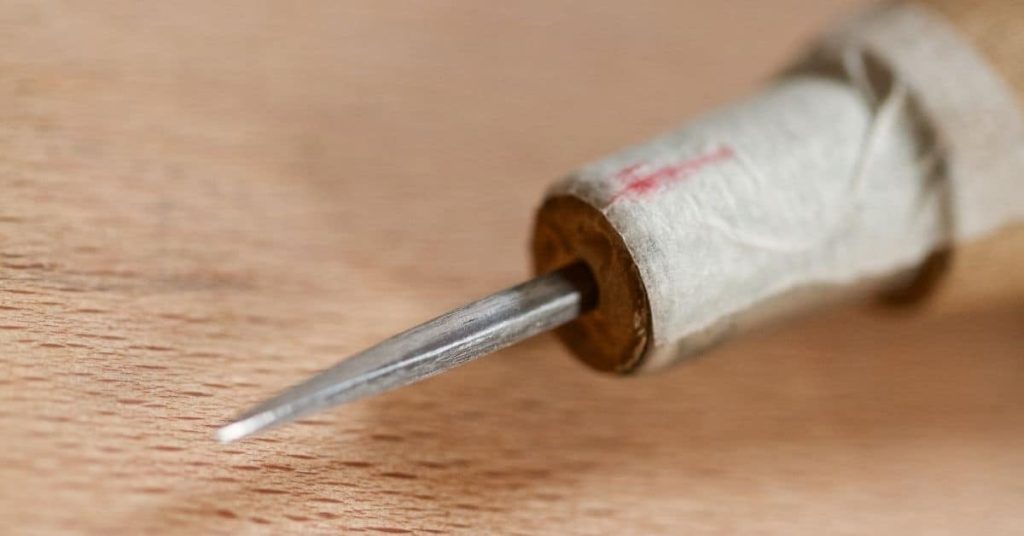
Close-up of a pointed metal scratch tool tip wrapped in paper

Plaster Over Cement Board: Step-by-Step Timeline and Duration Guide

Introduction The process of plastering over cement board involves several steps that require careful timing to ensure a successful outcome. Understanding the timeline and duration for each stage is crucial for planning your project effectively. In this guide, we’ll walk you through the step-by-step timeline of plastering over cement board, helping you allocate the right

Plaster Over Cement Board: Step-by-Step Timeline and Duration Guide Read More »

Close-up of cracked and peeling veneer plaster on wall

Veneer Plaster Repairs: Step-by-Step Timeline and Duration Guide

Introduction Repairing veneer plaster can be a time-sensitive task, especially when dealing with cracks or holes that expose underlying structures to moisture and damage. This step-by-step guide walks you through the process from start to finish, helping you understand how long each stage takes so you can plan your repair timeline effectively. Whether you’re a

Veneer Plaster Repairs: Step-by-Step Timeline and Duration Guide Read More »

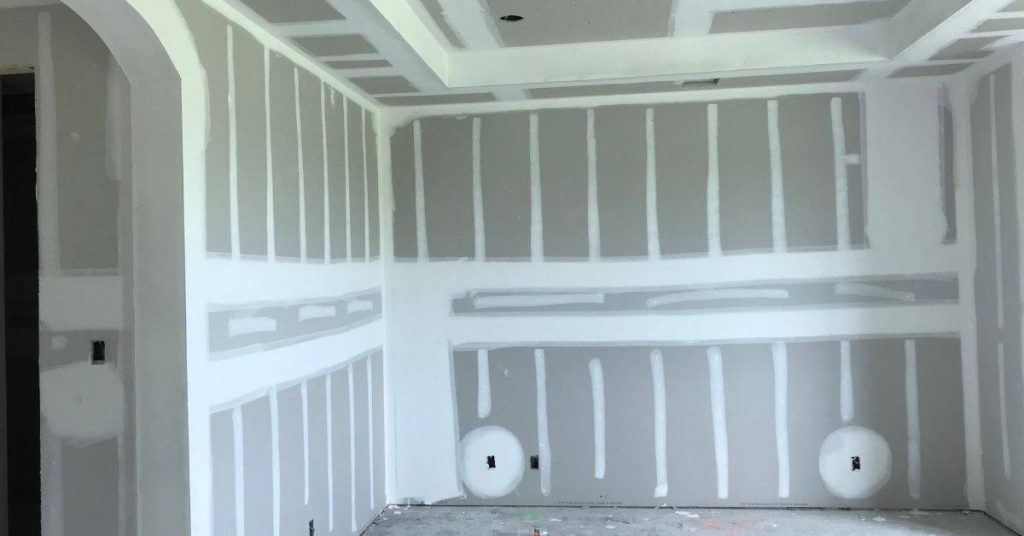
Interior room with drywall seams covered in joint compound

Plaster Over Blueboard: Timeline & Steps for a Smooth Finish

Introduction The process of applying veneer plaster over blueboard can seem daunting, but understanding the timeline and steps involved can help you plan your project effectively. This guide walks you through the duration of each stage, from preparation to finishing, ensuring you stay on track and achieve a smooth, professional-looking result. Before we dive into

Plaster Over Blueboard: Timeline & Steps for a Smooth Finish Read More »