Search Results for: sanding plaster

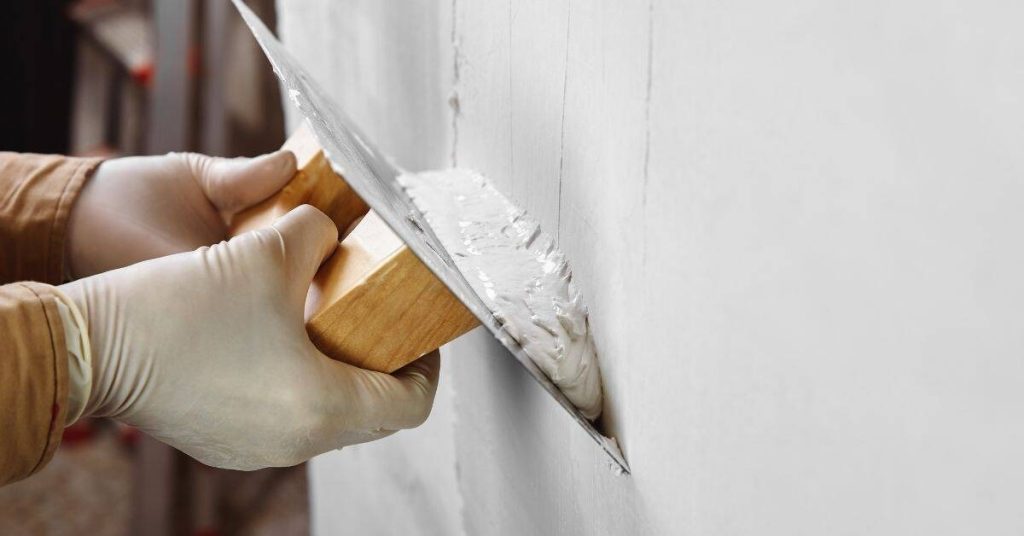
smooth beige plaster wall texture

Venetian Plaster Over Existing Texture: Timeline & Duration for Skim, Sand, or Remove

Introduction Planning to apply Venetian plaster over existing texture? Understanding the timeline and duration of each preparation method—skim, sand, or remove—is crucial to set realistic expectations and ensure a smooth project. Let’s break down the time commitment for each approach so you can plan your project effectively. For the full guide, see Venetian Plaster Over […]

Venetian Plaster Over Existing Texture: Timeline & Duration for Skim, Sand, or Remove Read More »
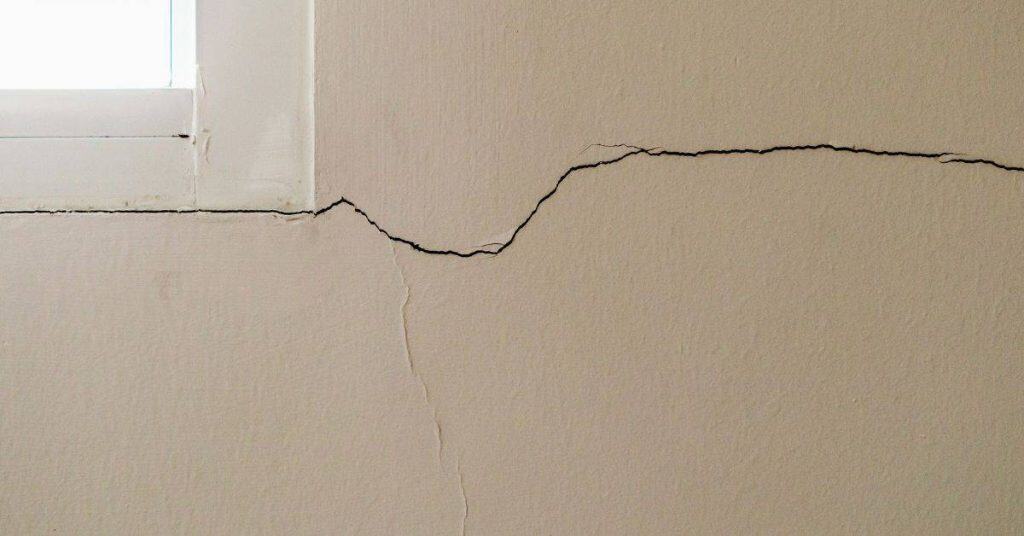
Wall with a long crack near a window frame

Plaster Cracks That Keep Coming Back: Movement Checks, Mesh Options, and Control-Joint Alternatives

Introduction Plaster cracks that keep coming back are usually signs of ongoing movement—either structural, thermal, or moisture-related—rather than a one-off surface failure. In plain terms: fix the movement first, then choose a flexible joint compound or mesh to bridge how much movement you expect and follow the product label for prep and cure times. Check

Plaster Cracks That Keep Coming Back: Movement Checks, Mesh Options, and Control-Joint Alternatives Read More »

Man installing drywall panels on ceiling metal framework

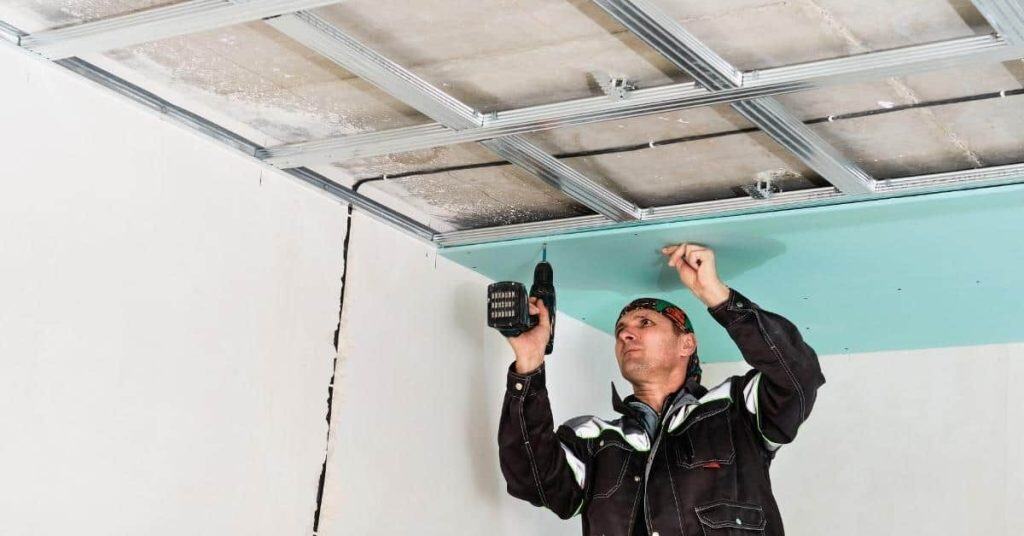
Drywall Over Plaster Walls: When Furring Strips Beat Adhesives (and how to avoid hollow spots)

Introduction Furring strips create a new, flat surface for hanging drywall over plaster. This method helps prevent hollow spots by giving you solid backing and a frame to fasten into. Check your local rules and manufacturer guidelines for spacing and fastener choices. Plan your layout, level the strips, and avoid compressing the plaster when you

Drywall Over Plaster Walls: When Furring Strips Beat Adhesives (and how to avoid hollow spots) Read More »

Close-up of white decorative plaster medallion with damage

Repairing Decorative Plaster Medallions: Making Silicone Molds for Missing Details

Introduction This article explains how to make silicone molds for missing details on decorative plaster medallions. It keeps the process practical and DIY-friendly. You’ll need to assess the piece, gather safe materials, and follow manufacturer instructions for any mold-making products. You’ll outline the plan, measure rough symmetry, and prepare a clean work area. Work slowly,

Repairing Decorative Plaster Medallions: Making Silicone Molds for Missing Details Read More »

Worker applying plaster with trowel on wall corner

Plaster Over Painted Concrete Block: Bonding Agent Choices and Keying Techniques

Introduction Plaster over painted concrete block means applying plaster to a surface that has paint, using a bonding agent and surface keying to make the plaster stick. You’ll want a bonding agent that’s compatible with both the paint and the plaster mix you plan to use. Keying techniques involve scuffing or abrading the paint and

Plaster Over Painted Concrete Block: Bonding Agent Choices and Keying Techniques Read More »

Hands applying plaster smoothly on interior wall

Plaster Soundproofing Add-Ons: When an Extra Coat Helps and When It’s Wishful Thinking

Introduction Extra plaster coats provide additional mass and seal to help reduce sound transmission when the first layer isn’t enough. A second coat can improve sound dampening by filling gaps and smoothing the surface. But it’s not a magic fix for loud environments or structural issues. Whether to add another coat depends on the room,

Plaster Soundproofing Add-Ons: When an Extra Coat Helps and When It’s Wishful Thinking Read More »

Person smoothing plaster on ceiling with trowel

DIY Plaster Repair at Radiator Niches: Heat, Moisture, and Primer Choices

Introduction Plaster repair around radiator niches is fixing damaged plaster to restore a clean, sealed surface that can handle heat and moisture. This work is hands-on and happens where the radiator meets the wall, so you’ll patch, skim, and finish to blend in. You’ll want to understand how heat and moisture can affect the repair

DIY Plaster Repair at Radiator Niches: Heat, Moisture, and Primer Choices Read More »

Person applying plaster to wall with tool

Creating a Plaster Accent Wall With Inlaid LED Channels (No Cracks at the Channel)

Introduction This is plaster on a wall with inlaid LED channels designed to hide lighting and keep cracks at the edges under control. It’s a hands-on project that blends masonry work with lighting details. You’ll mix, set, and shape plaster around recessed channels while planning for even lighting. Plan the layout and follow straightforward steps

Creating a Plaster Accent Wall With Inlaid LED Channels (No Cracks at the Channel) Read More »

Person holding plaster on trowel and hawk

Feathering Plaster Into Painted Surfaces: Where to Sand, Where Not To, and Why

Introduction Feathering plaster into painted surfaces means blending the edge of new plaster into the existing paint so the transition is smooth. Keep the plaster slightly proud and wipe away excess as you work to avoid hard lines. Work in small, overlapping passes and check the edge from different angles. Be careful not to sand

Feathering Plaster Into Painted Surfaces: Where to Sand, Where Not To, and Why Read More »

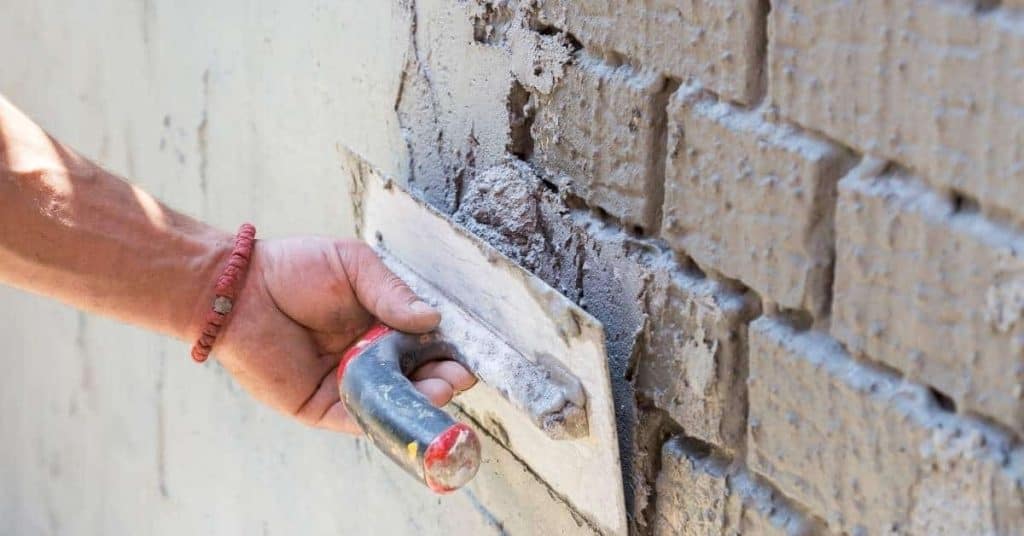
Hand applying plaster to brick wall with trowel

Feathery vs. Sharp Transitions in Plaster Repairs: Choosing the Right Edge Strategy

Introduction A feathery transition blends into the surrounding plaster, while a sharp transition leaves a crisp, defined edge. That choice changes how visible the repair is and how easy it feels to the eye. As a DIYer, your pick depends on wall texture, room style, and how the surface will be used. When you repair,

Feathery vs. Sharp Transitions in Plaster Repairs: Choosing the Right Edge Strategy Read More »