Search Results for: plaster keys

Worker applying plaster with trowel over cement board

Plaster Over Cement Board: Bonding Agents and Scratch Patterns That Hold

Introduction Plaster over cement board means using the right bond coat and a keyed scratch surface so the plaster mechanically and chemically adheres to the board. In plain jobsite terms: use a compatible bonding agent or cement-based scratch coat, make a consistent scratch pattern so the plaster keys, and follow product label instructions for mixing […]

Plaster Over Cement Board: Bonding Agents and Scratch Patterns That Hold Read More »
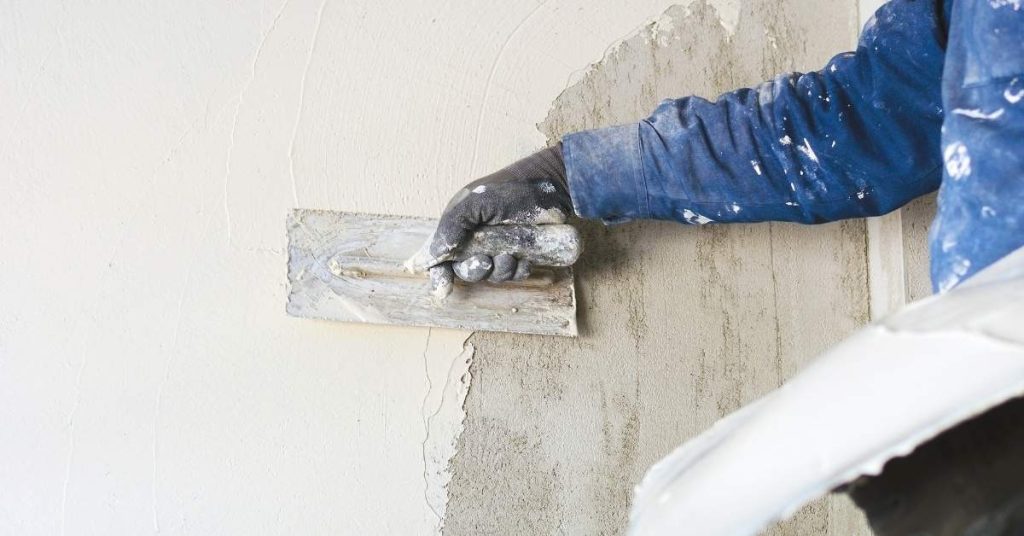
Hand applying plaster to wall with trowel

Veneer Plaster Repairs: Feathering, Timing, and Avoiding Hollow Spots

Introduction Veneer plaster repairs are the process of fixing damaged plaster by feathering new material into the old so the wall looks continuous and solid. This means assessing whether the existing veneer is well-bonded, cleaning and wetting the surface, and choosing a compatible patching mix and bonding method. I’ll focus on practical steps you can

Veneer Plaster Repairs: Feathering, Timing, and Avoiding Hollow Spots Read More »

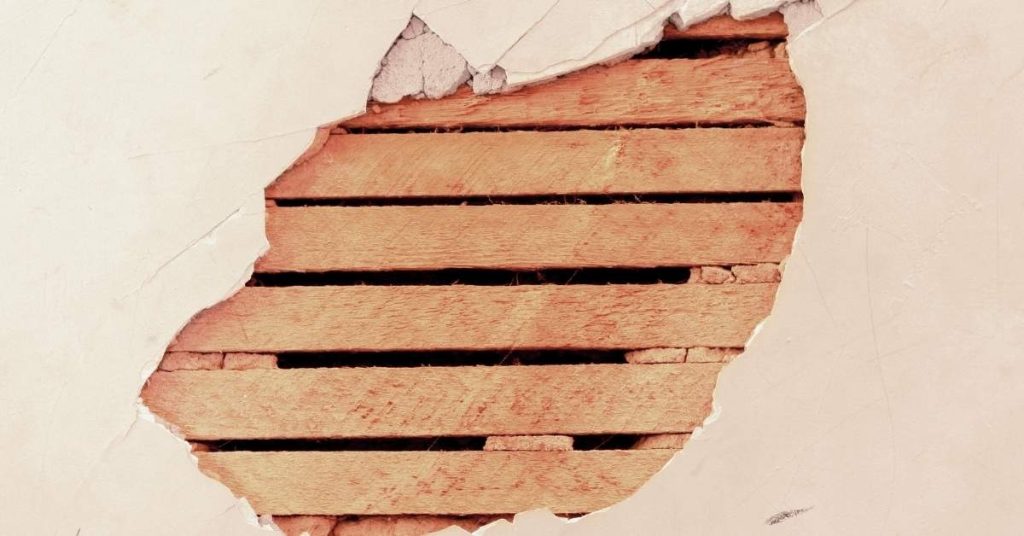
Wooden lath exposed through broken plaster wall

Plaster Key Failure on Wood Lath: Diagnosing, Re-Keying, and When to Add Mesh

Introduction Plaster key failure on wood lath happens when the plaster pulls away from or loses grip on the lath, leaving loose or hollow areas that will crack or fall out. This write-up shows practical ways to diagnose where keys failed, how to re-key small patches, and when adding mesh or repairing lath is the

Plaster Key Failure on Wood Lath: Diagnosing, Re-Keying, and When to Add Mesh Read More »

Worker smoothing plaster on wall with trowel

Gauging Plaster for Lime Work: Ratios, Set Control, and When to Skip It

Introduction Gauging plaster for lime work means mixing lime, sand, and any additives in the right proportions to control strength and set time so the plaster behaves predictably. Think of it like tuning a recipe: adjust the lime-to-sand ratio and set retarders or accelerators to match your wall, weather, and skill level; check product labels

Gauging Plaster for Lime Work: Ratios, Set Control, and When to Skip It Read More »

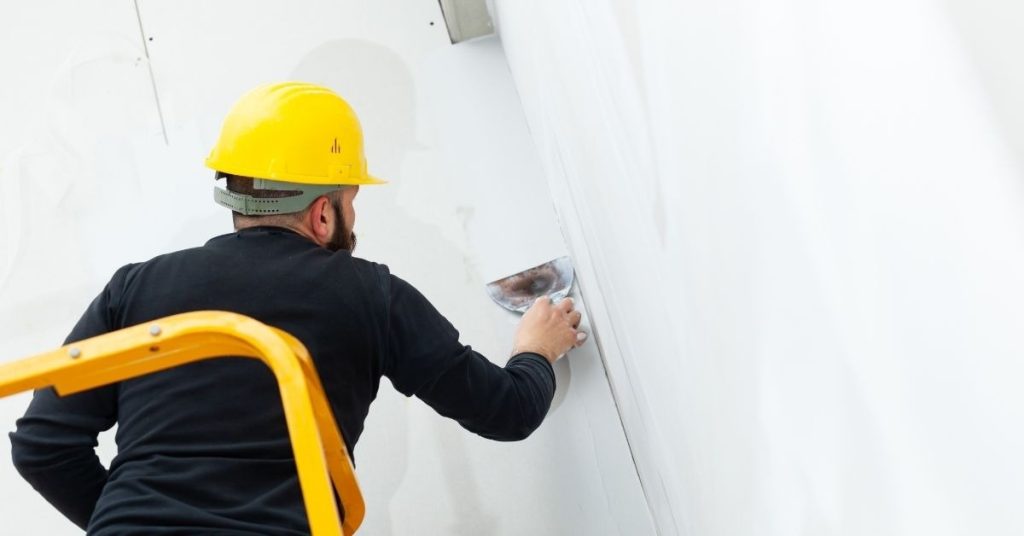
Worker wearing yellow helmet applying plaster to wall

Lime Plaster Base Coats: Sand Selection, Hair Reinforcement, and Shrink Control

Introduction Lime plaster base coats are the first thick layer of lime-rich render that provides a key substrate for finish coats and helps control moisture and movement. For DIY work that means picking clean, well-graded sand suited to lime, keeping hair or fiber reinforcement evenly distributed to bridge shrinkage, and using mixing proportions recommended by

Lime Plaster Base Coats: Sand Selection, Hair Reinforcement, and Shrink Control Read More »

Hand smoothing plaster on wall with trowel

Polished Lime Plaster in Wet Areas: What ‘Waterproof’ Really Means and Safe Details

Introduction Polished lime plaster in wet areas is not automatically waterproof; it’s a breathable finish that can resist splashes when detailed and sealed correctly. In practice that means treating the wall system—substrate, cement backer, membranes, and sealers—as a complete assembly rather than relying on the lime plaster alone. Check product labels and manufacturer instructions for

Polished Lime Plaster in Wet Areas: What ‘Waterproof’ Really Means and Safe Details Read More »

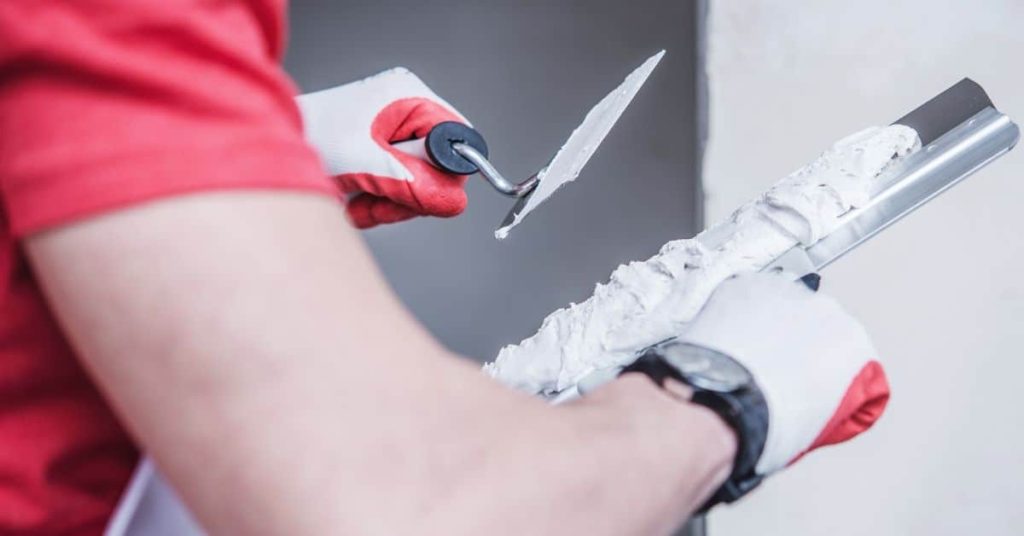
Gloves paintbrushes putty knives and level covered in plaster dust

Plaster Repair on Curved Walls: Flexible Tools and How to Keep Profiles Smooth

Introduction Plaster repair on curved walls means using flexible tools and techniques so the repair follows the wall’s arc without creating bumps or hollows. In practice that means choosing a flexible float or trowel, feathering edges, and working in thin passes until the profile blends with the surrounding surface. Keep expectations realistic and check product

Plaster Repair on Curved Walls: Flexible Tools and How to Keep Profiles Smooth Read More »

Man smoothing plaster on wall with float tool

How to Get Dead-Flat Plaster Walls: Straightedge Checks and Build-Up Strategy

Introduction Getting dead-flat plaster walls means using straightedge checks and a stepwise build-up of layers until any high or low spots are leveled out. It’s a practical process of finding the worst deviations, feathering in material, and rechecking with a straightedge until the surface reads flat to the eye and tool. Expect to use joint

How to Get Dead-Flat Plaster Walls: Straightedge Checks and Build-Up Strategy Read More »

Person holding paint roller with rust color near paint-splattered ladder

Clay Plaster Pigments: Color Mixing, Mottling Control & Testing – Timeline & Schedule

Introduction The timeline for working with clay plaster pigments can vary greatly depending on the size of your project and the complexity of your color scheme. Understanding how to manage your time effectively is crucial for a successful outcome. In this guide, we’ll break down the process into clear, time-based steps, helping you plan your

Clay Plaster Pigments: Color Mixing, Mottling Control & Testing – Timeline & Schedule Read More »

Person holding plaster on hawk and applying with trowel

Restoring Plaster Picture Rails: A Step-by-Step Timeline to Preserve Shadow Lines

Introduction Preserving the original character of your home’s plaster picture rails involves careful repair and restoration. Understanding the timeline for this project helps you plan effectively, ensuring a successful outcome that maintains the shadow lines. From initial assessment to final touches, let’s break down the process into manageable steps, focusing on how long each task

Restoring Plaster Picture Rails: A Step-by-Step Timeline to Preserve Shadow Lines Read More »