Search Results for: moisture behind stucco

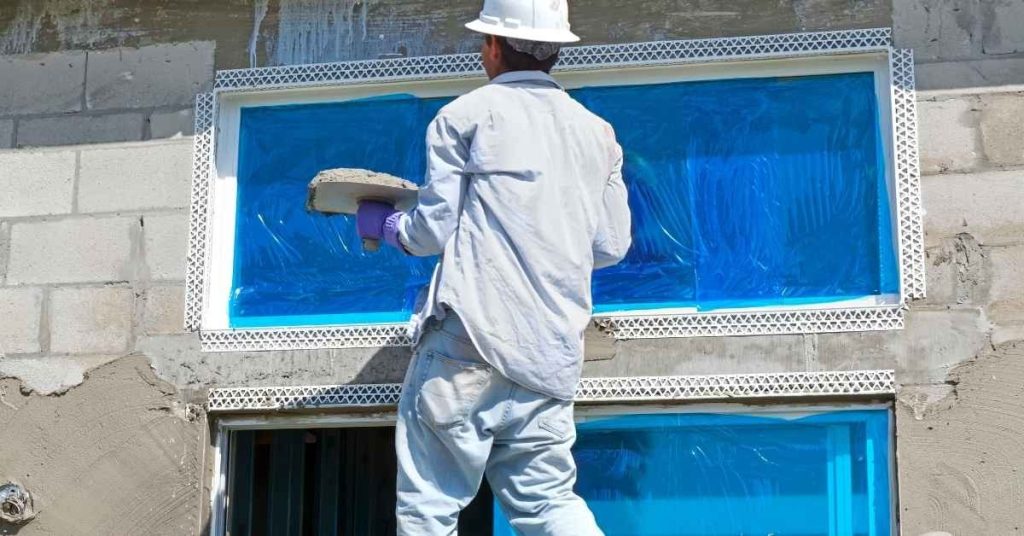
Worker applying stucco around window frames on building exterior

Stucco at Window Sills: Drip Edges, End Dams & Timeline for Installation

Introduction Installing stucco window sills with drip edges and end dams is a crucial step in waterproofing your home’s exterior. But how long does this process take? Let’s break down the timeline so you can plan your DIY project effectively. Whether you’re a seasoned DIYer or a first-timer, understanding the duration of each step will […]

Stucco at Window Sills: Drip Edges, End Dams & Timeline for Installation Read More »

Three paintbrushes resting on white plastic sheet

Painting Behind Radiators: A Step-by-Step Timeline for a Perfect Finish

Introduction Painting behind radiators can be a time-consuming task, but with the right plan and timeline, you can achieve a flawless finish that lasts. This step-by-step guide walks you through the process from start to finish, ensuring you allocate enough time for each stage. Whether you’re tackling this project on your own or hiring a

Painting Behind Radiators: A Step-by-Step Timeline for a Perfect Finish Read More »

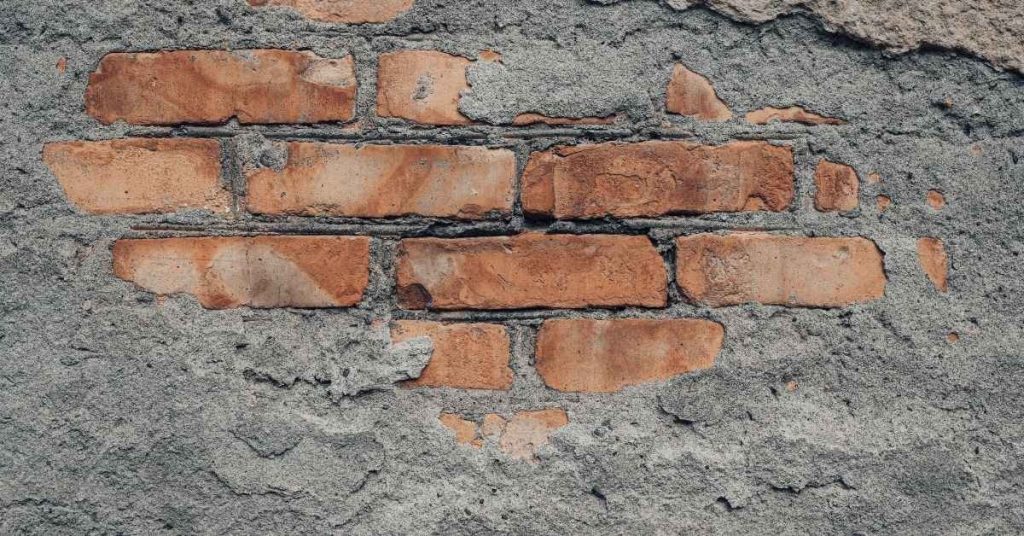
Partially covered brick wall with stucco and exposed bricks

Stucco Termination at Brick or Stone: A Step-by-Step Timeline for DIY Success

Introduction A stucco edge beside brick or stone is not one universal detail. The correct termination depends on the stucco system, the wall’s drainage plane, and whether the masonry is full-bed masonry, adhered veneer, framed veneer, a jamb, a roof intersection, or a base-of-wall condition. A visible joint can look simple while the flashing and

Stucco Termination at Brick or Stone: A Step-by-Step Timeline for DIY Success Read More »

Hands wearing gloves applying stucco with trowel on wall

Stucco at Roof Parapets: Coping, Drips, and How to Stop Water From Getting Behind

Introduction A parapet leak is rarely solved by filling the nearest crack. Water may enter at a coping joint, a roof-membrane-to-wall transition, a wall crack, a penetration, a window intersection, or—when dampness occurs without rain—from condensation. A durable repair restores the water-shedding layers in the right order: roof flashing and coping first, then the wall

Stucco at Roof Parapets: Coping, Drips, and How to Stop Water From Getting Behind Read More »

Closeup of a large crack in white stucco wall

Mounting Solar Cable Clips on Stucco: Fasteners, Sealants, and Crack Prevention

Introduction Mounting solar cable clips on stucco means choosing the right fastener and sealant so the clips hold securely without cracking the finish. Think like a tradesman: use fasteners and anchors rated for masonry and a compatible exterior sealant, and check product labels and local rules for load and weather guidance. Take the time to

Mounting Solar Cable Clips on Stucco: Fasteners, Sealants, and Crack Prevention Read More »

Hands removing electrical wire from wall outlet box

Stucco Penetrations for Electrical Conduit: Sleeve Details That Stay Dry

Introduction Stucco penetrations for electrical conduit are the sleeve and sealing details that keep water out where the conduit passes through the stucco wall. In practice that means a rigid sleeve or short piece of conduit, a backing, and a proper sealant or flashing so water sheds away from the opening; check product labels and

Stucco Penetrations for Electrical Conduit: Sleeve Details That Stay Dry Read More »

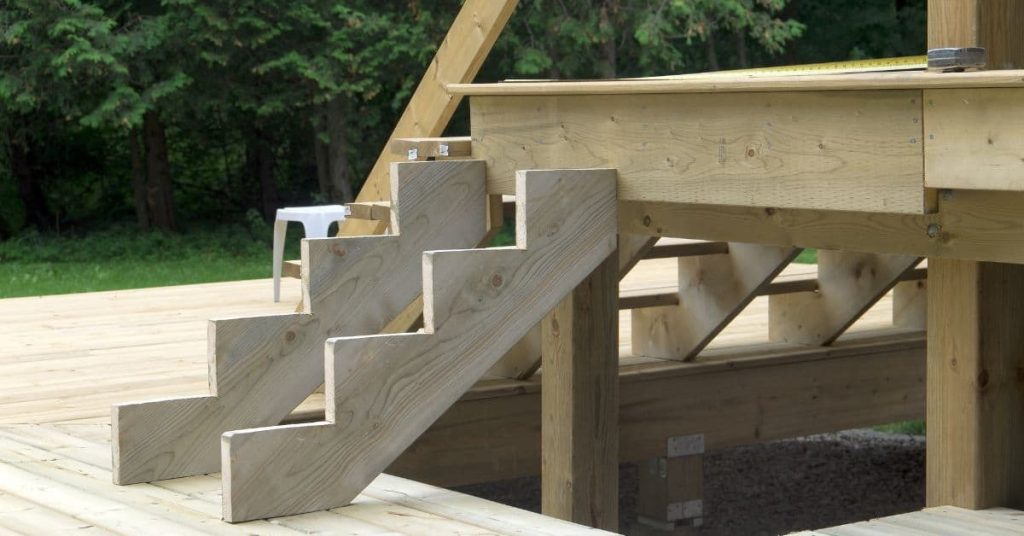
Wooden stair stringers attached to deck framing outdoors

Deck Ledger Through Stucco: Retrofit Flashing Strategy That Preserves Drainage

Introduction Deck ledger through stucco means installing the ledger board and flashing so water shed from the deck doesn’t get behind the stucco; it’s a retrofit move to tie the ledger into the house while preserving the wall’s drainage plane. This usually involves removing a section of stucco and lath to access the sheathing or

Deck Ledger Through Stucco: Retrofit Flashing Strategy That Preserves Drainage Read More »

Slate roof with metal flashing at roof-to-wall joint

Stucco Around Roof-to-Wall Kickout Flashing: Fixing the Most Common Leak Detail

Introduction Stucco around roof-to-wall kickout flashing is the detail where the siding meets the roof and the flashing diverts water away from the wall; fixing it means making sure the flashing, substrate, and stucco meet cleanly so water can’t get behind the finish. This is a hands-on job that usually involves removing a bit of

Stucco Around Roof-to-Wall Kickout Flashing: Fixing the Most Common Leak Detail Read More »

Worker smoothing stucco on wall with hawk tool

Removing Loose Stucco Safely: Dust Control, Cut Lines, and How to Protect the WRB

Introduction Removing loose stucco safely means knocking out and replacing only the failing material while keeping dust off you and your house and protecting the weather-resistive barrier behind it. Start by finding the delaminated areas with a tap test and visual checks, then plan cuts and containment before you touch the wall. Use dust control

Removing Loose Stucco Safely: Dust Control, Cut Lines, and How to Protect the WRB Read More »