Search Results for: drywall op

Worker smoothing plaster on wall with trowel wearing gloves and cap

Hardwall Plaster on Masonry: Achieving a Flat Plane Without “Waves”

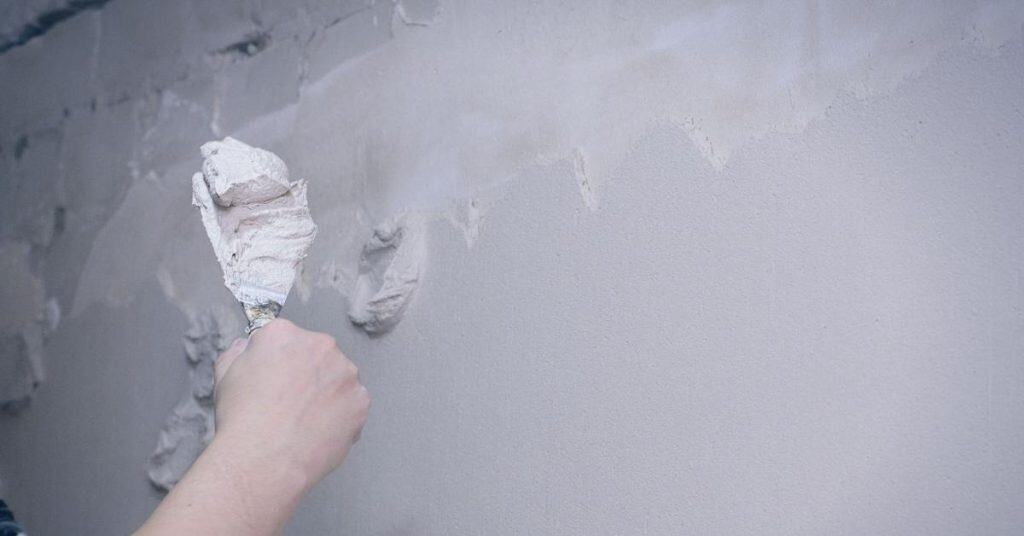
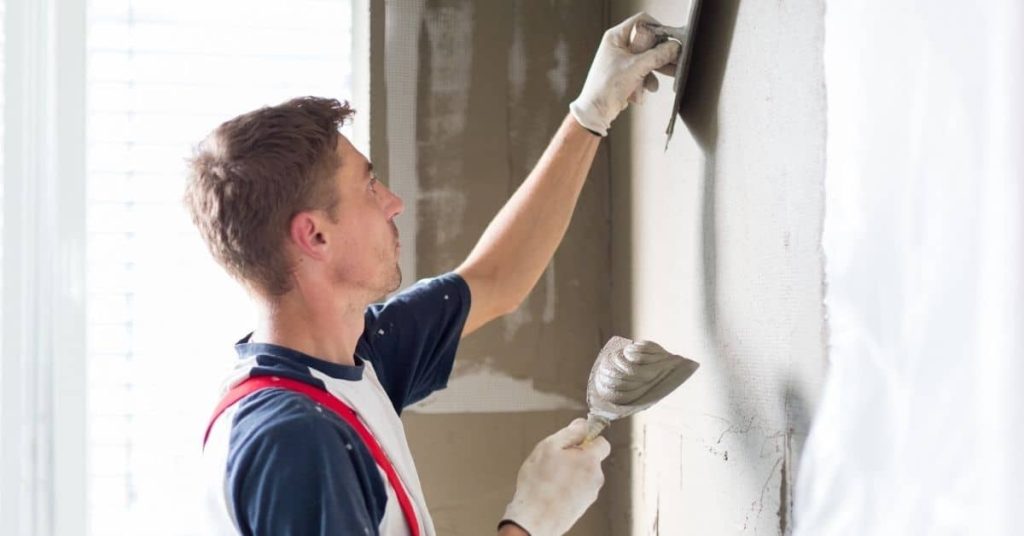
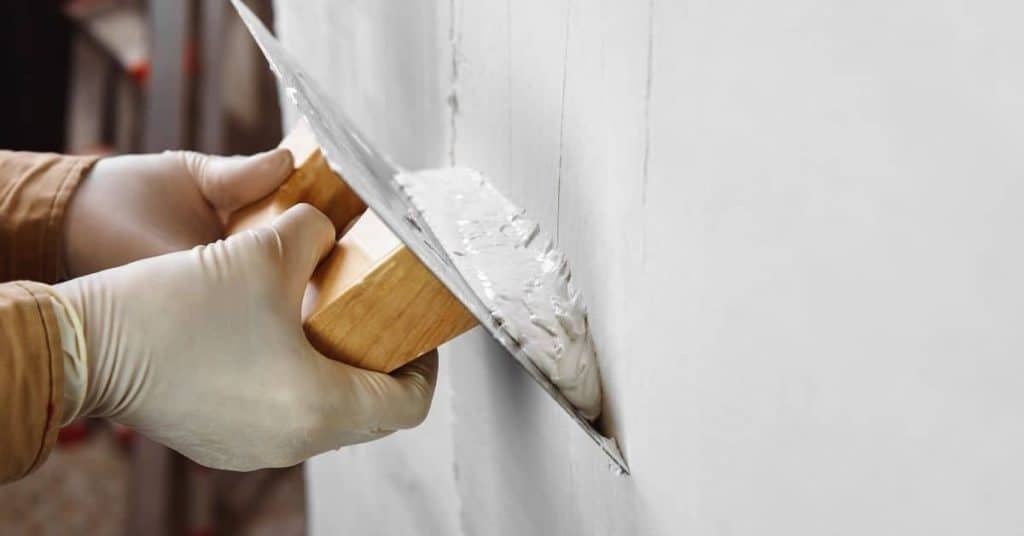
Introduction Hardwall plaster on masonry is applying a cement-based coating to brick or block to create a flat, level surface. It means you’re sealing the rough masonry and guiding the plaster down to a true plane. Start by checking the wall for moisture and any loose material, then read the instruction on the product label […]

Hardwall Plaster on Masonry: Achieving a Flat Plane Without “Waves” Read More »

Hand applying plaster to wall with a trowel

Patching Plaster After Plumbing Access Holes: How to Keep the Patch from “Drumming”

Introduction Patching plaster after plumbing access holes means rebuilding the damaged wall so it won’t drum when you tap it. Start by carefully removing loose plaster around the hole and cleaning the edge so the patch bonds well. Check the backing and, if needed, install a thin scrim or patching plaster to create a solid

Patching Plaster After Plumbing Access Holes: How to Keep the Patch from “Drumming” Read More »

Decorative plaster corbel on exposed brick wall

Rebuilding Decorative Plaster Edges: Simple Molds You Can Make to Match Profiles

Introduction Rebuilding decorative plaster edges means making simple, handmade molds to reproduce the profile you want. You can shape the mold from clay or use basic flexible material to match the original edge, then set it up for casting. Check the profile on the piece and follow manufacturer instructions or local rules for materials and

Rebuilding Decorative Plaster Edges: Simple Molds You Can Make to Match Profiles Read More »

Man applying plaster to interior wall with trowel

Plaster Repairs in High Humidity Rooms: How to Prevent Powdery Finishes

Introduction Plaster repairs in high humidity rooms require moisture-aware prep and material choices to stop powdery finishes. Start by preparing the walls carefully, removing loose material and cleaning the surface before patching. Choose materials and patching methods suited for humid conditions, and verify any limits on use with the product label or manufacturer instructions. Mix

Plaster Repairs in High Humidity Rooms: How to Prevent Powdery Finishes Read More »

Two plaster trowels leaning against rough plastered wall

Fixing Plaster at Baseboards: Rebuilding the Bottom Edge Without Removing All Trim

Introduction This is fixing plaster at the baseboard by rebuilding the bottom edge while leaving the trim in place. It’s a hands-on repair that tightens up gaps and brittle edges along the wall line. Plan to clean, assess damage, and mix materials that suit your wall type and existing plaster. You’ll need to protect the

Fixing Plaster at Baseboards: Rebuilding the Bottom Edge Without Removing All Trim Read More »

Hands in gloves applying plaster with a flat trowel

Lime Vs Gypsum Patching: Why Mismatched Materials Cause Future Failure

Introduction Mismatched patching materials can fail later due to incompatible chemistry. Lime and gypsum set and breathe differently, so using the wrong combo can lead to cracks, dusting, or damp spots. Stick to a patching mix that matches what’s already on the wall for best results. When patching, verify that the material is compatible with

Lime Vs Gypsum Patching: Why Mismatched Materials Cause Future Failure Read More »

Worker applying plaster to wall with trowel and hawk

Plaster and Vapor: Where Breathability Matters in Older Walls

Introduction Breathable plaster and finishes are materials that allow moisture to move through walls while still providing a solid, decorative surface. In practical DIY terms, that means choosing coatings that don’t seal the wall airtight, so old walls can dry out after moisture events. This matters most on older homes with lime or clay components

Plaster and Vapor: Where Breathability Matters in Older Walls Read More »

Hand holding trowel smoothing fresh concrete surface

Trowel Pressure Basics: How to Avoid Ripples and “Drag Marks”

Introduction Trowel pressure basics are about using steady, even pressure with a finishing trowel to smooth fresh concrete and minimize ripples. Doing it right means consistent body movement, proper timing, and paying attention to the surface as you work. If you need hands-on guidance, you can reach out with questions and we’ll point you to

Trowel Pressure Basics: How to Avoid Ripples and “Drag Marks” Read More »

Yellow and black electric hammer drill on white background

Removing Tile Without Destroying the Substrate: Tool Choices and Realistic Expectations

Introduction Removing tile without destroying the substrate means lifting the tile and backing material carefully while protecting the surface underneath. Have the right tools ready, like a chisel, a pry bar, and an oscillating multi-tool with a scraper blade, and plan your work so you don’t pry blindly. Start by testing a corner tile and

Removing Tile Without Destroying the Substrate: Tool Choices and Realistic Expectations Read More »