Search Results for: drywall op

Worker painting wall yellow with roller wearing hard hat

Choosing a Respirator for Painting: Cartridge Types and Real-World Fit Checks

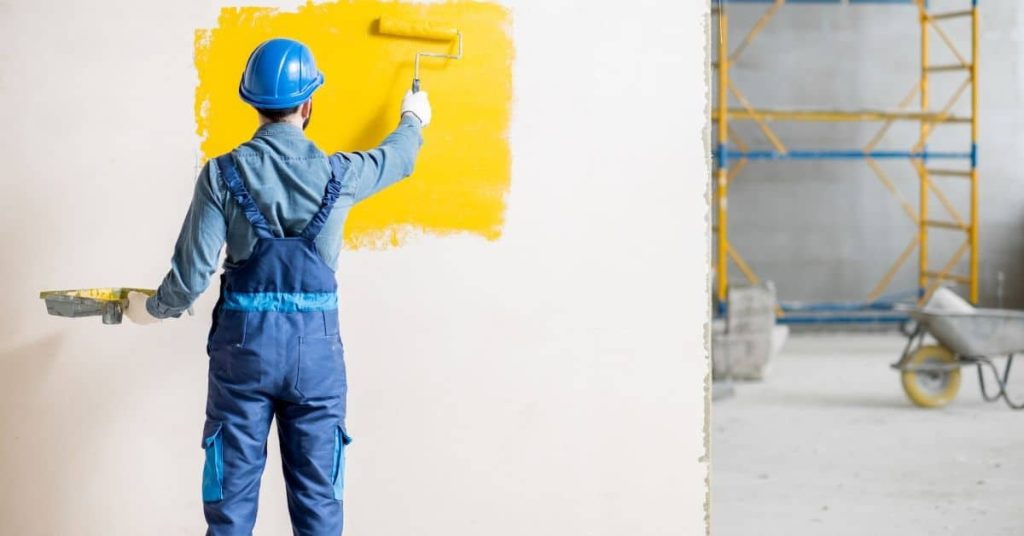
Introduction Choosing a respirator for painting means picking the right cartridge type for the materials you’re using and making sure the mask actually seals to your face. Cartridges filter different hazards so check the paint product labels and the cartridge manufacturer instructions to match the cartridge to the solvents or particulates you’ll encounter. For DIY […]

Choosing a Respirator for Painting: Cartridge Types and Real-World Fit Checks Read More »

Worker smoothing wet plaster on a gray interior wall

How to Create a Zero-Lap-Mark Wall: Section Planning and Keeping a True Wet Edge

Introduction A zero-lap-mark wall is a layout and pour technique that keeps your fresh plaster or skimcoat from drying in visible steps where new material meets old. It means planning your sections and timing so each pass blends into the next while the edge is still workable. This is a hands-on job that needs steady

How to Create a Zero-Lap-Mark Wall: Section Planning and Keeping a True Wet Edge Read More »

Hand holding paint roller with orange paint above drop cloth

Orange Peel After Rolling: Causes, Fixes, and When Spraying Is Easier

Introduction Orange peel after rolling is a textured, dimpled finish that happens when paint or concrete topping doesn’t level out before it skins over. It’s usually caused by wrong material viscosity, working too slowly, rolling with an unsuitable nap or roller technique, or environmental factors like temperature and humidity. A quick jobsite fix is to

Orange Peel After Rolling: Causes, Fixes, and When Spraying Is Easier Read More »

three paintbrushes and one paint roller covered in blue paint

Reusing Old Paint Safely: Straining, Mixing, and When to Toss It

Introduction Reusing old paint safely means checking its condition, removing contaminants, and mixing it back to a usable state before you apply it. Think like a tradesman: look, smell, and stir to decide if it’s worth saving, and follow the product label or manufacturer instructions for thinning or additives. If anything is off—bad smell, mold,

Reusing Old Paint Safely: Straining, Mixing, and When to Toss It Read More »

Ornate plaster ceiling medallion with floral and scrollwork design

Fixing Plaster Cracks at Ceiling Medallions: A Step-by-Step Timeline

Introduction Tackling plaster cracks around ceiling medallions can seem daunting, but breaking down the process into a clear timeline makes it manageable. This step-by-step guide walks you through fixing these issues efficiently, from initial inspection to final touch-ups. Understanding how long each stage takes helps you plan your project effectively and ensures you allocate enough

Fixing Plaster Cracks at Ceiling Medallions: A Step-by-Step Timeline Read More »

Man applying plaster around window casing with trowel

Repairing Plaster Around Window Casings: A Step-by-Step Timeline for Straight Returns and Crisp Corners

Introduction Tackling plaster repairs around window casings can seem daunting, but with a clear understanding of the timeline, you’ll find it’s a manageable project. This step-by-step guide breaks down the process into digestible stages, helping you complete your repair efficiently and effectively. From assessing damage to applying the final coat of paint, let’s explore how

Repairing Plaster Around Window Casings: A Step-by-Step Timeline for Straight Returns and Crisp Corners Read More »

Worker applying plaster over blue reinforcing mesh on wall

Reinforcing Plaster at Material Transitions: A Step-by-Step Timeline to Avoid Telegraphing

Introduction Embarking on a DIY plaster reinforcement project? Understanding the timeline is crucial for successful results. Reinforcing plaster at material transitions involves careful planning and execution, with each step building upon the last. To avoid common mistakes and ensure your finished surfaces don’t telegraph through, follow this comprehensive step-by-step timeline tailored to your specific transition

Reinforcing Plaster at Material Transitions: A Step-by-Step Timeline to Avoid Telegraphing Read More »

Close-up of a pointed metal scratch tool tip wrapped in paper

Plaster Over Cement Board: Step-by-Step Timeline and Duration Guide

Introduction The process of plastering over cement board involves several steps that require careful timing to ensure a successful outcome. Understanding the timeline and duration for each stage is crucial for planning your project effectively. In this guide, we’ll walk you through the step-by-step timeline of plastering over cement board, helping you allocate the right

Plaster Over Cement Board: Step-by-Step Timeline and Duration Guide Read More »

Close-up of cracked and peeling veneer plaster on wall

Veneer Plaster Repairs: Step-by-Step Timeline and Duration Guide

Introduction Repairing veneer plaster can be a time-sensitive task, especially when dealing with cracks or holes that expose underlying structures to moisture and damage. This step-by-step guide walks you through the process from start to finish, helping you understand how long each stage takes so you can plan your repair timeline effectively. Whether you’re a

Veneer Plaster Repairs: Step-by-Step Timeline and Duration Guide Read More »

Interior room with drywall seams covered in joint compound

Plaster Over Blueboard: Timeline & Steps for a Smooth Finish

Introduction The process of applying veneer plaster over blueboard can seem daunting, but understanding the timeline and steps involved can help you plan your project effectively. This guide walks you through the duration of each stage, from preparation to finishing, ensuring you stay on track and achieve a smooth, professional-looking result. Before we dive into

Plaster Over Blueboard: Timeline & Steps for a Smooth Finish Read More »