Search Results for: drywall op

Wall corner with visible mold and water damage stains

Repainting After Mold Remediation: Drying Targets, Primers, and Mildew-Resistant Topcoats

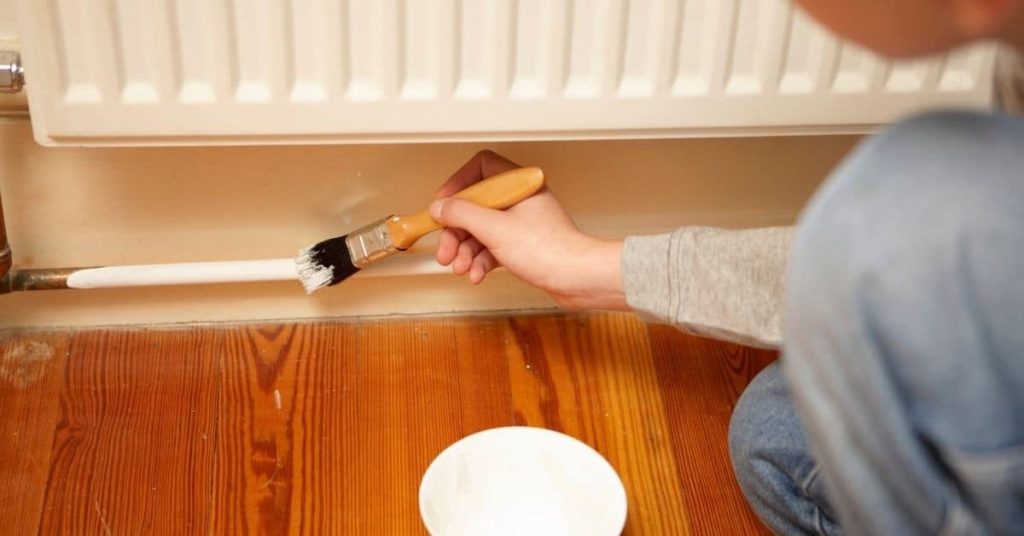
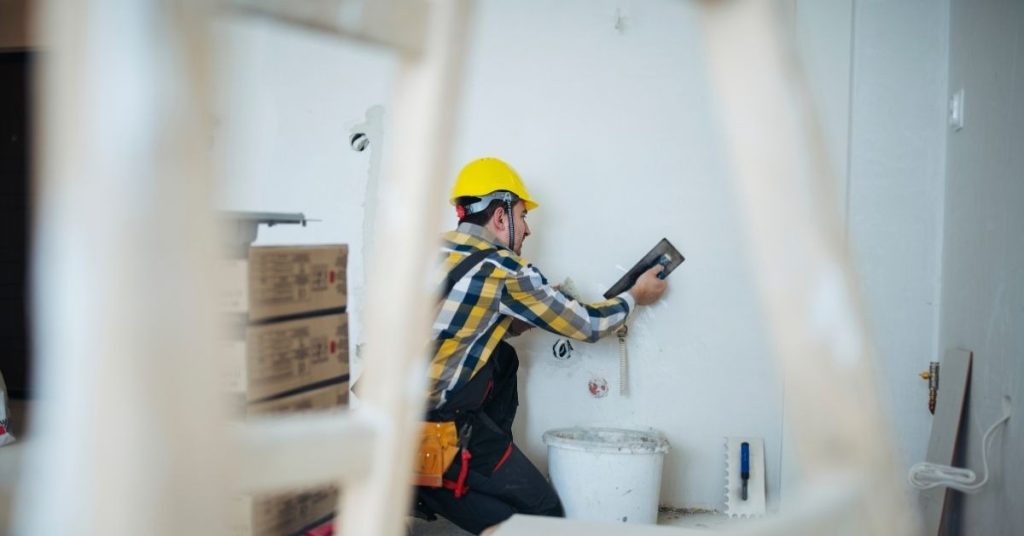
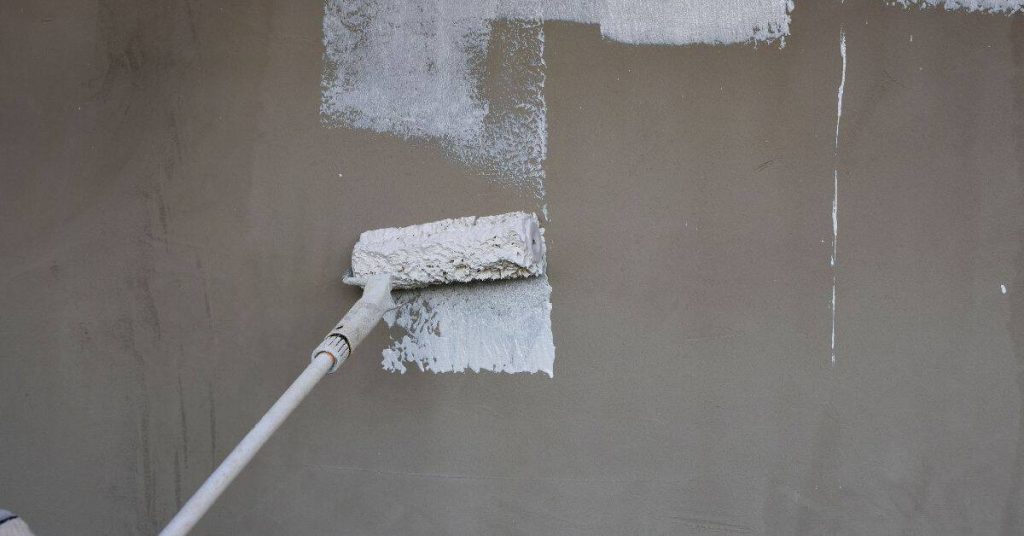
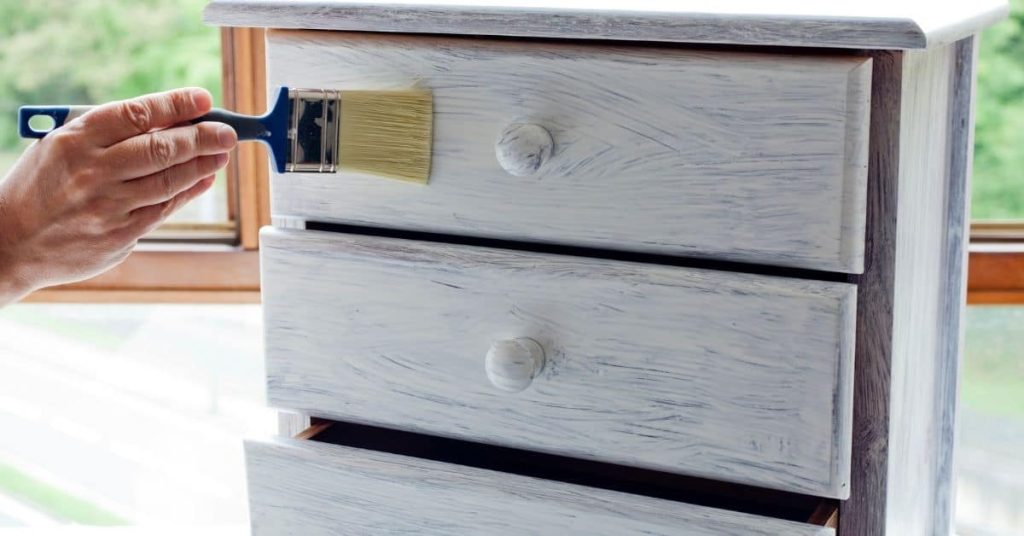
Introduction Repainting after mold remediation means waiting until the surface is fully dry, priming any repaired or stained areas, and finishing with a mildew-resistant topcoat chosen for the substrate. Do the drying check yourself and follow product label instructions for primer and paint compatibility. Treat it like a site repair: clean, dry, prime, then topcoat. […]

Repainting After Mold Remediation: Drying Targets, Primers, and Mildew-Resistant Topcoats Read More »

Person painting metal pipe below radiator with white paintbrush

Painting Stainless Steel: Etch Options, Primers, and What Won’t Stick

Introduction Painting stainless steel means making a slick, non-porous metal accept paint by roughening the surface or using the right primer and prep; it’s not impossible but it takes proper etching or a chemically compatible primer. In practical DIY terms you’ll need to clean, degrease, and choose between mechanical scuffing or a metal etch product,

Painting Stainless Steel: Etch Options, Primers, and What Won’t Stick Read More »

Worker applying plaster to interior wall wearing yellow safety helmet

Plaster Baseboard Dings and Gouges: Fast Patch Options That Don’t Shrink Back – Step-by-Step Timeline

Introduction Repairing plaster baseboard dings and gouges can be a quick job if you follow the right steps in the correct order. Understanding the timeline of these repairs helps ensure you complete the project efficiently without compromising quality. In this guide, we’ll walk you through the step-by-step process, focusing on how long each task takes,

Plaster Baseboard Dings and Gouges: Fast Patch Options That Don’t Shrink Back – Step-by-Step Timeline Read More »

Person patching ceiling plaster near window with putty knife

Plaster Repairs Around Ceiling Light Boxes: A Step-by-Step Timeline to Stop Ring Cracks

Introduction Tackling plaster repairs around ceiling light boxes can seem daunting, but breaking down the process into a clear timeline makes it manageable. This step-by-step guide walks you through each stage, from preparation to finishing, ensuring you complete the job efficiently and effectively. The key to successful repair lies in understanding how long each task

Plaster Repairs Around Ceiling Light Boxes: A Step-by-Step Timeline to Stop Ring Cracks Read More »

Worker smoothing wet plaster on wall with gloved hand

Sealing Clay Plaster Without Plasticizing It: Wax, Soap, and Breathable Options

Introduction Sealing clay plaster without plasticizing it means using finishes that protect and repel moisture while keeping the plaster’s porous, vapor-permeable character — think wax, soap, and breathable sealers. In practice that means choosing products labeled as breathable and following the manufacturer’s instructions for coverage and recoat times; when in doubt, test a small area

Sealing Clay Plaster Without Plasticizing It: Wax, Soap, and Breathable Options Read More »

Paint roller applying white paint on brown wall surface

How Long Does It Take to Create a Paint Sample Wall Without Ruining Drywall?

Introduction Planning to test paint colors before committing to a full wall? You’re not alone. But how long does it take to create a paint sample wall without damaging your drywall? In this guide, we’ll break down the process into clear steps and estimate the time required for each task, so you can plan your

How Long Does It Take to Create a Paint Sample Wall Without Ruining Drywall? Read More »

Hand holding paintbrush applying white paint on wooden dresser drawer

Back-Brushing and Back-Rolling After Spraying: Timing Techniques for Optimal Results

Introduction Timing is crucial when it comes to back-brushing and back-rolling after spraying. Do these techniques too early, and you risk ruining your freshly applied coating. Too late, and the material may not adhere properly. In this guide, we’ll walk you through the ideal timing for back-brushing and back-rolling, ensuring you achieve a smooth, even

Back-Brushing and Back-Rolling After Spraying: Timing Techniques for Optimal Results Read More »

Hands wearing gloves applying stucco with trowel on wall

Stucco at Roof Parapets: Coping, Drips, and How to Stop Water From Getting Behind

Introduction Stucco at roof parapets is the exterior finish where the wall meets the top of a low roof and needs proper coping and drip details to keep water from getting behind the finish. Do a hands-on inspection for gaps, cracked stucco, or missing backer and check product labels and local rules for flashing, sealants,

Stucco at Roof Parapets: Coping, Drips, and How to Stop Water From Getting Behind Read More »

Man drilling into drywall while another man observes

Solo Drywall Hanging Without Damage: Carry Techniques, Corner Protection, and Smarter Staging

Introduction Solo drywall hanging without damage means using carry techniques, corner protection, and staging strategies that let one person move, lift, and position panels while controlling edges and corners to avoid dents and cracks. I’ll show practical ways to carry sheets, shield vulnerable corners, and set up the work area so you can work alone

Solo Drywall Hanging Without Damage: Carry Techniques, Corner Protection, and Smarter Staging Read More »

Gloved hands connect electrical wires to a wall switch box.

Cutting Drywall for Electrical Boxes: Fast Templates, Router Settings, and How to Fix Overcuts Cleanly

Introduction Cutting drywall for electrical boxes means marking the box outline, cutting a neat opening, and adjusting if you nick too much so the box stays secure and the finish looks right. Think like a tradesperson: use a reliable method for layout, steady cutting tools, and check the box and device for fit before you

Cutting Drywall for Electrical Boxes: Fast Templates, Router Settings, and How to Fix Overcuts Cleanly Read More »