Search Results for: control joint

Hand applying white grout to ceramic tiles with a grout float

Tile over Tile: When It’s Acceptable and the Surface Prep That Makes It Work

Introduction Tile over tile is acceptable when the existing tile surface is sound, clean, and properly stabilized. If the current tile is loose or cracked, or the surface is delaminating, you’ll want to address that first. This article walks you through what to check and why, in plain DIY language. First, inspect the substrate for […]

Tile over Tile: When It’s Acceptable and the Surface Prep That Makes It Work Read More »
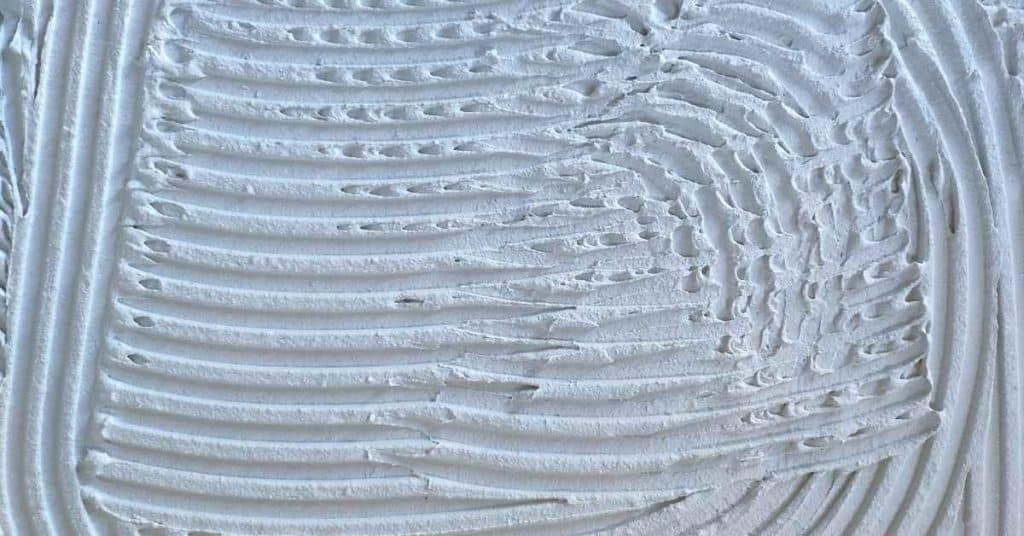
Close-up of white tile adhesive with combed lines

Setting Mosaic Sheets Straight: How to Hide Sheet Lines and Avoid “Snake” Rows

Introduction Setting mosaic sheets straight means aligning the sheets so the grout lines stay in straight, even rows and the sheet edges blend with the pattern. You’ll want a straight edge, a notched trowel, spacers, and a level, plus a method to back-butter where needed. Always check the adhesive label and tile sheet instructions for

Setting Mosaic Sheets Straight: How to Hide Sheet Lines and Avoid “Snake” Rows Read More »

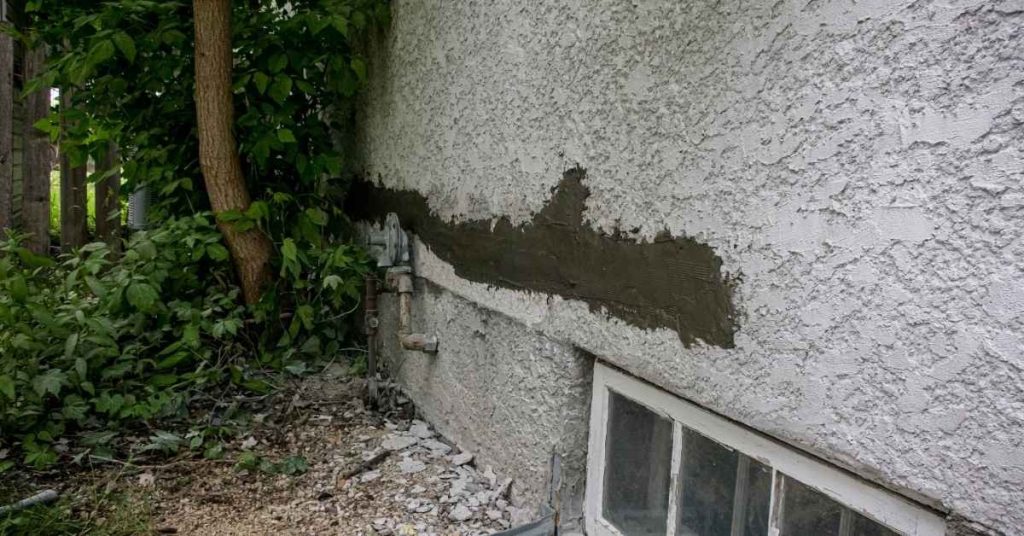
Stucco Color Coat Repairs: Why They Fail and How to Avoid Weak “Skim” Patches

Stucco Color Coat Repairs: Why They Fail and How to Avoid Weak “Skim” Patches

Introduction A Stucco Color Coat Repair is fixing the top stucco layer to seal cracks and restore the surface. This kind of patch relies on proper surface prep, compatible material, and a smooth skim to blend with the surrounding wall. If the skim is weak, patches can crack, delaminate, or look obvious. You’ll need basic

Stucco Color Coat Repairs: Why They Fail and How to Avoid Weak “Skim” Patches Read More »

Adding a Decorative Band: How to Attach Trim Screeds and Keep Lines Straight

Adding a Decorative Band: How to Attach Trim Screeds and Keep Lines Straight

Introduction Adding a decorative band means attaching trim screeds along a wall to create a framed, visual line while keeping the lines straight. Choose trim and screws appropriate for your surface and check the label or manufacturer instructions for compatibility. Keep the line true with a chalk line and clamps as you set each piece.

Adding a Decorative Band: How to Attach Trim Screeds and Keep Lines Straight Read More »

Parapet Caps and Stucco: Where Water Gets in and How to Detail the Top Edge

Parapet Caps and Stucco: A Step-by-Step Timeline for Installation and Top-Edge Detailing

Introduction The installation of parapet caps is a critical step in protecting your building’s exterior from water intrusion. But how long does it take, and what are the key steps involved? In this guide, we’ll walk you through a detailed timeline for installing stucco parapet caps, ensuring that each stage is completed efficiently and effectively.

Parapet Caps and Stucco: A Step-by-Step Timeline for Installation and Top-Edge Detailing Read More »

Chimney Stucco Failures: Heat

Chimney Stucco Failures: Heat – Timeline & Duration of Repairs

Introduction The timeline and duration of chimney stucco repairs can vary greatly depending on the extent of heat damage. Understanding this timeline helps you plan your project effectively. In this guide, we’ll walk you through the step-by-step process of repairing heat-damaged chimney stucco, focusing on how long each stage takes and what affects the overall

Chimney Stucco Failures: Heat – Timeline & Duration of Repairs Read More »

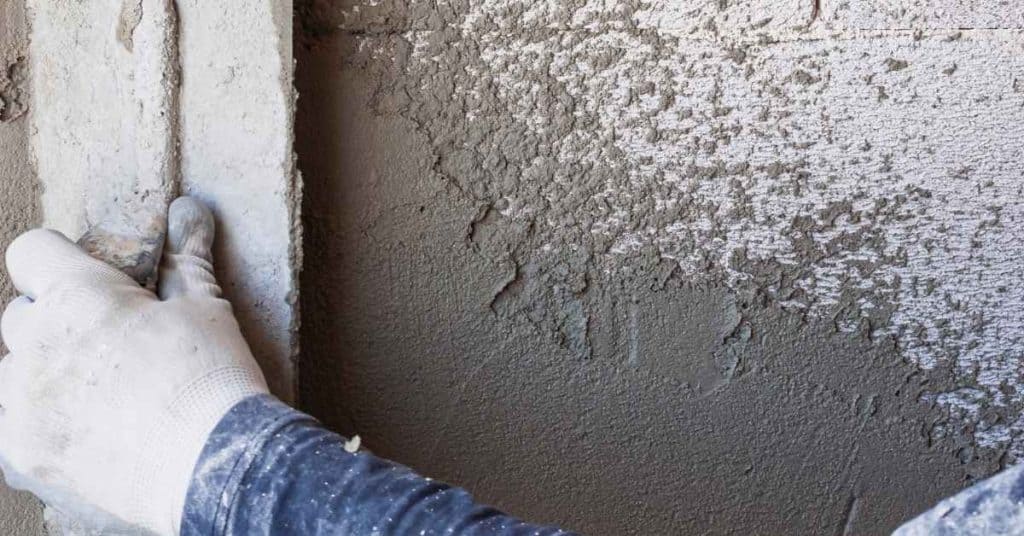
Stucco Texture Options That Hide Repairs: Sand Float Vs Lace Vs Dash Vs Skip Trowel

Stucco Repair Timeline: Step-by-Step Guide to Hiding Repairs with Sand Float, Lace, Dash, and Skip Trowel Textures

Introduction Embarking on a stucco repair project? Understanding the timeline is crucial for planning your work efficiently. This guide walks you through the step-by-step process of hiding repairs using sand float, lace, dash, and skip trowel textures, ensuring you complete each task within the right timeframe. Whether you’re a seasoned DIYer or a first-timer, this

Stucco Repair Timeline: Step-by-Step Guide to Hiding Repairs with Sand Float, Lace, Dash, and Skip Trowel Textures Read More »

Stucco Patch Curing Stains: How to Reduce “Dark Rings” Around Repairs

Stucco Patch Curing Stains: How to Reduce “Dark Rings” Around Repairs

Introduction Dark rings around stucco repairs are staining caused by moisture during the curing process. This article calls out a practical, hands-on approach to reduce those stains while you patch. What you do and when you do it matters for a cleaner, longer-lasting repair. Plan ahead for weather, especially in Eugene, and keep the surface

Stucco Patch Curing Stains: How to Reduce “Dark Rings” Around Repairs Read More »

Fasteners Through Stucco: Sealing Strategies That Don’t Create a Water Trap

Sealing Fasteners Through Stucco: A Step-by-Step Timeline to Avoid Water Traps

Introduction The process of sealing fasteners through stucco can seem daunting, but with a clear understanding of the timeline and steps involved, you can ensure a watertight finish that lasts. This guide walks you through the entire process, from site assessment to final inspection, with an emphasis on how long each step takes. Whether you’re

Sealing Fasteners Through Stucco: A Step-by-Step Timeline to Avoid Water Traps Read More »

Stucco over Foam (Eifs/Thin Coat): What Changes with Base Coat and Mesh Placement

EIFS Base Coat and Mesh Over Foam: Installation Basics

Introduction “Stucco over foam” can mean EIFS, EIFS with drainage, a proprietary thin-coat stucco system, or another foam-render assembly. They are not interchangeable. Before buying base coat or mesh, identify the manufacturer, system name, insulation board, substrate, attachment method, water-resistive barrier (WRB) or air/water-resistive barrier (AWRB), drainage details, base coat, mesh, primer, finish, and sealants.

EIFS Base Coat and Mesh Over Foam: Installation Basics Read More »