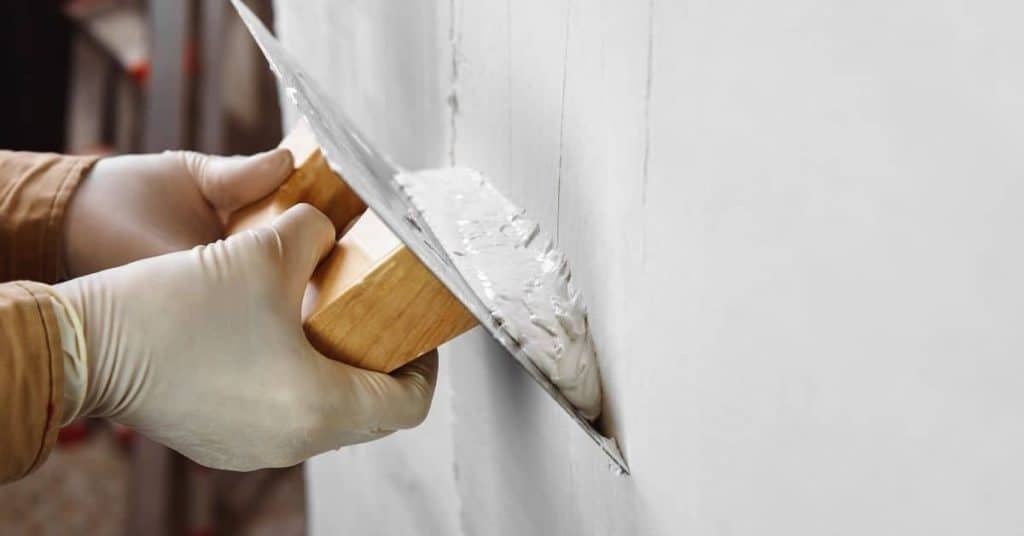
Fixing Plaster at Baseboards: Rebuilding the Bottom Edge Without Removing All Trim
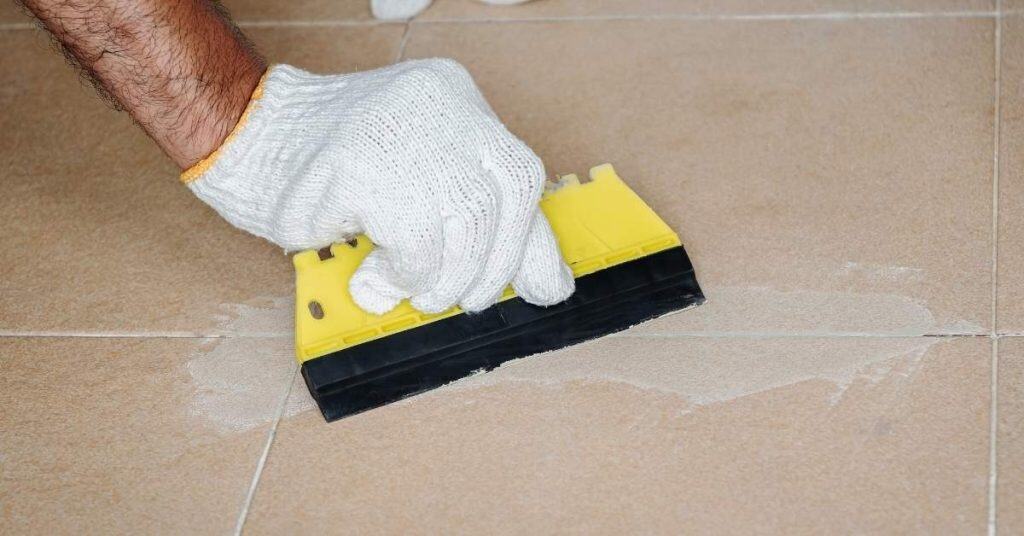
Introduction This is fixing plaster at the baseboard by rebuilding the bottom edge while leaving the trim in place. It’s a hands-on repair that tightens up gaps and brittle edges along the wall line. Plan to clean, assess damage, and mix materials that suit your wall type and existing plaster. You’ll need to protect the […]
Fixing Plaster at Baseboards: Rebuilding the Bottom Edge Without Removing All Trim Read More »