Search Results for: adhesive for stone bonding

Glossy shiny black epoxy coated floor reflecting light

Polyurea vs Epoxy Floor Coatings: Where Fast Cure Helps and Where It Causes Failure

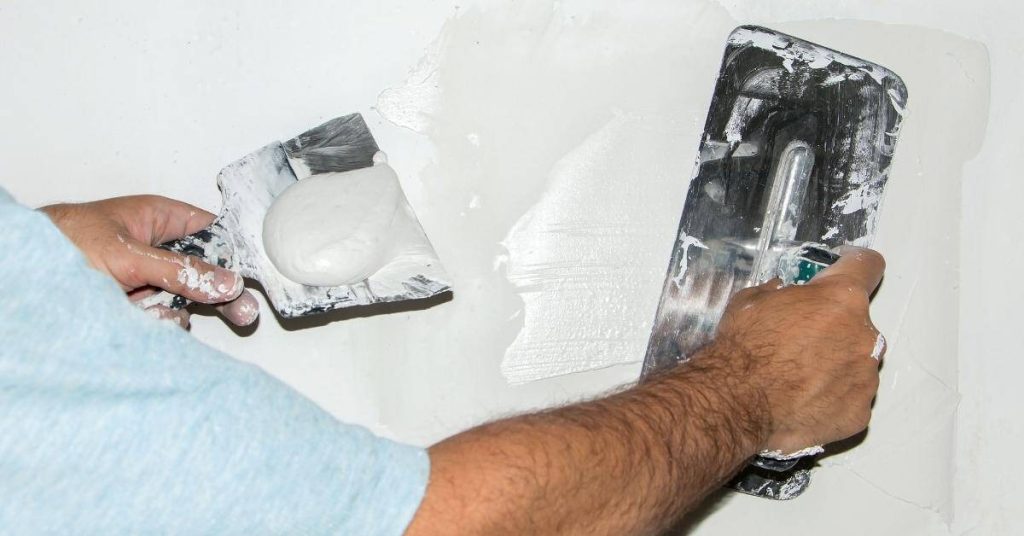
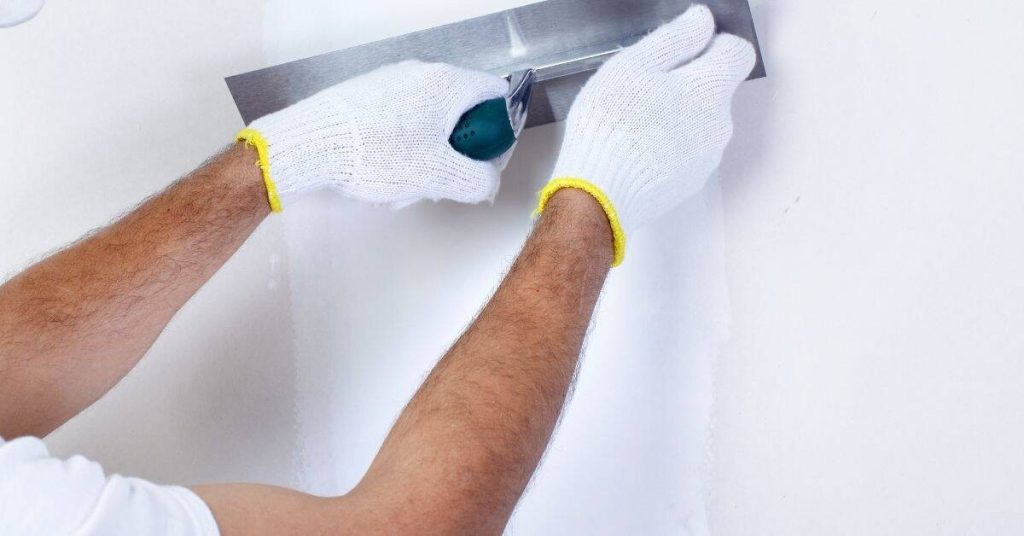
Introduction Polyurea and epoxy are two different floor coatings: polyurea cures very fast and stays flexible, while epoxy cures slower and tends to be harder and more rigid. For a DIYer that means polyurea can get you back on the floor quickly, but the fast cure also makes surface prep and application less forgiving. Check […]

Polyurea vs Epoxy Floor Coatings: Where Fast Cure Helps and Where It Causes Failure Read More »

Smooth beige polished lime plaster wall surface

Polished Lime Plaster in Wet Areas: Timeline & Duration for DIY Installation

Introduction The timeline and duration of installing polished lime plaster in wet areas can vary depending on several factors. Understanding the process and its key stages will help you plan your project effectively. In this guide, we’ll break down the installation process into a clear timeline, ensuring you know what to expect at each stage

Polished Lime Plaster in Wet Areas: Timeline & Duration for DIY Installation Read More »

smooth gray plaster wall surface texture

Fixing Rust Bleed Through Plaster: A Step-by-Step Timeline

Introduction Tackling rust bleed through plaster can seem daunting, but breaking down the process into a clear timeline makes it manageable. This step-by-step guide walks you through identifying the problem, preparing the surface, isolating metal, and sealing the area – all within a realistic timeframe. Understanding how long each stage takes helps you plan your

Fixing Rust Bleed Through Plaster: A Step-by-Step Timeline Read More »

Person applying white plaster to wall with trowel and hawk

Plaster Undercoats on CMU: Step-by-Step Timeline and Duration Guide

Introduction The timeline for applying plaster undercoats on concrete masonry units (CMU) is crucial to ensure a successful, durable finish. Understanding the duration of each step helps you plan your DIY project efficiently. From surface preparation to cure timing, this guide walks you through the process, helping you allocate sufficient time for each task and

Plaster Undercoats on CMU: Step-by-Step Timeline and Duration Guide Read More »

Hands in gloves smoothing white lime plaster on wall

Microcracks in Lime Plaster: Timeline of Appearance and Causes

Introduction The timeline of microcrack appearance in lime plaster can provide valuable insights into their cause, helping you decide whether they’re normal crazing or movement cracks. Understanding this timeline can save you time, money, and unnecessary repairs. In this guide, we’ll explore the typical timeline of microcrack development in lime plaster, from application to curing,

Microcracks in Lime Plaster: Timeline of Appearance and Causes Read More »

Hand applying textured plaster to wall with trowel

Plaster Feather Edges That Don’t Flake: A Step-by-Step Timeline

Introduction Feathering plaster edges that won’t flake requires careful timing and planning. Each step builds on the previous one, so understanding the timeline is crucial for a successful outcome. In this guide, we’ll walk you through the process, breaking down each stage by time, so you can complete your project efficiently and achieve durable, long-lasting

Plaster Feather Edges That Don’t Flake: A Step-by-Step Timeline Read More »

gray venetian plaster texture on masonry surface

Mineral Paint vs Acrylic on Masonry: Troubleshooting Common Issues and Fixes

Introduction Applying paint to masonry surfaces can present unique challenges. Whether you’re dealing with moisture issues, peeling paint, or color fading, understanding the differences between mineral and acrylic paints is key to troubleshooting common problems. In this guide, we’ll help you identify symptoms, diagnose underlying issues, and provide practical fixes tailored to each type of

Mineral Paint vs Acrylic on Masonry: Troubleshooting Common Issues and Fixes Read More »

Brick chimney with metal flashing on shingled roof

How to Rebuild Stucco at a Chimney Cricket: Flashing Integration Without Leaks

Introduction Rebuilding stucco at a chimney cricket means removing damaged material, repairing the substrate, and re-flashing the cricket so water is directed away from the chimney without leaks. This is a hands-on DIY task that combines cutting back stucco, checking and repairing the underlying sheathing and metal flashing, and installing compatible stucco layers. Before you

How to Rebuild Stucco at a Chimney Cricket: Flashing Integration Without Leaks Read More »

Smooth light blue painted stucco wall surface

Stucco Blisters Under Finish Coat: Causes, Cutback Rules, and Rebuild Steps

Introduction Stucco blisters under the finish coat are pockets of trapped moisture or air beneath the surface layer that lift the finish and can lead to cracking or detachment. In plain jobsite terms, they usually mean water got into the wall system, the assembly dried poorly, or the underlying base or lath bond failed. I’ll

Stucco Blisters Under Finish Coat: Causes, Cutback Rules, and Rebuild Steps Read More »