Search Results for: adhesive for stone bonding

Hand in glove holding notched trowel spreading tile adhesive

Prepping Floors for Tile (Problems Explained: Causes, Testing, and Fixes)

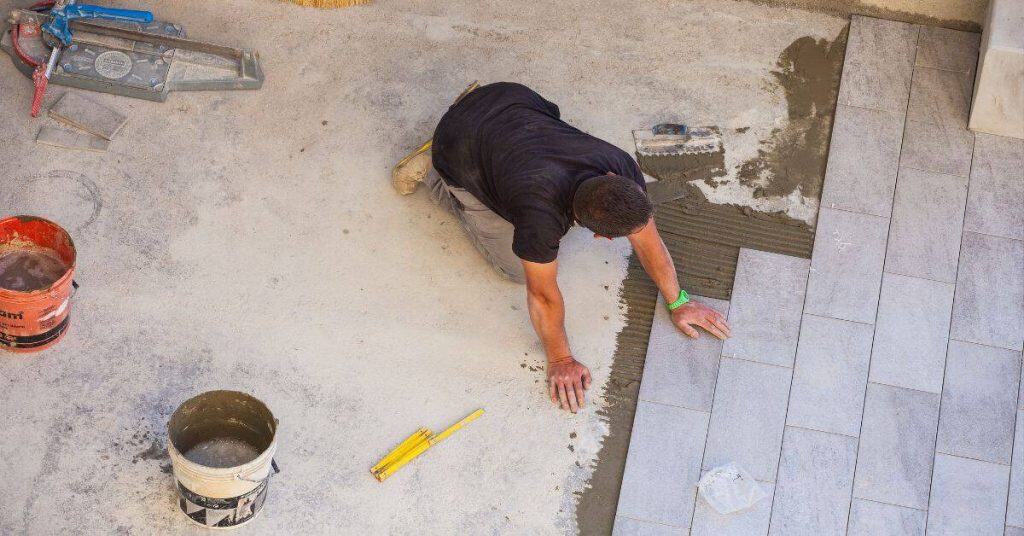
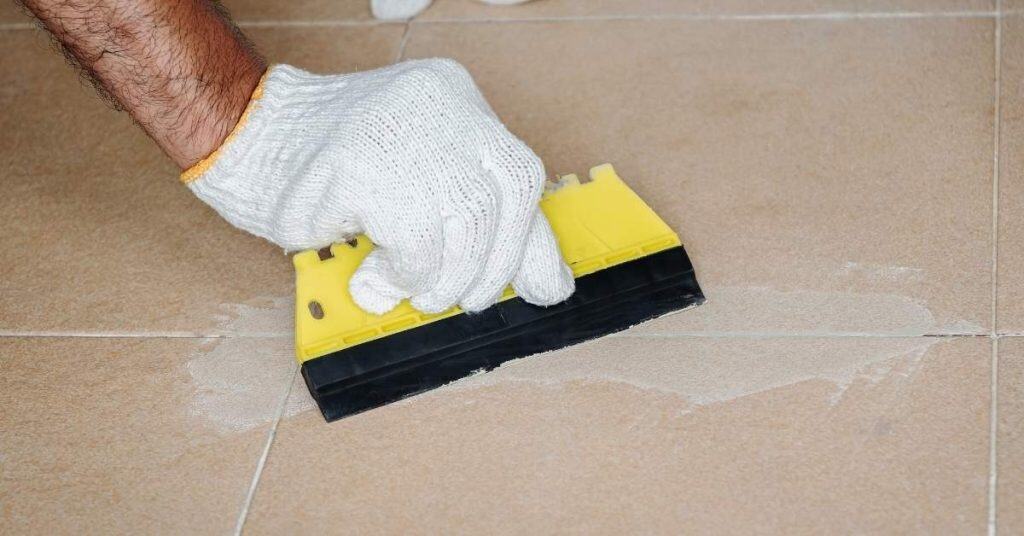
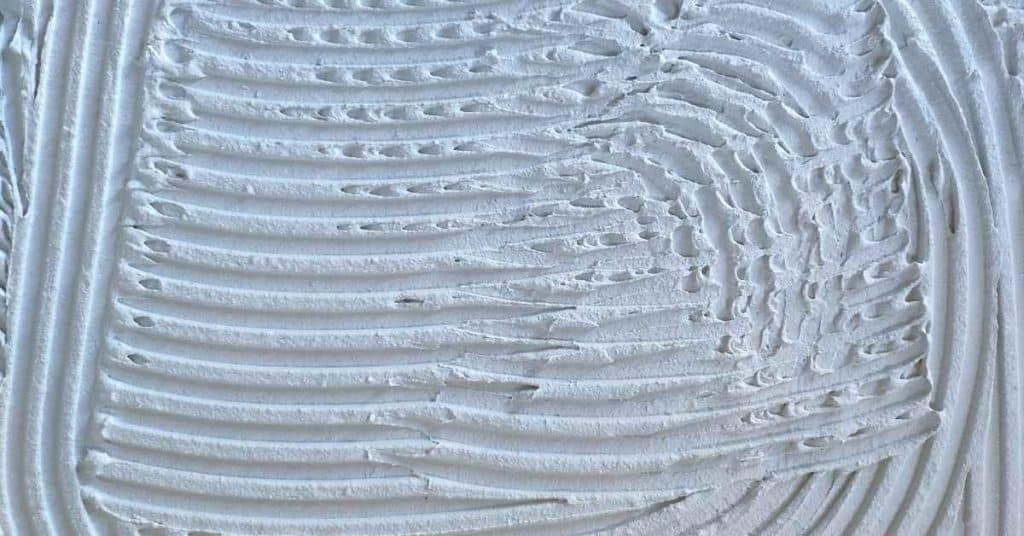
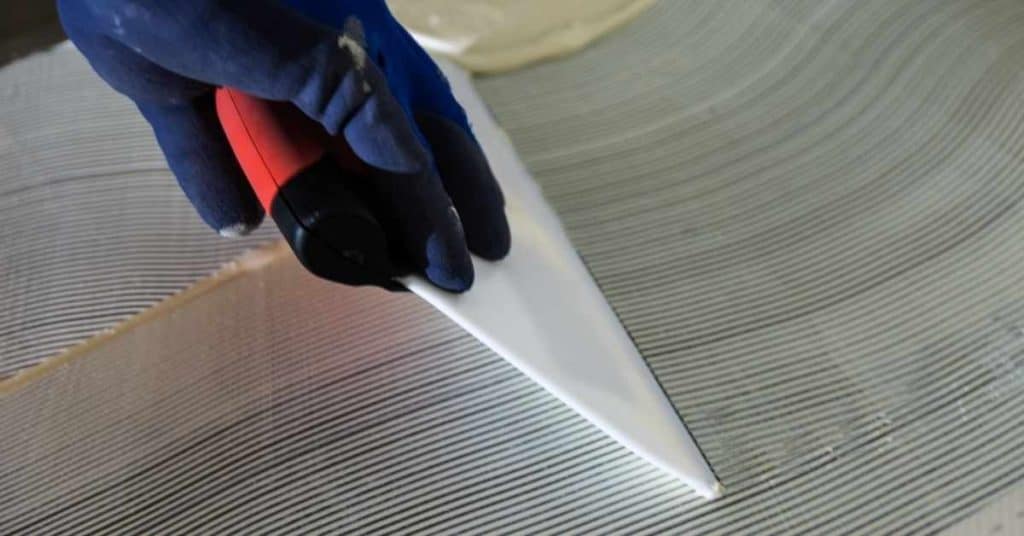
Introduction Prepping floors for tile means making the surface clean, flat, and dry enough so tile adhesive can bond properly. This article walks you through surveying the floor, testing basics, and fixes you can do with standard tools. It’s a hands-on guide, not a lecture, and I’ll point you to what to check on labels, […]

Prepping Floors for Tile (Problems Explained: Causes, Testing, and Fixes) Read More »

Man kneeling installing rectangular floor tiles

Preventing Hollow Tiles: Spotting Poor Bond Early and Correcting Course

Introduction Hollow tiles occur when the bond between the tile and the substrate fails, leaving empty space behind. You can spot it early by tapping tiles and listening for a dull thud, or feeling movement underfoot. Look for inconsistent grout lines or tiles that crack easily under light load. Correcting course means improving surface prep,

Preventing Hollow Tiles: Spotting Poor Bond Early and Correcting Course Read More »

Drop ceiling grid with missing and installed tiles

Tile Tenting: Why Floors Pop and How to Prevent It During Install

Introduction Tile tenting happens when a floor under the tile lifts or pushes up, creating a tent-like shape. This is usually caused by movement in the subfloor or improper adhesive setup during install. Starting a repair requires finding the source and reworking the substrate and setting materials. Preventing tenting starts with solid prep: fix any

Tile Tenting: Why Floors Pop and How to Prevent It During Install Read More »

Hand with white glove spreading grout on floor tiles

Tile on Plywood: the Right Build-up so You Don’t Get Cracked Grout Lines

Introduction Tile on plywood is a build-up method that stabilizes a tile surface on a plywood base to prevent cracking. Prep the plywood by cleaning it, dulling any slick spots, and making sure the panel is firmly fastened. Choose an adhesive and any underlayment per the label and local rules, and follow the manufacturer’s prep

Tile on Plywood: the Right Build-up so You Don’t Get Cracked Grout Lines Read More »

Black dimpled membrane installed on concrete foundation wall

Uncoupling Membrane Basics: Where It’s Worth the Money and Where It Isn’t

Introduction Uncoupling membranes are a lightweight underlayment that helps separate layers to move with the substrate. They’re designed to reduce cracking and relieve some movement, but you need to check what the product is rated for and follow the label. In plain terms, you install them between the substrate and the finish to give you

Uncoupling Membrane Basics: Where It’s Worth the Money and Where It Isn’t Read More »

Yellow and black electric hammer drill on white background

Removing Tile Without Destroying the Substrate: Tool Choices and Realistic Expectations

Introduction Removing tile without destroying the substrate means lifting the tile and backing material carefully while protecting the surface underneath. Have the right tools ready, like a chisel, a pry bar, and an oscillating multi-tool with a scraper blade, and plan your work so you don’t pry blindly. Start by testing a corner tile and

Removing Tile Without Destroying the Substrate: Tool Choices and Realistic Expectations Read More »

Hand applying white grout to ceramic tiles with a grout float

Tile over Tile: When It’s Acceptable and the Surface Prep That Makes It Work

Introduction Tile over tile is acceptable when the existing tile surface is sound, clean, and properly stabilized. If the current tile is loose or cracked, or the surface is delaminating, you’ll want to address that first. This article walks you through what to check and why, in plain DIY language. First, inspect the substrate for

Tile over Tile: When It’s Acceptable and the Surface Prep That Makes It Work Read More »

Close-up of white tile adhesive with combed lines

Setting Mosaic Sheets Straight: How to Hide Sheet Lines and Avoid “Snake” Rows

Introduction Setting mosaic sheets straight means aligning the sheets so the grout lines stay in straight, even rows and the sheet edges blend with the pattern. You’ll want a straight edge, a notched trowel, spacers, and a level, plus a method to back-butter where needed. Always check the adhesive label and tile sheet instructions for

Setting Mosaic Sheets Straight: How to Hide Sheet Lines and Avoid “Snake” Rows Read More »