Search Results for: Finish

Masonry tools with bricks and cement on unfinished wall

Acid cleaning brick and masonry: test patches, neutralizing, and safer alternatives

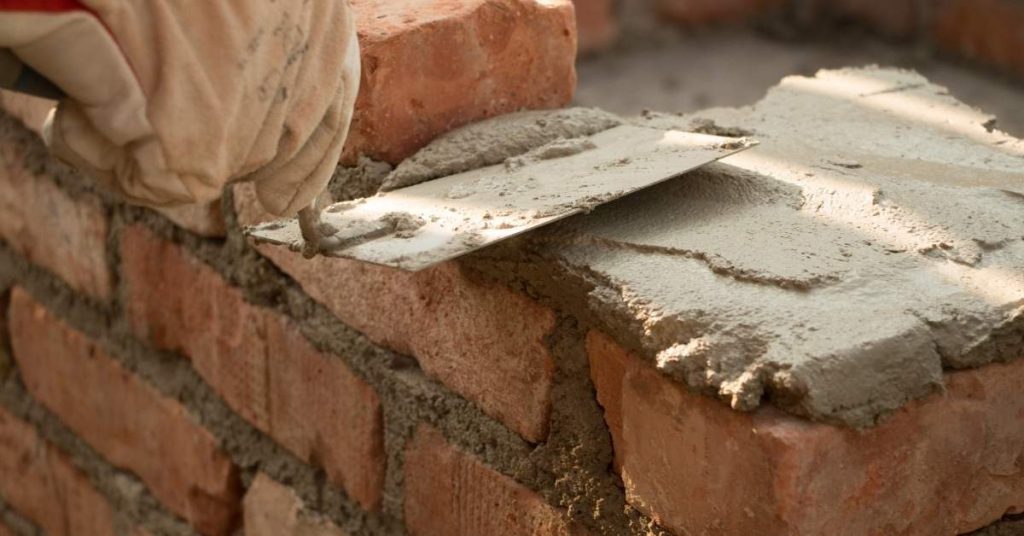
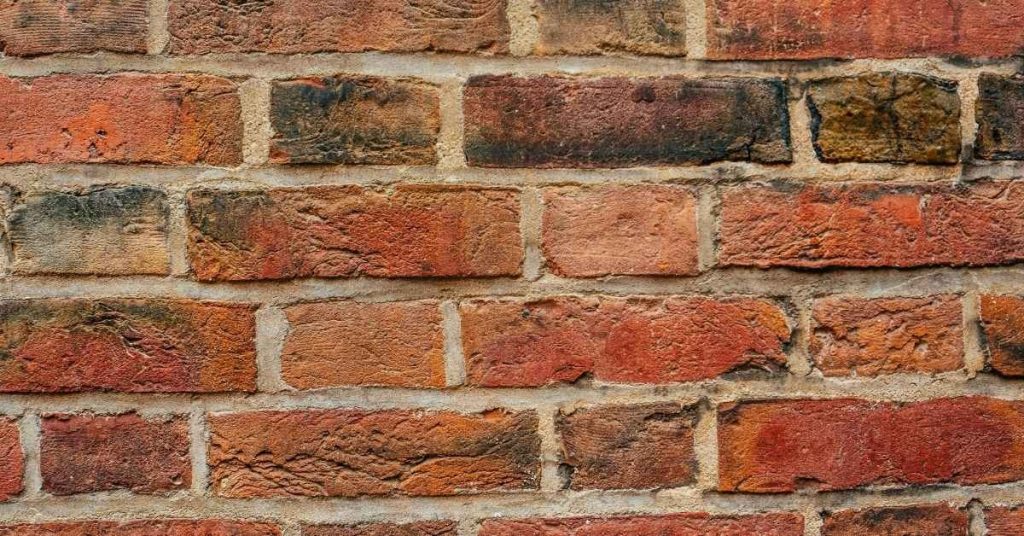
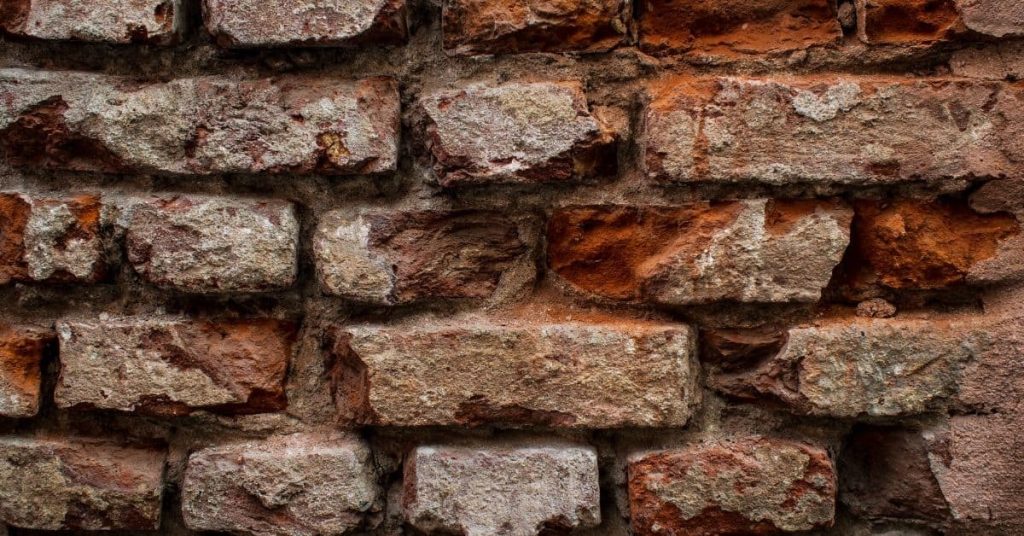
Introduction Acid cleaning brick and masonry is the process of using a chemical acid to remove surface buildup and stains from brick or stone. Muriatic acid is a common option, but it poses serious health and material risks and must be handled with care. Always verify manufacturer instructions and local rules before use. Safe application […]

Acid cleaning brick and masonry: test patches, neutralizing, and safer alternatives Read More »

Old mixing bucket with mortar mixer tool inside

Too-hard brick mortar damage: signs, causes, and how to correct future repairs

Introduction Too-hard brick mortar damage is damage that results when the mortar in a wall has become excessively hard and brittle, leading to cracks and bond failure. Signs include visible cracks between bricks, loose or hollow-sounding joints, and bricks that push or tilt out of place. It often stems from over-tamped or overly aggressive mixes,

Too-hard brick mortar damage: signs, causes, and how to correct future repairs Read More »

Gloved hand applying mortar on brick wall with trowel

Repointing brick mortar: matching hardness and color without damaging the units

Introduction Repointing brick mortar is the process of renewing the mortar between bricks to restore structure, weatherproofing, and appearance. It involves removing deteriorated mortar and packing in new mortar that bonds to the bricks. This is a hands-on repair that requires choosing the right mix and applying it carefully to avoid damaging the units. To

Repointing brick mortar: matching hardness and color without damaging the units Read More »

close-up of weathered red brick wall with mortar joints

Raking out brick joints safely: depth targets and avoiding chipped arrises

Introduction Raking out brick joints safely means removing deteriorated mortar from between bricks to a controlled depth while protecting the surrounding masonry. This hands-on task requires the right tools and steady technique to avoid damaging arrises. A sensible approach focuses on safe depth targets and careful removal to prevent chipping. Choose appropriate tools designed for

Raking out brick joints safely: depth targets and avoiding chipped arrises Read More »

Wooden boathouse on stilts over calm water at dusk

Choosing brick joint profiles: concave, flush, struck—how each sheds water

Introduction Brick joint profiles are the shapes formed where bricks meet mortar, influencing water shedding from a wall. Understand how each profile behaves in wet conditions to make an informed choice based on your climate and maintenance routine. Concave joints: Shed water along the mortar surface. Flush joints: Sit flat, providing a smooth finish but

Choosing brick joint profiles: concave, flush, struck—how each sheds water Read More »

concrete block basement wall wooden stairs hand tools hanging

Winter salt and brick efflorescence: how de-icing habits show up on your walls

Introduction Winter salt use and brick efflorescence are the mineral deposits and moisture issues that appear on brick walls due to de-icing salts moving through the masonry. This article explains how everyday snow and ice removal can affect joints and surface finishes. You’ll learn how to spot the signs and why maintaining joints matters. Watch

Winter salt and brick efflorescence: how de-icing habits show up on your walls Read More »

close-up of weathered rough red brick wall texture

Cleaning soot on brick fireplaces: products that won’t etch and how to avoid streaks

Introduction Soot on brick fireplaces can be cleaned safely with non-etching cleaners and careful scrubbing. Soot is a byproduct that can stain surfaces and leave a dusty film. Choose cleaners labeled gentle for masonry and follow the product directions. Gather soft brushes, sponges, and a bucket of warm water, and avoid abrasive pads that can

Cleaning soot on brick fireplaces: products that won’t etch and how to avoid streaks Read More »

Plaster worker smoothing wall with trowel wearing black glove

Common rookie plaster mistakes: overwatering, overworking, and chasing perfection too soon

Introduction Rookie plaster mistakes are doing too much water, overworking the mix, and chasing a perfect finish before it’s ready. These habits can cause cracks, shrinkage, and a surface that won’t hold paint. Take a steady, practical approach: mix only what you need, apply in damp coats, and let each layer set. During a shifting

Common rookie plaster mistakes: overwatering, overworking, and chasing perfection too soon Read More »

Plastering trowel with red handle on bucket filled with plaster

Best trowel angles for beginner plasterers: avoiding gouges and lap marks

Introduction The best trowel angles for beginner plasterers are the angles that keep the blade nearly flat against the surface to reduce gouges. Maintain a steady, light pressure and smooth motion to minimize digging into the plaster. Start with small, even passes and check your work as you go. Different trowel types and edge shapes

Best trowel angles for beginner plasterers: avoiding gouges and lap marks Read More »

Hand pressing foam insulation board against plaster wall

Adding insulation behind plaster: approaches that don’t destroy historic trim

Introduction Adding insulation behind plaster is placing insulation in the wall cavity behind the plaster to improve warmth while preserving historic trim. It aims to balance preservation with better energy use using approaches that keep trim intact. You’ll work with methods that minimize damage to plaster surfaces and trim during installation. Common options for historic

Adding insulation behind plaster: approaches that don’t destroy historic trim Read More »