
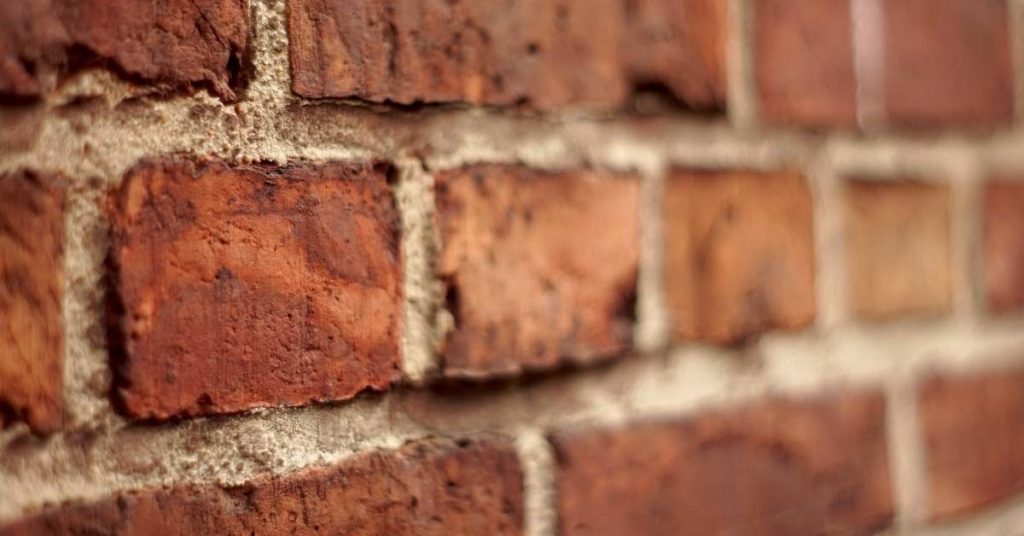
Introduction
Lime mortar is a traditional, breathable binder used for soft historic brick.
Portland cement mixes are stronger and quicker to set but can trap moisture and damage delicate masonry. This DIY guide helps you decide what to use and how to work safely around fragile brick.
Before you start, test a small area and read the label for your mix. Follow the manufacturer’s instructions for mixing and tooling, and check local codes or historic guidelines. If in doubt, choose a lime-based option and plan for slower work and breathable joints.
Key takeaways
- Soft historic brick requires lime or hydraulic lime with compatible mortar.
- Assess existing mortar color, texture, and joint profile before choosing replacement.
- Pure Portland cement is generally unsuitable for irreplaceable soft brick conditions.
- Hydraulic lime or lime-hydraulic hybrids offer breathable joints for historic walls.
- Request product labels, test reports, and installation guidelines from suppliers; check safety data.
- Follow a staged repointing plan; monitor moisture and brick softness during cure; wear PPE.
Table of Contents
- Introduction
- Key takeaways
- Why Mortar Choice Matters for Soft Historic Brick
- Assessing Your Brick and Existing Mortar Before Repointing
- How Lime Mortar and Portland Cement Differ for Historic Masonry
- Decision Framework: When to Use Lime, Portland, Hydraulic Lime, or Hybrids
- Material Specs and Standards Explained (What to Request from Suppliers and Contractors)
- Tools and Materials Checklist for Repointing Soft Brick
- Step-by-Step Repointing Process Tailored for Soft Brick
- Visual Checkpoints, Monitoring, and Troubleshooting After Repointing
- Conclusion
- FAQ
Why Mortar Choice Matters for Soft Historic Brick
Soft historic brick is porous and flexible, so the mortar you choose interacts with the brick rather than just filling joints. The right match helps to avoid spalling, cracking, and rapid deterioration caused by overly stiff mixes. Compatibility guides how moisture moves and how easily salt formations can form inside the wall.
Conservation-minded repointing considers brick softness, weather exposure, and historical appearance. Check manufacturer instructions or product labels for guidance on softness, rigidity, and breathing behavior to ensure you are selecting an appropriate mortar option. When in doubt, verify recommendations with a supplier or local conservation authority before starting.
Masonry Compatibility Principles
When repointing soft historic brick, it’s crucial to understand the principles of masonry compatibility. This ensures your mortar doesn’t damage the brick over time.
The key concepts are:
Relative Hardness: Mortar should be softer than the brick. Portland cement mortars are too hard and can cause damage when the brick expands or contracts with temperature changes.
Vapor Permeability: Mortar needs to breathe, allowing moisture to escape from the brick. Impermeable mortars trap water, leading to decay.
Sacrificial Behavior: Soft mortars can absorb some shock and movement, protecting the brick. This is known as ‘sacrificial’ behavior.
Consequences of Using Inappropriate Mortar
Using a mortar that’s too hard or impermeable for soft historic brick can lead to serious damage over time. Here are some common consequences:
Spalling: The face of the brick can flake off, leaving an uneven surface and reducing the brick’s strength.
Cracking: When the mortar is too hard, it doesn’t flex with the brick. This can cause cracks in both the mortar and the brick itself.
Accelerated Decay: Trapping moisture in the brick leads to accelerated decay. This can make the brick crumble and fall apart.
Assessing Your Brick and Existing Mortar Before Repointing
Start with a careful visual survey of brick condition, looking for FLAT-? (note: avoid including numbers) spalling, and mortar softness. Note any loose or crumbling joints and uneven joints that signal distress. Record observed patterns to guide next steps.
Perform simple field checks like gently tapping bricks and testing moisture movement in controlled spots. If the existing mortar is severely degraded or you suspect hidden damage, plan to send samples to a laboratory for analysis per label or manufacturer instructions. Follow local rules or guidance from a conservation program when collecting samples.
Identifying soft brick and signs of distress
Soft or friable bricks are a common issue with historic masonry. They feel crumbly, like they’ll turn to dust in your hands.
Visual indicators include:
- Crumbling edges
- Pitting and honeycombing
- Missing chunks of brick
Signs of distress that need urgent attention are:
- Large cracks or gaps in mortar joints
- Brick faces falling off
- Widespread crumbling
Mortar analysis and diagnostic testing
To specify the right replacement mortar, you need to know what’s in your existing one. Here are tests to request:
Petrographic analysis – identifies mineral composition of both brick and mortar.
Binder identification – determines type of binder (lime, cement, etc.) used in the original mortar.
These results help you match the new mortar to your historic masonry. Don’t skip these tests; they’re crucial for a successful repointing job.
How Lime Mortar and Portland Cement Differ for Historic Masonry
Lime mortar is generally softer and more breathable, which can help wooden and soft brick survive moisture cycles. Portland cement mixes tend to be stiffer and less forgiving on porous brick, increasing the risk of cracking. The balance between rigidity and moisture release matters for long-term durability.
Consider how salt movement and dampness interact with brick faces when choosing a mix. Check product data sheets or manufacturer instructions for guidance on permeability and setting behavior. If unsure, compare options with a masonry professional or supplier and confirm compatibility with soft brick per local guidelines.
Breathability and moisture movement
Lime mortar is breathable. It allows moisture to pass through, preventing water from getting trapped in the brickwork.
This is crucial for soft bricks, which are more susceptible to damage from freeze-thaw cycles and salt crystallization when moisture gets trapped.
Portland cement mortar, on the other hand, is less permeable. It can trap moisture, leading to these very issues in soft masonry.
Strength, elasticity, and long-term weathering
Lime mortar is more flexible than Portland cement. It can stretch and compress without cracking, making it better suited for historic masonry that may have settled over time.
This elasticity helps distribute stress evenly, reducing the likelihood of cracks forming in soft bricks under pressure from weathering or movement.
Portland cement is stiffer. It can’t absorb as much movement, leading to increased stress on the masonry and a higher risk of cracking over time.
Decision Framework: When to Use Lime, Portland, Hydraulic Lime, or Hybrids
Match the mortar type to the masonry condition and conservation goals, prioritizing the preservation of softness in the brick. Use lime-based options where breathability and gentle load transfer are key. Reserve Portland-rich mixes for situations where high strength is essential and the brick is not at risk of damage.
Hydraulic lime or lime-putty hybrids can offer a middle ground, but check how they affect moisture movement and brick surface finish. Always verify suitability with the product label or manufacturer instructions, and consult local conservation standards if available. When in doubt, test a small area and monitor performance before full reuse.
Situations favoring lime-based mortars
Lime mortars are the go-to choice for preserving soft, historic brick. They’re breathable, flexible, and gentle on old masonry.
Highly porous brick: Lime’s permeability lets moisture move freely, preventing trapped water from damaging your walls.
Listing requirements: Many historic preservation guidelines mandate lime mortars to maintain authenticity. Check local regulations before starting work.
Complementary aesthetics: Lime mortars often match the color and texture of old mortar, keeping your repointing discreet.
When Portland or hydraulic materials may be considered
While lime is usually best, there are rare cases where stronger binders might be needed. Proceed with caution.
- Severe erosion: If your brick’s face layer is eroded, a stronger mortar can provide better support. Look for high-strength hydraulic limes (NHL 5).
- Frost resistance: In areas prone to freezing, use frost-resistant materials like NHL 3.5 or Portland cement.
- Avoid pure cement: Never use straight Portland cement – it’s too strong and rigid for historic brick.
- Mock-ups first: Always test any non-lime mortar on a small, hidden area before committing to the whole job.
- Monitor closely: Keep an eye out for signs of distress if you’ve used hydraulic or Portland materials. Cracking or staining could indicate a poor match.
Controlled hybrid approaches and transitional solutions
Sometimes, a middle-ground approach can help protect your soft brick while meeting modern needs. These strategies should be tried and tested first.
Sacrificial lime face: Apply a thin layer of lime mortar over a stronger core to combine strength with breathability. This works best on well-bonded masonry.
Transitional repointing: Repoint small sections at a time, allowing the old and new mortars to bond gradually. This minimizes stress on the brick.
Mock-ups are key: Always trial any hybrid approach on a small scale before rolling it out across your entire wall. Monitor these test areas closely for signs of distress.
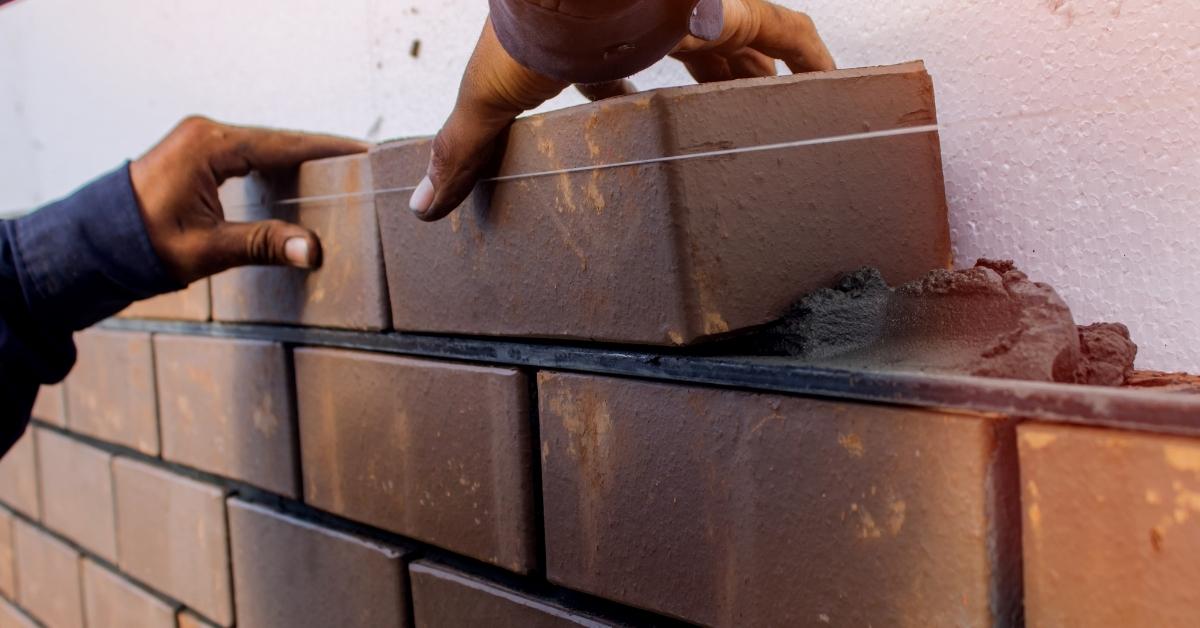
Material Specs and Standards Explained (What to Request from Suppliers and Contractors)
Ask for clear documentation that describes the mortar’s permeability, strength class, and shrinkage behavior relative to soft brick. Request a written specification that explains acceptable workmanship tolerances and curing guidelines. Avoid committing to proprietary mixes without understanding the performance targets.
Require samples or test data showing compatibility with historic brick and a plan for dampness control and salt management. Check that the supplier or contractor can provide a data sheet, label instructions, and references to local standards or conservation guidelines. If any item is unclear, request clarification before purchasing or contracting.
Key material descriptors to specify
Specifying the right materials is crucial for a successful repointing job. The choices you make here will affect how well your mortar bonds with the brick, its durability, and how it weathers over time.
- Binder type: Specify ‘lime’ or ‘hydraulic lime’ for historic brick. Avoid Portland cement unless absolutely necessary.
- Aggregate grading: Ask for a well-graded, clean aggregate with particles ranging from sand to 10mm. This ensures good compaction and strength.
- Workability: Specify ‘plastic’ or ‘putty’ consistency for better adhesion and easier application. Avoid ‘stiff’ mixes that can lead to cracking.
- Carbonation behaviour: Look for a mortar that carbonates slowly to prevent rapid strength gain, which can cause stress on the brick.
- Vapor permeability: Specify an open, porous mortar to allow moisture movement and prevent dampness. Avoid impermeable mortars that trap moisture and lead to efflorescence or spalling.
How to write a tender/contract spec without exact ratios
Rather than prescribing an exact mortar mix, specify performance targets and test methods. This allows contractors to propose their own mixes that meet your requirements.
Compressive strength: Specify a range relative to the brick’s compressive strength (e.g., 75-100% of brick strength).
Vapor permeability: Require a minimum value, such as 0.2 ng/m·s·Pa or higher.
Testing: Instruct contractors to provide lab test results backing their proposed mix and to conduct on-site tests during application.
Mock-ups, sampling, and acceptance criteria
Before approving full-scale repointing, require contractors to create mock-ups for visual and performance asse