

Introduction
Fixing a sagging roof in a flat-roofed house or garage is crucial for keeping the building safe and sound. Using lolly columns can give essential support during the repair, helping to lift and stabilize the affected areas. This guide will walk you through the steps to effectively jack up a sagging roof, highlighting the importance of lolly columns and discussing the construction features of flat-roofed structures that require these repairs.
1. Assess the Damage: Before starting any repairs, take a close look at the sagging roof and identify what’s causing the problem. This means inspecting the roof, as well as the supporting walls and foundation, for any signs of damage or instability.
2. Plan the Repair Strategy: After your assessment, create a detailed repair plan. This should include where to place the lolly columns to support the roof while lifting it. Figure out how many jacks you’ll need, where they should go, and how much lift is necessary to fix the sagging.
3. Prepare the Work Area: Clear out the space under the sagging section of the roof. You might need to move furniture, cover larger items with protective sheets, and make sure the area is safe and accessible for the repair team.
4. Install Temporary Supports: Before lifting the roof, set up temporary supports like lolly columns to keep the roof stable in its current position. These supports will help prevent any further sagging during the repairs and ensure safety for both the structure and the workers.
5. Position the Hydraulic Jack: Place hydraulic jacks at the planned points beneath the sagging area. Make sure the jacks are on a stable surface; you might need a strong wooden beam to evenly distribute the lifting force across the roof.
6. Gradually Lift the Roof: Slowly and evenly raise the roof by operating the hydraulic jacks. This gradual method is important to avoid putting extra stress on the structure or causing more damage. Keep an eye on the progress and adjust the lift as needed.
7. Secure the Roof with Permanent Supports: Once the roof is lifted to the right height, install permanent supports to keep it in place. This may involve reinforcing existing beams or adding new ones, making sure the lolly columns are securely fastened.
8. Finish with Inspections and Repairs: After the structural work is done, do a thorough inspection of the roof and surrounding areas for any additional repairs needed. Address any issues like sealing cracks or replacing damaged materials. Make sure the roof is now properly supported and secure.
Acting quickly on a sagging roof can prevent further damage and protect the safety and value of your property. By following these steps and using lolly columns effectively, you can stabilize and repair a sagging flat roof, ensuring it remains durable and functional for years to come.

Step 1: Identifying Sagging Beams
Spotting sagging beams is an important first step in keeping your flat-roofed house or garage safe. Joists and beams are key support elements, and how they hold up affects the overall safety and stability of your building.
This step involves a careful inspection to find any issues that might need fixing. Pay special attention to sagging areas that could threaten the roof’s structure.
1. Inspect Joists and Beams: Begin by looking closely at the joists and beams in your attic or crawl space. Check for visible signs of sagging, like dips or unusual curves that show they aren’t straight anymore.
2. Check for Water Damage or Rot: Water damage and rot can really hurt the strength of your roof. Focus on spots that might get wet or where rain doesn’t drain well, as these areas are more likely to show damage.
3. Use a Straightedge or Level: To see how much sagging there is, use a long straightedge or level across the beams. This tool will help you spot any areas that aren’t flat, showing which beams are sagging and by how much.
4. Understand the Role of Joists: Joists are the horizontal pieces that support the weight of the roof and floors. They play a crucial role in spreading weight evenly throughout the building, so keeping them strong is key to a stable roof.
5. Identify Common Signs of Sagging: Besides visible sagging, look for cracks, splits, or bends in the wood. These signs can mean the beams are weakened and could put the roof’s stability at risk.
6. Consider Rain Drainage Implications: Poor rain drainage can cause water to pool on flat roofs, adding extra weight to joists and beams and making sagging worse. It’s important to spot and fix drainage issues to avoid more structural damage.
Finding sagging beams early allows you to take action before things get worse. Joists and beams are the backbone of your roof’s support system, so making sure they’re in good shape is vital for your building’s safety and longevity. Fixing rain drainage problems can also help reduce sagging and keep your roof stable and healthy.
Identifying sagging beams is a crucial first step in addressing the structural integrity of a flat roof house or garage. Joists and beams provide essential support to the roof, and their condition directly impacts the building’s safety and stability.
Step 2: Assessing the Extent of Damage
Figuring out how bad the damage is really matters when fixing a sagging roof. This step is more than just spotting visible problems; it’s about understanding how strong the roof to determine is. This knowledge helps you decide the best way to make repairs.
A careful evaluation makes sure that your repair work tackles both the obvious issues and the underlying causes. This way, you can lower the chances of facing more problems down the road.
1. Inspect Interior and Exterior: Start by checking both the inside and outside of the roof. Look for things like cracked or missing shingles, water stains on ceilings or walls, and areas that seem to sag. These signs often point to spots that need immediate attention.
2. Use a Level for Precision: Grab a leveling tool to measure how much sagging is happening in different parts of the roof. This will help you understand how serious the problem is and which areas need fixing.
3. Consult a Professional: Because roof repairs can be tricky, it might be a good idea to get help from a professional roofing contractor. They can give you a detailed look at how sturdy your roof is and recommend the best ways to lift and fix the sagging spots.
4. Understand the Importance of a Thorough Assessment: It’s essential to do a complete evaluation before starting repairs. This ensures that your efforts are focused and effective, tackling both current issues and any future challenges.
5. Inspecting Sagging Beams: Use visual checks along with leveling tools to look at the condition of sagging beams. This helps you understand how bad the sagging is and how the structural supports are holding up.
6. Consider Alternative Solutions: After your assessment, think about whether jacking up the roof is the best option or if other repair methods could fix the problem without major changes to the structure.
Doing a thorough assessment of the damage is key to creating a solid repair plan for a sagging roof. It not only pinpoints what needs fixing right away but also helps ensure informed decisions about the best approach to ensure the roof’s long-term stability and safety.
Step 3: Repairing Sagging Beams in a Garage Roof
Fixing sagging beams in a garage roof takes a careful and organized approach to keep everything strong and safe. This step is really important because the roof needs to support a lot of weight and prevent any further damage to the building.
Using a clear plan helps make sure the repairs solve the current issues while also making the garage roof stronger for the future.
1. Evaluate the Garage Support Framework: Begin by thoroughly checking the garage’s support system. Look for any beams that are sagging or damaged. Signs of wear or decay can threaten the roof’s stability.
2. Carefully Remove Sheathing and Roofing Materials: Take off the sheathing and roofing materials in the affected area gently. It’s important to be precise here to avoid causing more damage. Keep the work area safe and manage any debris properly.
3. Repair or Replace Compromised Beams: Once you can see the damaged beams, decide if they need to be repaired or replaced. If they’re too weak, you might need to replace them. If there’s just minor damage, repairs could do the trick.
4. Account for Load-Bearing Needs: When fixing sagging beams, think about the extra weight they need to support. Garages often hold heavier loads, so you may need to reinforce the support structure to keep everything safe and stable.
5. Enhance Structural Integrity: Before moving on with roof repairs, consider steps to reinforce the garage’s. This might mean adding support columns, strengthening existing beams, or putting in new supports to help spread the weight evenly.
6. Reinstall Sheathing and Roofing: After the damaged beams are fixed or replaced, put the sheathing and roofing materials back in place. Follow best practices to make sure everything is installed correctly, giving the garage roof lasting protection and stability.
7. Material Replacement Guidelines: Use Choose high-quality materials for replacing sheathing and roofing to boost the roof’s strength and help it resist future damage. Make sure all materials are installed according to the manufacturer’s instructions and meet local building codes.
Repairing sagging beams in a garage roof is a detailed task that needs careful planning and execution. By checking the support structure, reinforcing the garage’s strength, and carefully replacing sheathing and roofing materials, you can make sure the repaired roof stays stable and ready for any future challenges.
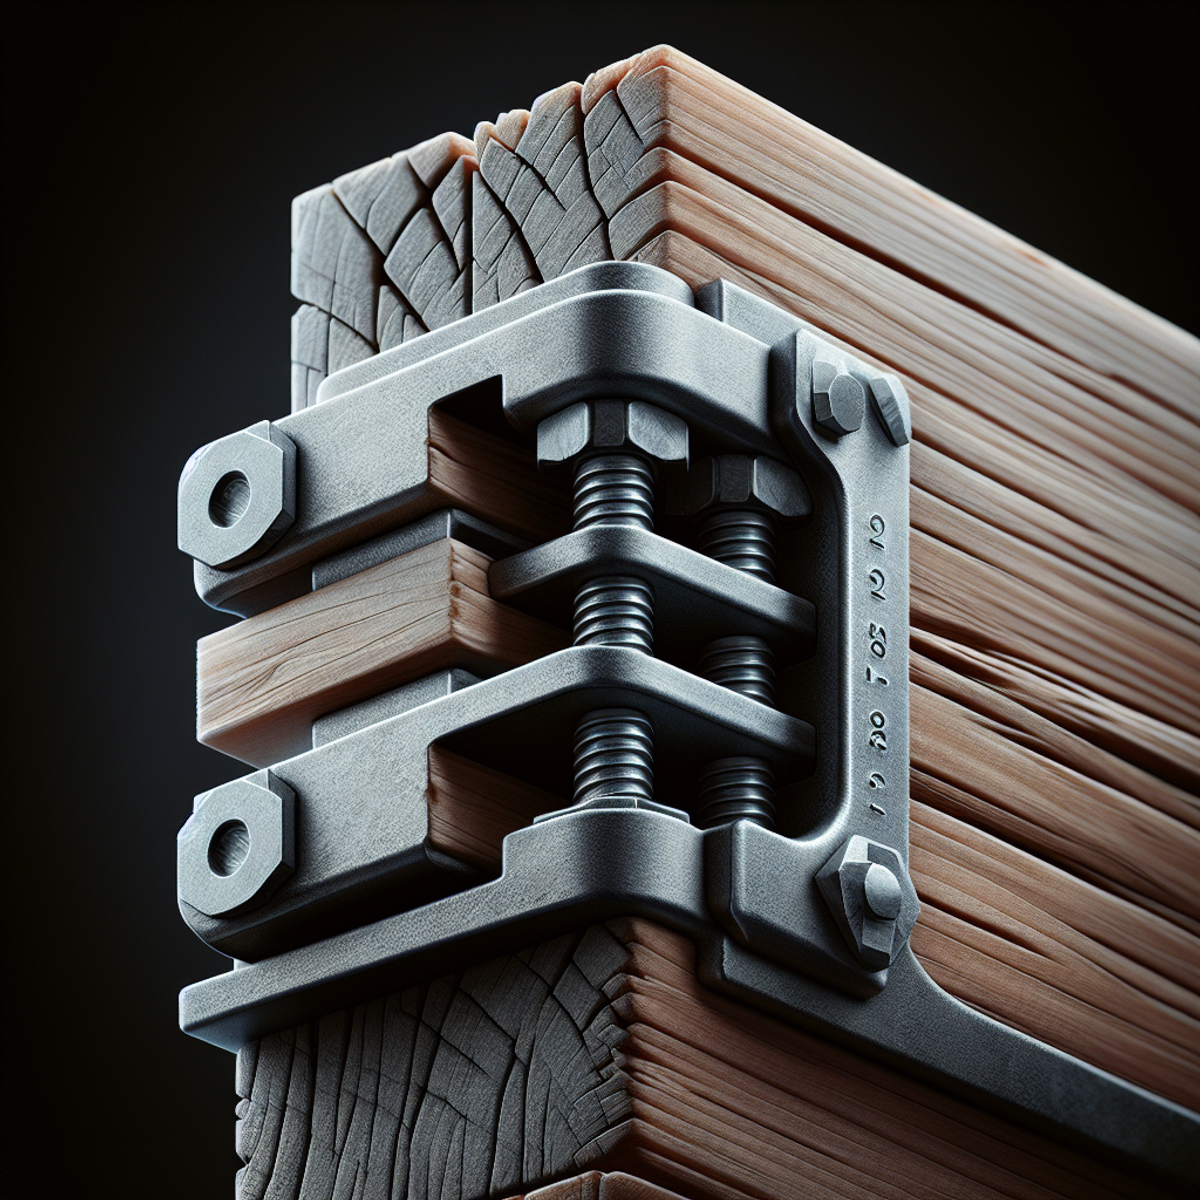
Step 4: Reinforcing Joist Attachment Points
Strengthening joist attachment points is key when fixing sagging beams and preventing future structural issues. Strong connections between joists and beams are essential for keeping your roof stable and able to handle different loads without sagging.
This process involves checking the current connections and finding ways to improve these important spots.
1. Examine Joist Attachment Points: Start by carefully looking at where joists connect to beams. Check for signs of weakness, like loose fasteners or damaged connections, which could affect the structure’s strength.
2. Reinforce Connections with Metal Plates or Brackets: To strengthen the attachment points, think about using metal plates or