

Introduction
Board and batten vinyl siding blends charm with practicality, making it a favorite choice for homeowners wanting to upgrade their property. This article is a complete guide to installing board and batten vinyl siding, giving you the knowledge and confidence to transform your home’s exterior.
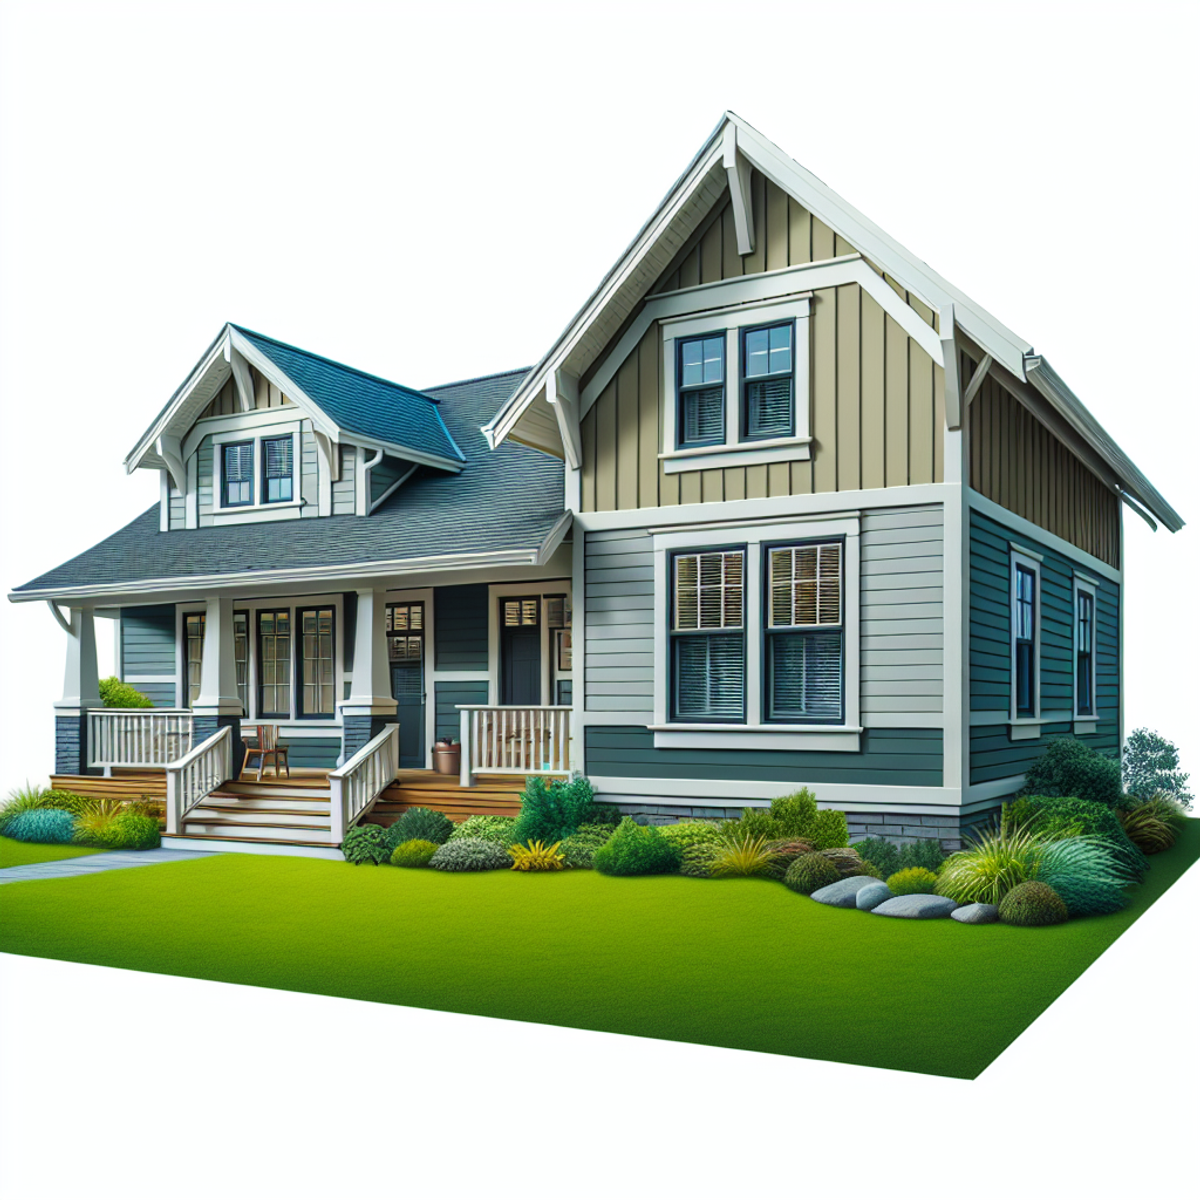
1. Overview of Board and Batten Vinyl Siding: Let’s start by defining board and batten vinyl siding. It features a unique design with alternating wide boards and narrow battens, creating a textured look that enhances your home’s exterior.
2. Advantages of Board and Batten Vinyl Siding: Discover the many benefits of choosing board and batten vinyl siding. It not only boosts curb appeal but also adds unique visual dynamics to your building’s facade.
3. Preparing for a DIY Installation: This article serves as a practical how-to guide for DIY enthusiasts. It will help you understand the entire installation process from start to finish.
4. Installation Preparation: We’ll cover the steps needed to prepare for installation. This includes gathering essential materials and tools, as well as organizing your workspace around the home’s exterior.
5. Step-by-Step Installation Guide: Here, you’ll find a detailed, step-by-step guide for installing board and batten vinyl siding. We’ll start with the initial setup and move through each step to ensure proper alignment and secure attachment.
6. Installation Considerations: Get targeted advice on installing vertical board and batten vinyl siding around unique architectural features. This will help ensure that your siding is both functional and visually appealing.
7. Troubleshooting Common Challenges: We’ll address potential issues that might come up during installation. You’ll also find effective troubleshooting strategies to help you overcome these challenges.
8. Final Touches: We’ll wrap up with tips on completing the installation. This includes sealing edges and applying trim for a polished and professional finish.
9. Ongoing Maintenance: Lastly, we’ll briefly discuss the maintenance needed for board and batten vinyl siding. This will help you keep it looking great and extend its lifespan.
By following this organized approach, you’ll gain insights into installing board and batten vinyl siding. You’ll also learn the essential steps for a successful DIY project.
Section 1: Understanding Board and Batten Vinyl Siding
Board and batten vinyl siding is loved for its eye-catching look. The combination of wide boards and narrow battens creates a beautiful layered effect. This unique style can really boost the rustic charm of your home’s exterior. To make sure your installation lasts, it’s important to include key elements like exterior ridged foam, rain screens, and strapping.
1. Defining Board and Batten Vinyl Siding: Start by clearly defining board and batten vinyl siding. Highlight its special vertical board layout and the visual benefits it offers.
2. The Role of Insulation: Look into the importance of exterior ridged foam during installation. It plays a big part in insulation and helps with energy efficiency.
3. Moisture Management with Rain Screens: Talk about how rain screens fit into the installation process. They are key in stopping moisture from getting in.
4. Strapping as a Support System: Explain how strapping helps create a flat, stable base for the siding panels. It also encourages air circulation behind the siding.
5. Balancing Aesthetics and Longevity: Stress that understanding these components not only makes the siding look great but also improves its durability and performance.
6. Best Practices for Installation: Wrap up with a summary of best practices for the installation of board and batten vinyl siding. Keep in mind the local climate, the building’s structure, and the need for good ventilation.
By learning about the parts and functions of board and batten vinyl siding, along with the important roles of exterior ridged foam, rain screens, and strapping, homeowners and DIY fans can create a stunning and lasting exterior cladding for their homes.
Board and batten vinyl siding is famous for its unique look. It combines wide boards with narrow battens that create a layered and textured stand out. This design can really enhance the rustic appeal of your home’s exterior. For a successful installation that lasts, make sure to include essential elements like exterior ridged foam, rain screens, and strapping.
Section 2: Preparing for Installation
Getting ready for the installation site for board and batten vinyl siding installation is key to a great-looking finish. This step includes careful measurements and prepping both the boards and the wall surface. Doing this right will help make sure the siding goes on smoothly and lasts a long time.
1. Cutting the Boards: Start by measuring the wall length accurately. Then, cut the 7” wide boards to the right size for a perfect fit.
2. Surface Preparation: Remove any old cladding, trim, or debris from the wall. Cleaning the surface well is important to ensure it’s smooth and free of any bumps that could cause problems during installation.
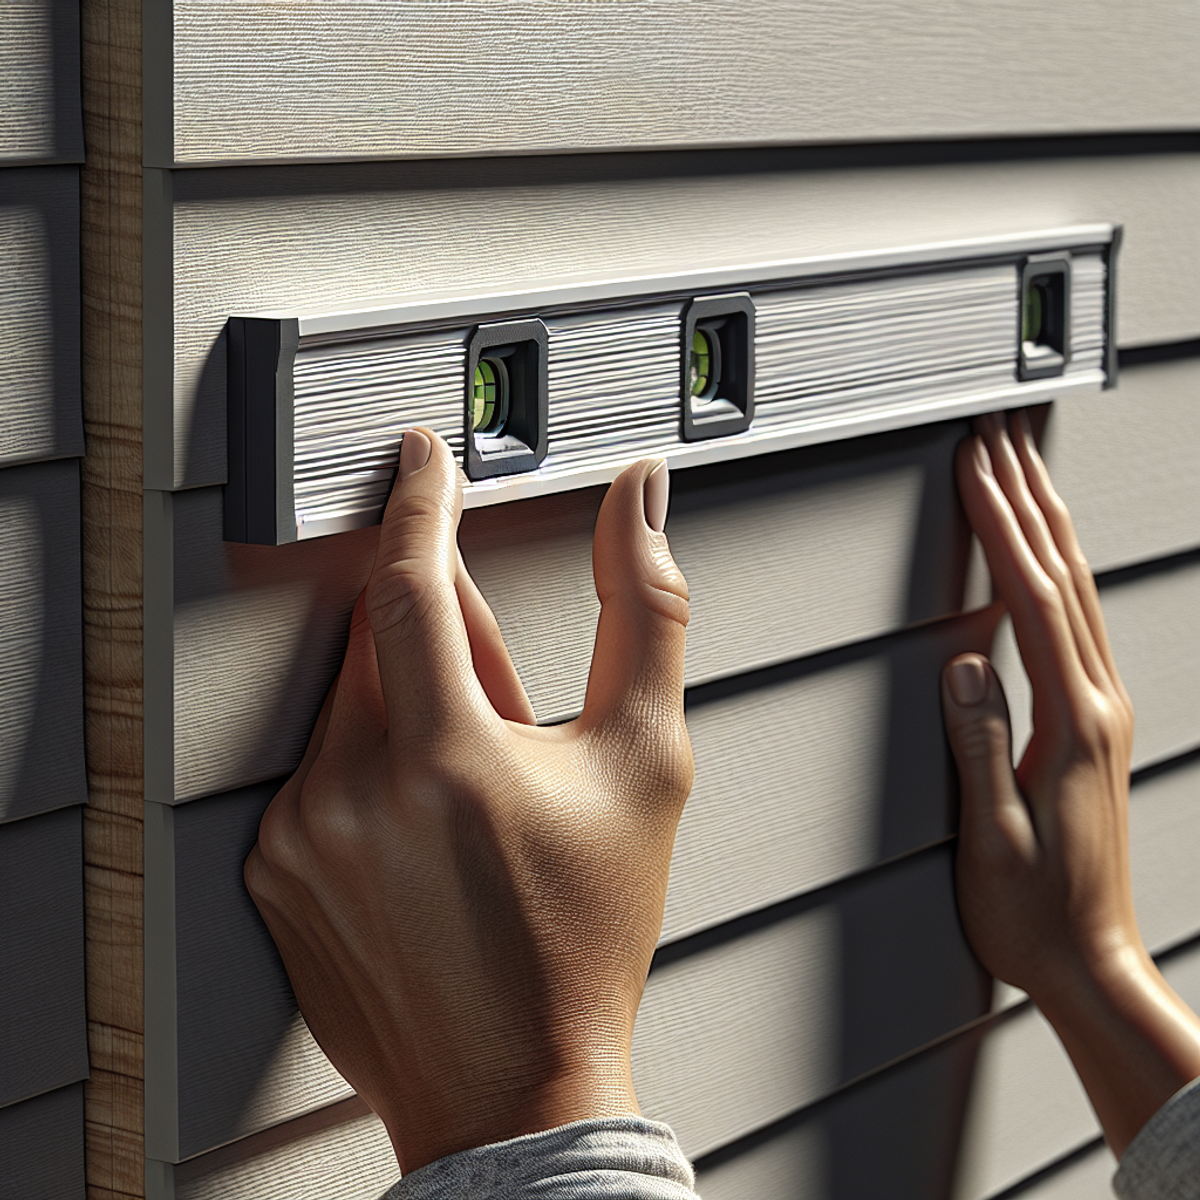
3. Checking for Level: Use a level to check that the wall surface is even. This step is important to make sure the siding boards are aligned correctly and appear straight once installed goes on straight.
4. Determining Board Width: Think about how the 7” width looks and how strong it is. Finding the right balance between style and durability is important.
5. Ensuring Boards are Flush: Make sure to install the boards flush with the wall. This helps create a smooth and polished look.
6. Installation Area Guidelines: Prepare the installation area by fixing any wall damage, priming surfaces if needed, and keeping your workspace clean and organized.
By carefully following these steps for board and batten siding installation, homeowners can create a beautiful and cohesive exterior while keeping their home strong and stable.
Section 3: Wall Preparation and Details
Getting your walls ready is key for a successful board and batten vinyl siding installation. When your wall is in great shape, it helps the siding stick better and last longer. This step involves checking the wall closely and fixing any issues with the existing structure.
1. Inspecting Wall Details: Take a good look at the wall to spot any bumps, irregularities, or anything else that might make it hard to install the siding flat and securely.
2. Assessing OSB Sheathing: If your wall has OSB sheathing, make sure it’s firmly attached and not damaged. This will give solid support for the new siding.
3. Evaluating Plywood Conditions: Look at any plywood for signs of damage like rot or warping. If you find any issues, you’ll need to repair or replace it before moving on.
4. Making Wall Adjustments: If needed, make changes or strengthen the wall so it can properly support the new siding installation.
5. Addressing Common Wall Challenges: Tackle problems like uneven surfaces or lack of insulation. You might need to add new sheathing or insulation materials to create a stable base.
By carefully preparing the wall and fixing any structural issues, whether with OSB sheathing or plywood, you set the stage for a great board and batten vinyl siding installation. This attention to detail will lead to a strong and attractive result.
Section 4: Installation Steps for Board and Batten Vinyl Siding
Installing board and batten vinyl siding requires careful attention to detail. You want each piece to fit together nicely while keeping a great look. This section gives you a clear method for installation, including tips on attaching battens to the wall and then installing the vinyl boards and replacing any old siding.
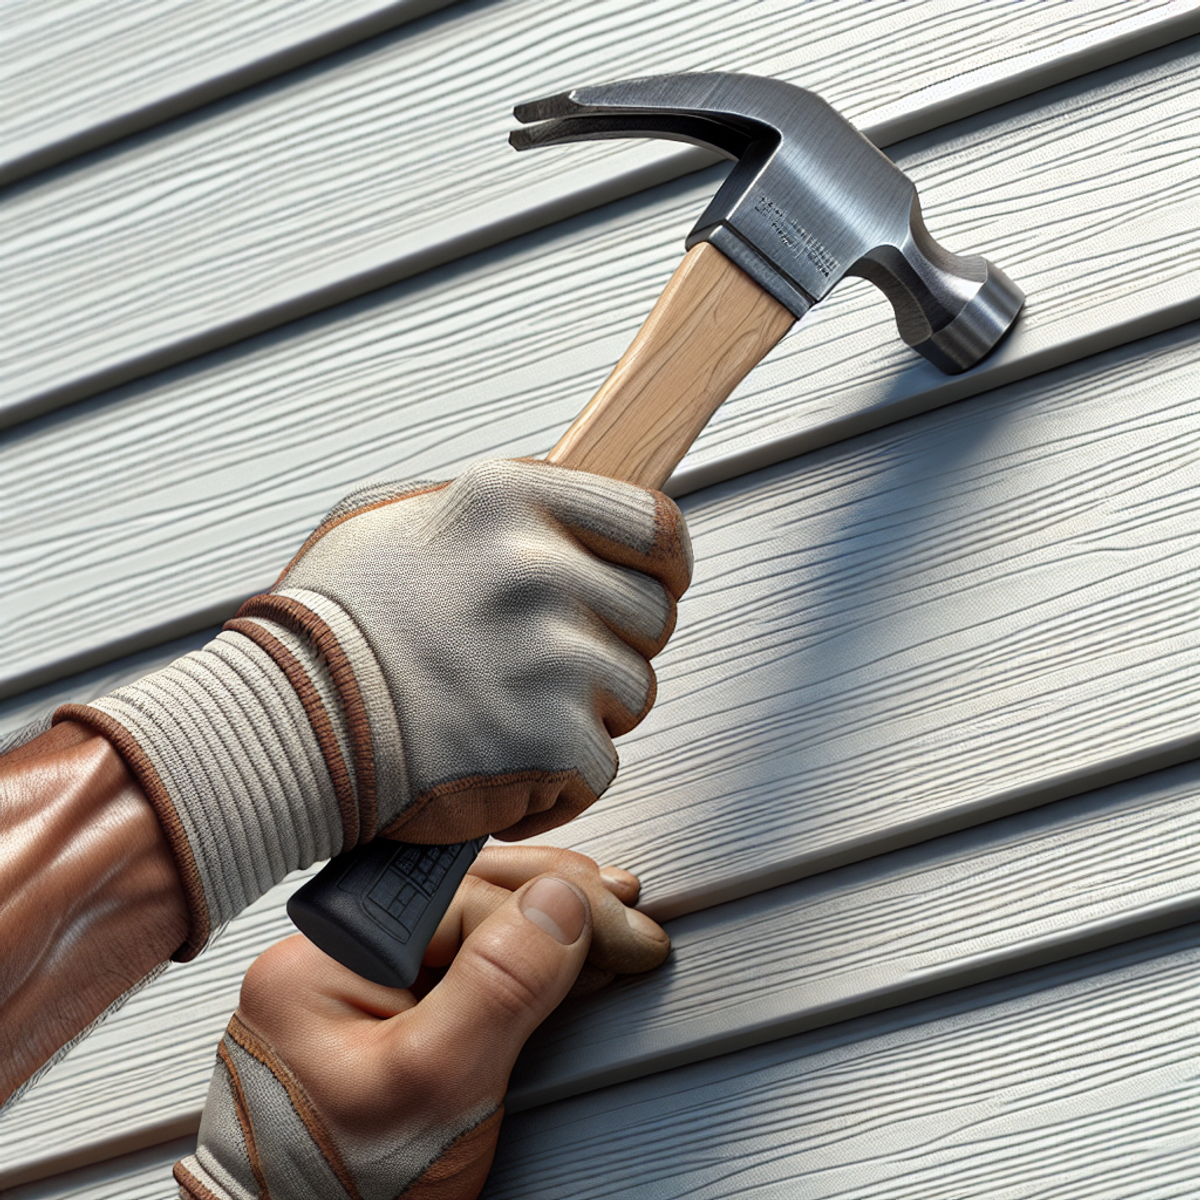
1. Attaching Battens: Start by putting construction adhesive on the back of each batten strip. Then, place it gently on the wall. To make it sturdy, use screws to secure the battens, making sure they are evenly spaced and level.
2. Ensuring Proper Batten Spacing: It’s important to measure and mark the wall to get the spacing between battens just right. This step is key to achieving that classic board and batten look.
3. Securing Battens with Adhesives and Screws: Begin at one corner and work your way across the wall to attach the battens. Use construction adhesive as your main method, and add screws for extra strength.
4. Base Layer for Vinyl Siding: If you’re replacing old vinyl siding, think about laying down a thin layer of plywood over the existing wall. This gives you a smooth and stable base for the new board and batten siding.
5. Installing Vinyl Boards: Next, align and fasten the boards to the prepared surface. Make any adjustments around corners and openings to ensure a snug fit.
6. Tips for Siding Replacement: Share some tips on how to effectively remove old siding and prepare the surface underneath for the new board and batten. This includes tackling challenges like making sure new materials work well with what’s already there.
7. Using Thin Plywood Backing: Discuss when using thin plywood as backing can be helpful. It can provide better stability and a smooth surface for the new siding.
By following these steps, you can easily attach battens and install vinyl boards, possibly over a new thin plywood base if needed. This method helps ensure that your board and batten siding looks great while staying strong and durable.
Section 5: Final Touches and Maintenance Recommendations
To keep your board and batten vinyl siding looking great and lasting a long time, it’s important to take some care during installation and stick to a regular maintenance routine afterward. When picking materials for your home’s exterior, think about how durable different siding materials will also aid homeowners in making an informed options are.
1. Implementing Construction Precautions: Using the right installation methods and choosing high-quality materials are key to making your siding last longer.
2. Material Durability Comparison: Before you install, check out the durability, maintenance needs, and looks of vinyl to other siding materials. Make sure they fit your home’s needs and the local climate.
3. Maintaining Vinyl Siding: Set up a maintenance schedule that includes regular cleaning and inspections to keep your siding in top shape.
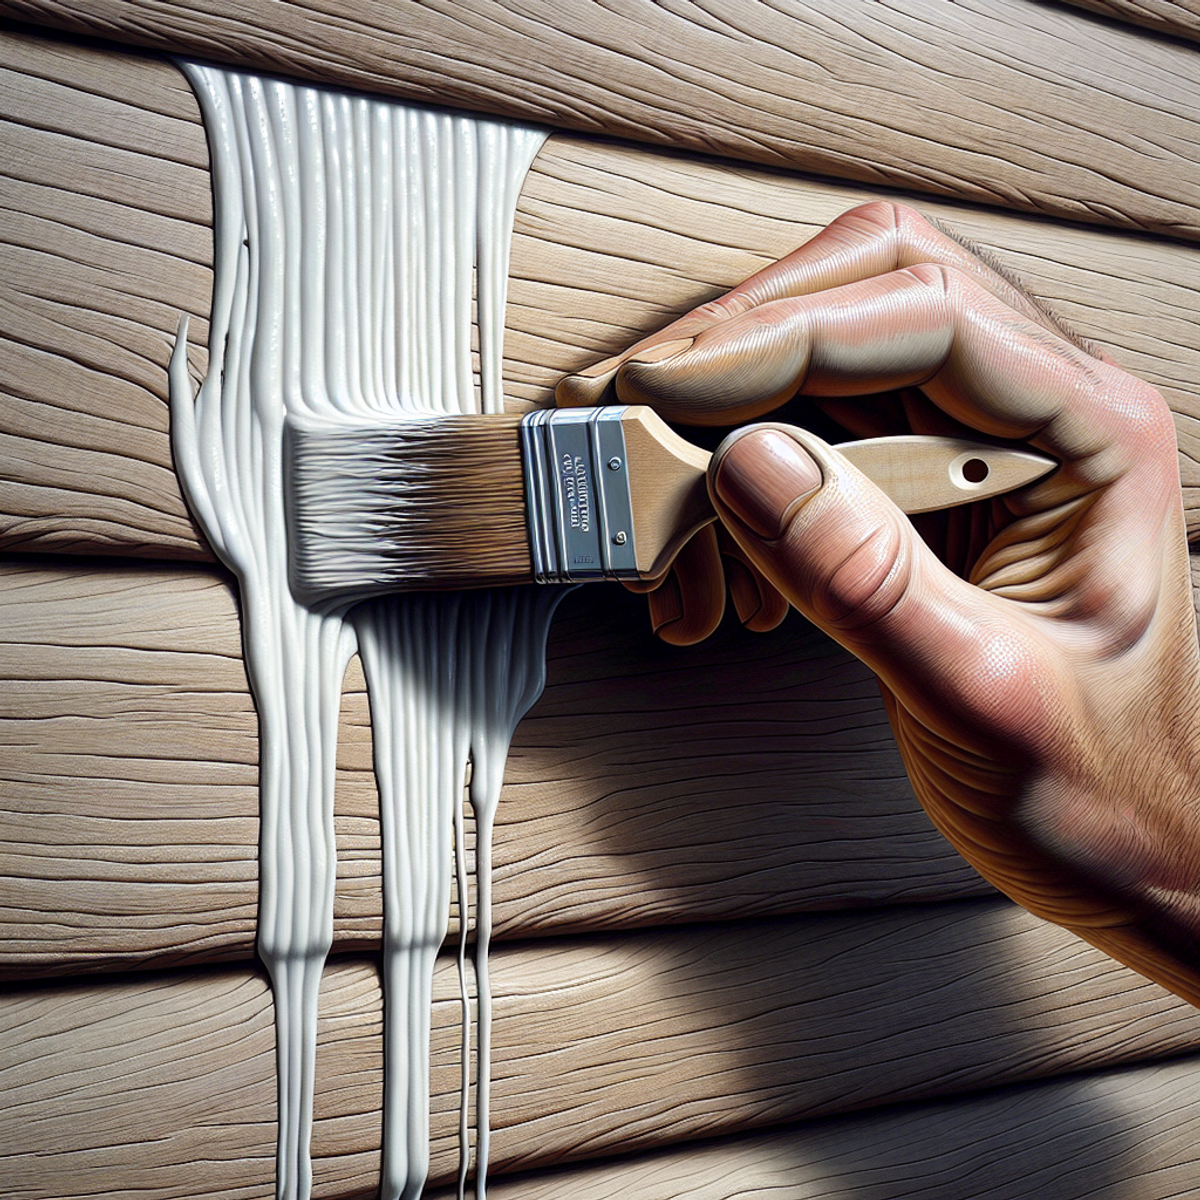
4. Applying Finishing Touches: Improve the look and protection of your siding by adding trim pieces and applying any needed paint or finishes.
5. Long-term Maintenance Tips: Protect your siding from weather damage by following Guide on protecting the siding guidelines and checking for signs of wear or damage regularly.
6. Assessing Vinyl Durability: Point out the benefits of vinyl siding, like its cost-effectiveness and resistance to decay. You can also look into other materials if you’re curious about different features.
By taking the time to finish the installation and understand the ongoing maintenance for board and batten vinyl siding, homeowners can keep their home’s exterior looking fantastic for years. Vinyl is a durable choice, but it’s always smart to explore all the material options to find what suits your home’s unique style and needs.
Conclusion
Embarking on the journey of installing board and batten vinyl siding can be an enjoyable DIY endeavor that significantly enhances both the aesthetic appeal and market value of your home. This comprehensive guide has equipped you with essential steps and practical advice, empowering you to approach the installation process with assurance. To ensure a successful outcome, it is crucial to meticulously double-check your measurements before cutting any materials, as even minor discrepancies can lead to issues such as misalignment or gaps. Additionally, allowing your vinyl siding to acclimate to the outdoor temperature for at least 24 hours prior to installation can prevent complications like warping or buckling once the siding is affixed to your home.
We invite you to share your personal experiences with board and batten vinyl siding projects! Whether you encountered unexpected challenges or discovered innovative techniques, your insights can be invaluable to others. By exchanging stories and tips, we can cultivate a vibrant community centered around creativity and resourcefulness. Perhaps your unique color selections or effective installation strategies can motivate fellow homeowners to embark on their own transformative exterior projects.
FAQ
Can I install board and batten vinyl siding in cold weather?
It’s best to wait until temperatures are consistently above 50°F for proper adhesion and flexibility of the materials.
What tools do I need for the installation process?
Having a level, measuring tape, saw, nail gun, and safety gear will prepare you well for the installation.
How do I handle seams and joints in the siding?
Using the right trim pieces and caulking will help you achieve a seamless look while keeping water out.
What should I do if I notice damage after installation?
If you spot any damage, it’s important to replace the affected panels or battens quickly to keep your siding looking great and functioning well.