

Introduction
Concrete surfaces are tough, but pressure washers can sometimes cause unexpected damage. This section will help you repair that damage quickly and effectively.
- First, assess how bad the pressure washer damage is to figure out the right repair method.
- Next, clean the damaged area well. Remove any loose debris to create a solid surface for repairs.
- If the damage is minor, use a concrete patching compound that’s made for quick fixes.
- For deeper damage, prepare a concrete mix or use a special repair mortar to fill in the cracks or chips.
- Apply your chosen repair material to the damaged spot. Smooth it out with a trowel and let it cure according to the manufacturer’s instructions.
- After the repair is done and the concrete has cured, protect the surface with a sealant to avoid future damage.
Taking care of concrete surfaces helps keep them looking good and strong. Common causes of damage from pressure washing include using too much pressure, the wrong nozzle, or being too close. This article will give you the knowledge you need to fix this damage and help your concrete last longer.
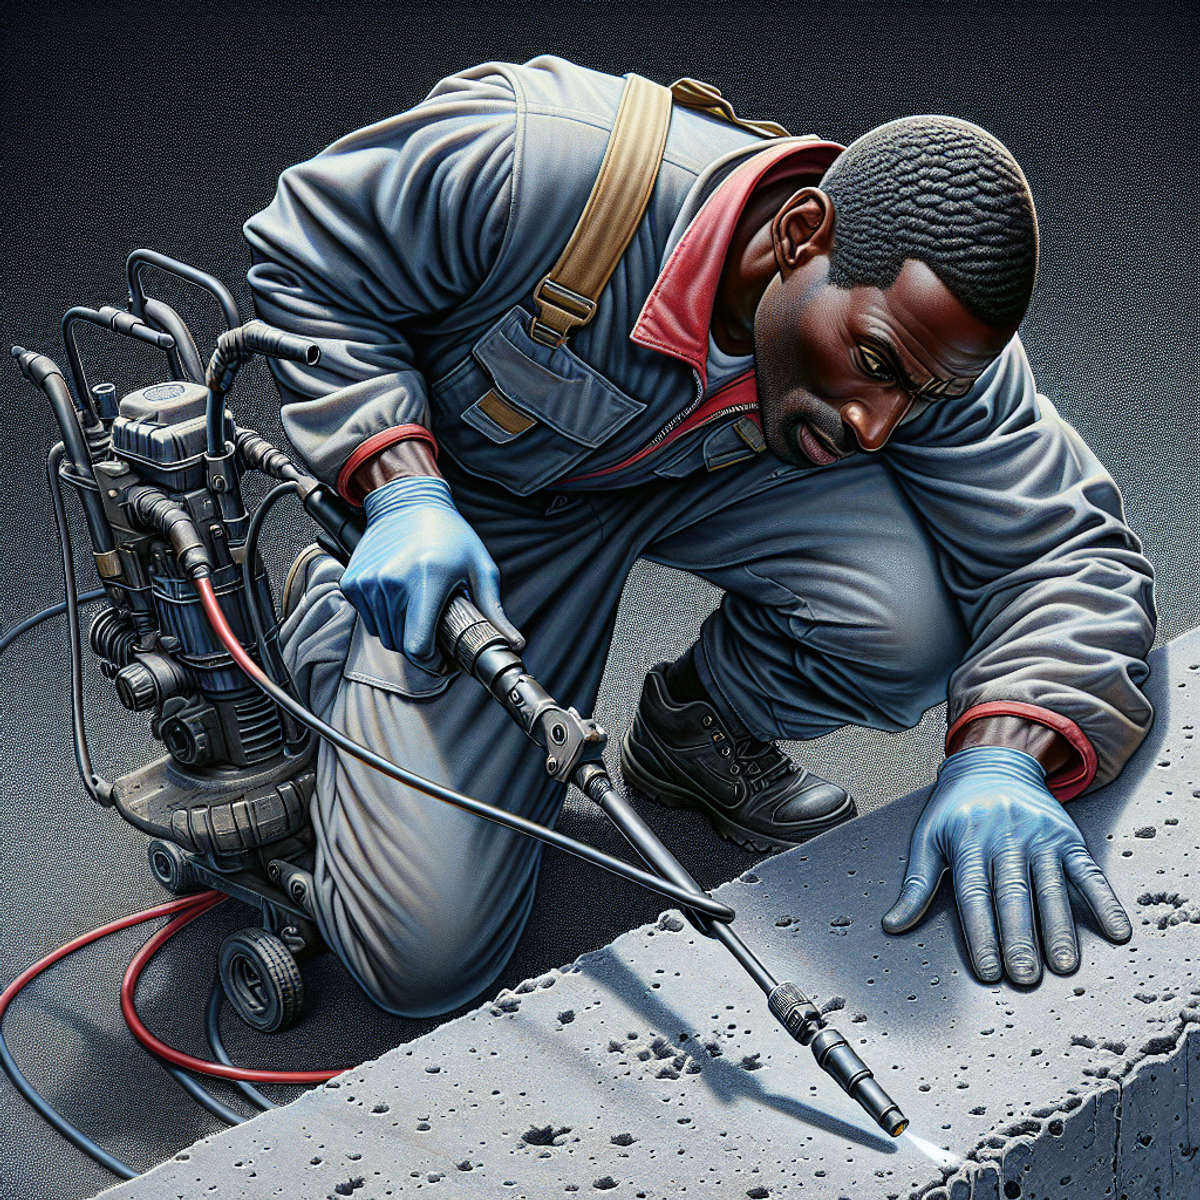
Step 1: Assessing the Damage
Begin the repair process by conducting a thorough inspection of the concrete surface affected by the pressure washer. This initial assessment is crucial for determining the appropriate repair strategy.
- Examine the concrete closely for visible signs of damage, such as cracks, chips, or surface erosion caused by the high-pressure water. Use a flashlight to illuminate any hidden areas that may require attention.
- Assess the depth and extent of the damage. For instance, surface-level cracks may only require a simple patch, while deeper fissures could compromise the structural integrity of the concrete, necessitating a more comprehensive repair approach.
- Pay special attention to areas where the concrete appears uneven or where significant material has been removed. Mark these spots with chalk for easy reference during the repair process.
- Differentiate between various types of damage, such as hairline fractures, larger splits, or extensive erosion. For example, hairline cracks may be treated with a sealant, while larger splits might require a concrete filler or epoxy.
By accurately identifying the types and severity of damage, you will be better equipped to select the most effective repair methods, ensuring your concrete surface is restored to its original condition and aesthetic appeal.
2: Preparation and Cleaning
To ensure a successful repair, it’s essential to thoroughly prepare and clean the damaged concrete surface.
- Begin by sweeping the affected area to remove larger debris like leaves, dirt, and stones. This initial step is crucial as it prevents any larger particles from interfering with the repair process.
- Next, employ a stiff-bristled brush along with a mixture of mild detergent and warm water to scrub the surface. This combination helps dislodge smaller particles and stains that may have settled into the concrete. Pay special attention to any cracks or chips where dirt might accumulate.
- Once scrubbed, rinse the area using a pressure washer from a safe distance, ideally around 12 to 18 inches away. This distance helps ensure that the pressure is sufficient to wash away the detergent and debris without exacerbating any existing damage.
- Allow the concrete surface to dry completely, which may take several hours depending on weather conditions. A thoroughly dry surface is essential for the repair materials to adhere properly and create a strong bond.
- After the surface has dried, conduct a final inspection to confirm that all contaminants, such as dust or detergent residues, have been removed. This step is vital as any remaining debris can compromise the effectiveness of the repair.
Proper cleaning and preparation of the concrete not only enhances the adhesion of the repair materials but also contributes to a smooth, durable, and aesthetically pleasing finish.
Preparing and cleaning the damaged area sets the foundation for a successful repair.
Step 3: Choosing the Right Repair Method
Selecting the appropriate repair method is essential for fix the damaged concrete effectively addressing the damage. A thoughtful approach will ensure that your repairs are durable and visually appealing.
- Begin by evaluating the depth and extent of the concrete damage. Use a ruler or measuring tape to gauge cracks; if they exceed 1/4 inch in width or depth, a more robust repair solution will be necessary.
- For superficial damage, consider using a concrete resurfacer, which can provide a fresh layer that conceals minor imperfections. However, if you encounter deeper cracks or chips, opt for a high-quality concrete patching compound specifically designed for filling voids.
- Consult with a professional contractor or browse reputable online resources to understand the advantages and disadvantages of each repair method. This research can provide insights into the longevity and suitability of various products.
- Take into account the environmental conditions surrounding the damaged area, such as exposure to rain, sunlight, or heavy foot traffic. These factors can influence the choice of materials; for instance, a flexible repair mortar may be better suited for areas prone to temperature fluctuations.
- Evaluate your options carefully. For extensive surface damage, resurfacing can create a uniform appearance, while targeted filling is ideal for smaller cracks. Prioritize methods that not only address the immediate issues but also enhance the overall integrity of the concrete.
Matching the repair method to the severity of damage to ensure a lasting fix is critical for restoring both the aesthetic and functional qualities of your concrete surface.
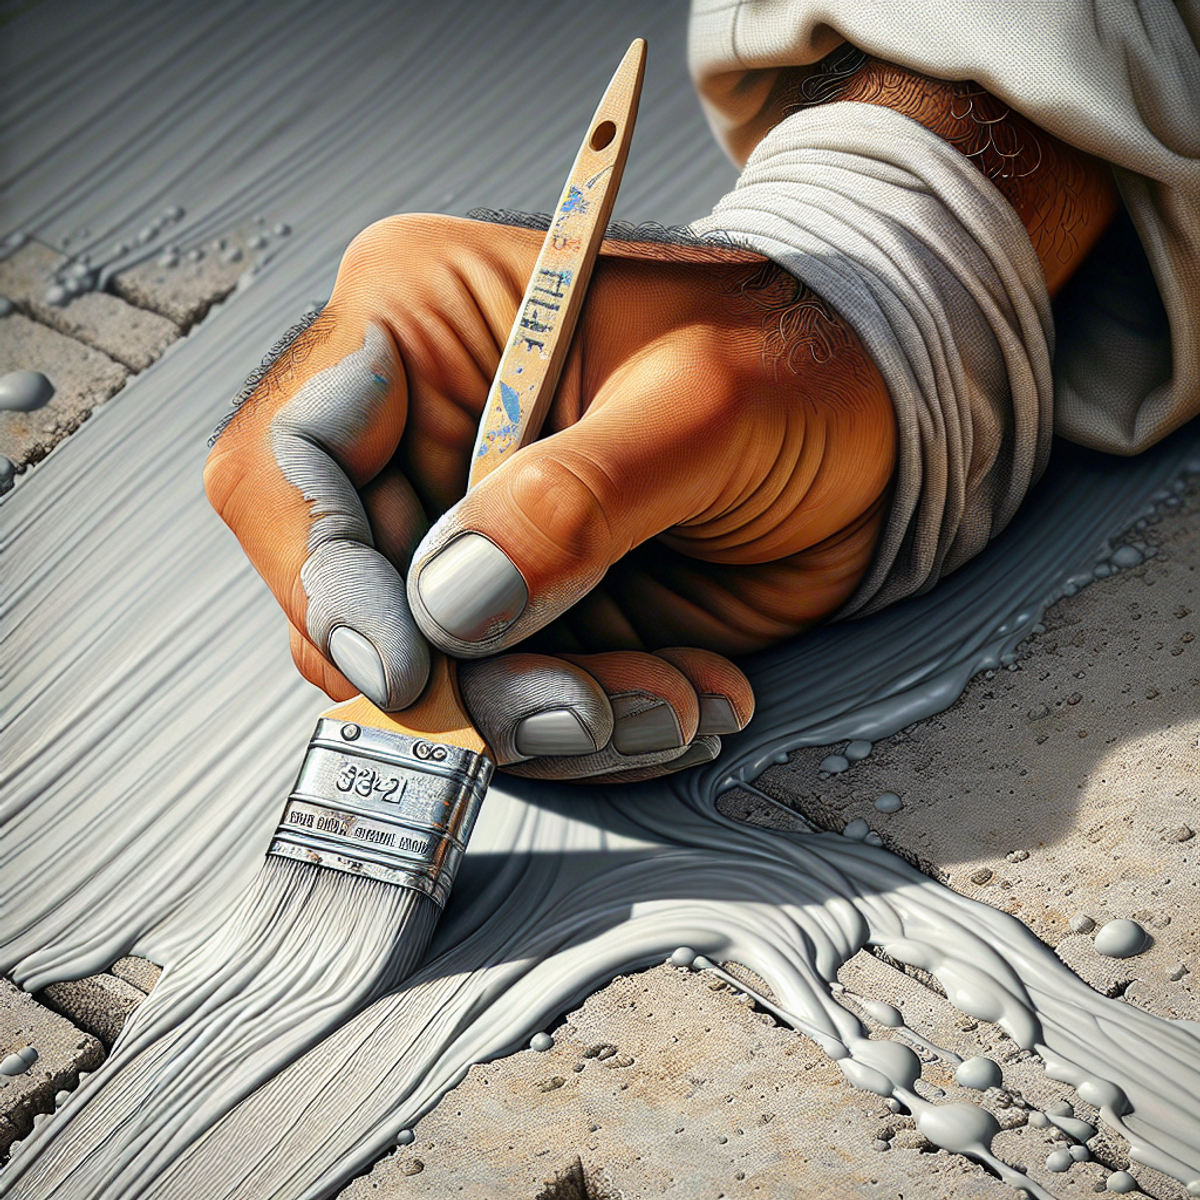
Step 4: Applying the Repair Solution
Properly applying the repair mixture is essential for restoring the integrity of the damaged concrete surface.
- Before application, ensure the damaged area is thoroughly cleaned and devoid of any loose debris or dust. This can be achieved by using a stiff-bristled brush or a vacuum to remove particles that could interfere with adhesion.
- Prepare the concrete repair solution according to the manufacturer’s specifications. Pay close attention to the mixing ratios and use clean water to achieve a paste-like consistency that is both workable and adheres well to the concrete.
- Utilize a trowel to carefully apply the mixture into the damaged areas. Start by filling the deepest cracks first, ensuring that you push the mixture into every gap to eliminate air pockets. For larger areas, consider using a concrete float for a more even application.
- Once the mixture is in place, smooth it out with the trowel, ensuring it is level with the surrounding concrete. For a seamless finish, you can use a damp sponge to feather the edges, blending the repair with the existing surface.
By meticulously mixing and applying the repair materials, you will create a durable bond that not only prevents future damage but also restores the concrete’s original appearance. Remember, taking the time to follow these steps carefully will yield the best results and extend the lifespan of your concrete surfaces.
Step 5: Curing and Finishing the Repaired Surface
The curing and finishing stages are critical for ensuring that your repaired concrete not only lasts but also maintains an appealing appearance. Proper attention to these steps can significantly enhance the durability and visual appeal of your repair.
- Begin by allowing the repair to cure for a minimum of 24 hours, or adhere strictly to the guidelines provided by the repair material manufacturer. This curing period is essential as it allows the concrete to gain maximum strength and ensures a strong bond with the existing surface.
- After the curing period, apply a high-quality sealant or waterproofing agent to the repaired area. This protective layer is vital as it shields the concrete from potential wear and tear, as well as environmental factors such as rain, snow, and UV rays, which can lead to further deterioration.
- To achieve a seamless appearance, consider using a concrete finishing product. This can be a smoothing compound or a resurfacer designed to blend the repaired area with the surrounding concrete. Apply it evenly with a trowel, feathering the edges to ensure a smooth transition.
- Be mindful of the curing time and finishing techniques you employ; these factors not only enhance the aesthetic quality of the repair but also contribute to its longevity. A well-finished surface is less prone to cracking and other forms of damage in the future.
Once the repair has been adequately cured and finished, your concrete surface will be significantly stronger and ready for everyday use, restoring its original beauty and functionality.
Preventing Future Damage: Maintenance and Protective Measures
Maintaining your concrete surfaces is essential for ensuring their longevity and durability over the years. Regular upkeep not only enhances their appearance but also protects against potential damage.
- Conduct routine inspections of your concrete surfaces at least once every season. Look for new cracks, chips, or any signs of wear. Addressing these issues promptly can prevent water infiltration, which may lead to more extensive damage over time.
- Select a premium concrete sealer designed for your specific climate and surface type. A good sealer acts as a barrier against moisture, harmful chemicals, and unsightly stains, significantly extending the lifespan of your concrete.
- When utilizing a pressure washer for cleaning, opt for lower pressure settings, ideally between 1,500 to 2,000 PSI, to minimize the risk of damage. Maintain a distance of at least 12 inches from the surface while washing to avoid stripping away the top layer of concrete.
- Establish a comprehensive maintenance schedule that includes periodic cleaning, resealing every 1-3 years, and making necessary repairs as soon as damage is detected. This proactive approach will help preserve the structural integrity and aesthetic appeal of your concrete surfaces.
By implementing these preventive measures, you can significantly reduce the likelihood of damage from pressure washers and other environmental factors, ensuring that your concrete surfaces remain safe and visually appealing for years to come. 
Special Considerations for Severe Damage and Restoration
Addressing severe damage to concrete surfaces requires a meticulous and strategic approach to ensure a successful restoration. The first step is to conduct a comprehensive assessment of the damage. Look for deep cracks, large chips, or areas where the concrete has spalled. Use a chisel and hammer to probe any loose sections, and take note of the extent of the damage, as this will inform your repair strategy.
- Begin by documenting the damage with photographs and measurements. This will help you track the progress of your repairs and serve as a reference for any professionals you may consult.
- If you determine that the damage is beyond your DIY capabilities, consider hiring professional concrete restoration services. These experts possess the necessary tools, such as concrete grinders and injectors, and have the experience to execute complex repairs safely and effectively.
- For extensive damage, utilize specialized concrete repair products designed for severe conditions. Look for high-strength epoxy or polymer-modified repair mortars that can withstand significant stress and environmental factors. These materials often come with specific mixing ratios and curing times, so adhere closely to the manufacturer’s guidelines.
- Explore advanced repair techniques that professionals might employ, such as resurfacing the entire area to create a uniform finish, releveling sunken sections using foam injection, or, in extreme cases, completely replacing the slab. Each of these methods requires careful planning and execution, so ensure you understand the implications of each option before proceeding.
When faced with substantial damage, selecting the appropriate restoration method—potentially with the assistance of professionals—will be crucial in returning your concrete surface to its original condition or even enhancing its durability and appearance.
Conclusion
Repairing concrete surfaces that have suffered damage from a pressure washer requires both attention to detail and a bit of expertise. Whether you reside in Paramus, New Jersey, or another location, following a structured approach can simplify the repair process significantly.
- Begin by using muriatic acid to etch the damaged surface prior to applying any new concrete or sealant. This step is crucial as it enhances adhesion, ensuring that the new material bonds effectively and results in a smooth, professional finish. Always wear protective gear when handling muriatic acid, and follow the manufacturer’s instructions for dilution and application. damaged concrete surfaces prepares them for the effective
- If you find that the damage exceeds what you can manage on your own, consider enlisting the help of professional power washing services in Paramus, New Jersey. These experts can provide a thorough assessment of the damage and recommend the best restoration methods tailored to your specific situation.
- To prevent future damage, it’s essential to adjust both the pressure settings and the distance from the surface when using a pressure washer. A good rule of thumb is to maintain a distance of at least 12 inches from the concrete surface and to use a lower pressure setting to minimize the risk of etching or chipping.
- Don’t hesitate—take proactive steps! Implement these strategies to repair and safeguard your concrete surfaces against the adverse effects of pressure washing.
By adhering to these guidelines, you can effectively restore and maintain your concrete surfaces, ensuring they remain durable and visually appealing for many years to come.
What should I do if the repair solution doesn’t adhere properly to the concrete?
No—ensure the surface is thoroughly cleaned and free of dust or debris before reapplying the repair solution for better adhesion.
How long should I wait before using the repaired concrete surface?
Yes, if you allow the surface to cure for the recommended time, typically 24 to 48 hours, before heavy use to ensure durability.
Can I use a sealant after repairing the concrete?
Yes, if you apply a sealant after the repair has fully cured, it will help protect the surface from future damage and stains.
FAQs
Fixing pressure washer marks on concrete surfaces raises common queries. Here’s how to address them effectively:
- How can I assess the damage caused by pressure washing on concrete?
- Start by examining the surface closely for any signs of etching, cracking, or peeling. The extent of these marks will help determine the best repair method.
- What should I do before attempting to fix pressure washer marks on concrete?
- Thoroughly clean the area to eliminate any debris or loose particles, providing a clean surface for repairs.
- Can pressure washer marks on concrete be repaired effectively?
- Minor marks can typically be repaired using a concrete resurfacer or patching compound, while deeper damage may require a more involved repair method.
- What tips do you have for restoring the appearance of pressure-washed concrete?
- After repairs, applying a concrete sealer will improve the surface’s look and protect it from future damage. Keeping up with regular maintenance and promptly fixing small cracks will help prevent further issues.
- How can I safely pressure wash concrete without causing damage?
- Utilize a pressure washer with the right pressure settings and nozzles. Maintain a distance of at least 12 inches from the surface and keep the nozzle moving to avoid concentrating on one spot.
Addressing these FAQs provides a solid foundation for maintaining and repairing concrete surfaces that have suffered from pressure washing, ensuring they remain durable and visually appealing.