
Introduction
High-gloss Venetian plaster is a multi-layer decorative finish that builds a shiny, mirror-like surface.
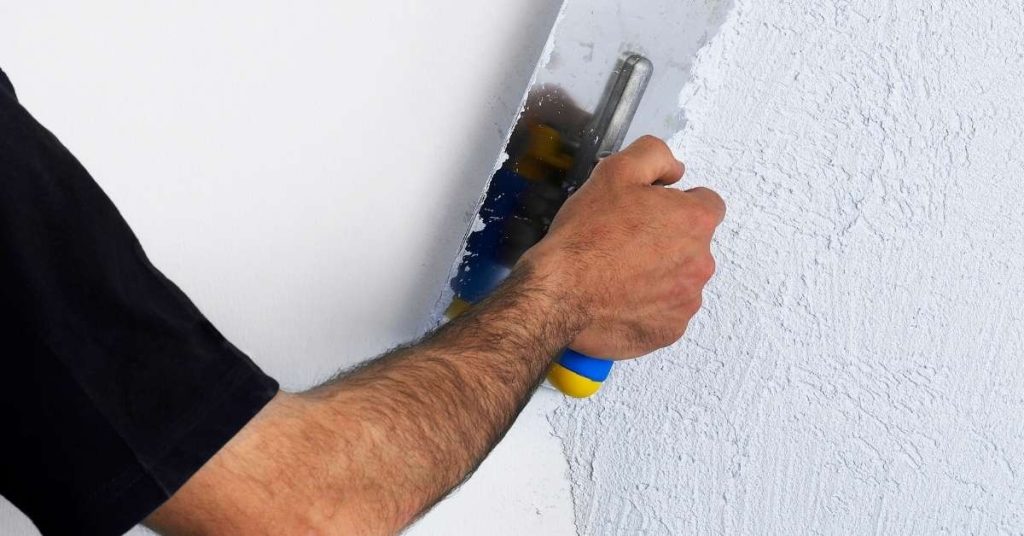
This article lays out a practical layering plan to keep drag marks and streaks under control as you work. You’ll be working in thin, even coats and checking your tool marks as you go. Begin with surface prep, then keep your mix and trowel at a steady pace.
Key takeaways
- Scan substrate for moisture and repair cracks before applying any plaster layer.
- Document test panel results to guide layering sequence and sheen consistency.
- Choose products with compatible binders and pigments to minimize drag.
- Set environmental controls: temperature, humidity, and airflow to reduce streaks.
- Apply thin, even coats with consistent tool pressure and overlaps.
- Protect edges and transitions during work to avoid drag on joins.
- Safety: wear respirator, goggles, and gloves; manage dust and fumes.
Table of Contents
- Introduction
- Key takeaways
- Why High-Gloss Venetian Plaster Is Prone to Drag Marks and Streaks
- Substrate Assessment and Pre-Application Prep
- Choosing Products and Understanding Specs
- Tools, Equipment, and Environmental Controls Checklist
- Layering Plan: Sequencing, Overlaps, and Edge Management
- Application Techniques to Prevent Drag Marks and Streaks
- Troubleshooting, Repairs, and Finishing Corrections
- Visual Checkpoints, Test Panels, and Quality-Assurance Protocol
- Conclusion
- FAQ
Why High-Gloss Venetian Plaster Is Prone to Drag Marks and Streaks
High-gloss Venetian plaster exposes surface flaws quickly. Variations in porosity, film thickness, and cure can show up as halos or uneven reflections. The finish behaves more like a mirror than a matte coat, so any slight flaw stands out.
Tooling, movement, and environment all influence how the finish dries and how mobile the material remains on the skin. When materials move or ride on the surface, drag marks and streaks become visible as you work. Understanding this interaction helps you plan the technique and timing for a smoother result.
Material and finish characteristics that affect application
The type of binder, sheen, and surface tension in your Venetian plaster significantly impact its leveling and burnishing behavior. Understanding these factors helps you avoid drag marks and streaks.
- Binder Type: Different binders like lime, cement, or acrylic have varying levels of adhesion and flexibility. Using the wrong binder can lead to cracking or weak bond.
- Sheen Level: Higher sheen means less light reflection, which can hide imperfections but also makes it more sensitive to application techniques. Too much sheen can result in visible marks.
- Surface Tension: High surface tension causes the plaster to pull back into itself instead of leveling out, leading to streaks and uneven coverage.
- Consistency: A thick, heavy-bodied plaster is harder to spread evenly, increasing the risk of drag marks. Thinner plasters are easier to apply but can be more sensitive to environmental factors.
- Color Pigment: Darker colors have higher pigment concentration, which can affect leveling and burnishing. They may require additional coats or different application techniques to avoid streaks.
Typical sources of drag marks and streaks on site
The most common causes of drag marks and streaks on-site are mechanical and environmental. Identifying these issues helps you troubleshoot and resolve them.
Mechanical Causes: Incorrect tool use, such as applying too much pressure with a trowel or using a damaged tool, can leave visible marks. Substrate irregularities like uneven surfaces or imperfections also contribute to streaks.
Environmental Factors: Temperature and humidity fluctuations affect the plaster’s drying time and leveling behavior. Poor lighting conditions can make it difficult to see and correct application errors in real-time.
Operator Technique: Inexperience or improper technique, such as applying too much or too little material, not allowing sufficient open time for leveling, or burnishing too early, can all result in drag marks and streaks. Regularly inspect your work and adjust your technique as needed.
Substrate Assessment and Pre-Application Prep
Start with a thorough substrate check for flatness and stability. Pinpoint and repair high spots, hollows, or loose material before any plaster goes on. A uniform base helps prevent telegraphed imperfections through the gloss layer.
Keep the surface clean and dry, free of dust, oils, and curing compounds. Follow manufacturer or local guidance on patching and moisture testing, then seal or prime as recommended for a consistent key. Proper preparation reduces drag and helps the gloss sit evenly across the wall.
Inspecting and repairing common substrate issues
Before you start applying your high-gloss Venetian plaster, it’s crucial to inspect the substrate thoroughly. You’re looking for any issues that could cause drag marks or streaks.
Cracks, no matter how small, need filling. Use a suitable filler and follow the manufacturer’s instructions for curing time.
Laitance – that powdery layer on new concrete – must be removed. Use a wire brush or acid etcher to clean it off.
Check for loose patches. Tap them with a hammer; if they sound hollow, remove and replace them. Ensure all repairs are fully cured before proceeding.
Inspect for contaminants like oil, grease, or efflorescence. Clean these off using appropriate cleaners to ensure good plaster adhesion.
Finally, check for level deviations. High-gloss plasters show every imperfection, so fill low spots and grind high ones until the substrate is as flat as possible.
Primer and bonding strategies
A good primer is your first line of defense against drag marks. It promotes adhesion, seals the substrate, and provides a uniform surface for your plaster.
Choose a primer that’s compatible with your chosen Venetian plaster. Most high-gloss plasters require a latex-based primer with low VOCs to avoid tainting the final finish.
Before applying, do a small test area to ensure the primer and plaster are compatible. Let it cure, then apply a thin coat of plaster. If it adheres well and dries evenly, you’re good to go.
After priming, allow it to dry according to the manufacturer’s instructions. Then, use a bonding agent or second coat of primer to create an even stronger bond with your first plaster layer.
Choosing Products and Understanding Specs
Choose Venetian plaster products and additives that align with a high-gloss goal and your substrate. Consider finish grade plasters, compatible binders, and any gloss-enhancing additives that the manufacturer allows for your system. Read the product guidance to match your project plan.
Before buying, review the data you can verify on the label, data sheet, and technical notes. Check for application guidelines, cure times, and any compatibility notes with primers or substrates. If a spec isn’t clear, contact the manufacturer or consult local rules to confirm suitability.
Picking the right plaster formulation and sheen
Venetian plasters come in various formulations – lime-based, acrylic, or synthetic. Each has its pros and cons. Lime-based offers traditional charm but can be slower to cure. Acrylic and synthetics are faster-curing, more durable, and easier to apply.
Sheen levels range from matte to high-gloss. For a high-gloss finish, choose plasters with sheen levels of 80% or higher. But remember, higher sheens show imperfections more, so application needs to be precise.
Don’t rely on general rules. Check manufacturer datasheets and examine sample panels to ensure the product suits your project’s specific needs.
What to read on technical data sheets
Before purchasing, review the product’s technical data sheet. Here are key items to verify:
Compatibility: Ensure it works well with your chosen primer and bonding agent.
Recommended Layers: High-gloss finishes often require multiple layers. Make sure you’re prepared for this.
VOC (Volatile Organic Compounds): Check VOC levels to ensure they meet local regulations and your personal comfort.
Recommended Substrates: Ensure the plaster is suitable for your wall type – concrete, drywall, etc. If unsure, contact the manufacturer.
Tools, Equipment, and Environmental Controls Checklist
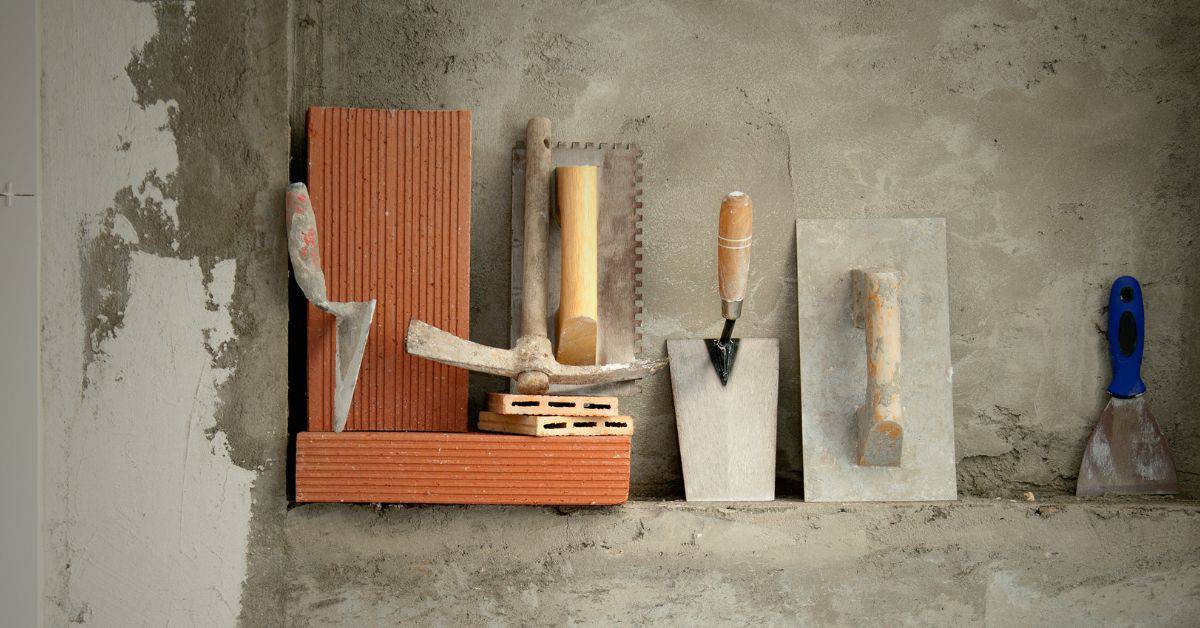
Assemble the essential tools: trowels, scrapers, clean steel blades, and a stable mixing tray. Include a microfiber or non-shedding cloth for quick surface checks. Have proper lighting and access to a clean, dust-free area for staging work.
Control the site environment: avoid drafts, maintain steady temperature, and minimize rapid changes in humidity. Each item matters because airflow, heat, and moisture can cause uneven drying and drag marks. Keep sponges, tapers, and cleanup rags ready for quick adjustments during the session.
Trowels, Blades, and Burnishing Tools Explained
Before you start applying your high-gloss Venetian plaster, make sure you have the right tools in good condition.
- Trowel sizes: Use trowels from 6″ to 12″ depending on the area. Smaller for details, larger for wider strokes.
- Blade edges: Check edges are straight and sharp for smooth strokes. Dull edges cause drag marks.
- Burnisher condition: Ensure burnisher is smooth and free of nicks to avoid streaks.
- Trowel maintenance: Clean trowels after each use with water and a wire brush. Let them dry completely.
- Blade storage: Store blades flat, not stacked, to prevent warping and maintain edge quality.
- Burnisher storage: Store burnishers in a safe place away from dust and debris.
Quick rule: Inspect tools before each use. A sharp trowel makes all the difference.
Lighting, Airflow, Temperature, and Work Staging
Set up your workspace properly to avoid uneven drying and visual defects.
- Lighting angle: Position lights at a 45-degree angle to the wall for clear visibility of any imperfections.
- Ventilation: Ensure good airflow to prevent excessive dust and quick drying that causes streaks.
- Temperature stability: Maintain consistent temperature (between 65-75°F or 18-24°C) for even curing.
- Test panel: Apply plaster on a test panel to verify setup before starting on the main wall.
- Work staging: Keep materials organized and accessible to avoid walking through wet plaster.
Quick rule: A well-staged site with good lighting and airflow ensures a smooth, high-gloss finish.
Layering Plan: Sequencing, Overlaps, and Edge Management
Define a practical sequence that flows around the space with minimal backtracking. Work in sections that you can finish in one pass to reduce edge handling. Plan to keep consistent motion and overlap strategies as you move along each wall.
Focus on staging and edge management rather than strict numbers. Align your layers to ensure even gloss development and avoid abrupt transitions at joints or corners. A clear workflow helps prevent obvious overlaps from showing up in the final finish.
Establishing the base and leveling layers
The first step in your layering plan is creating a smooth, even base. This hides substrate variations and provides a consistent foundation for your final gloss.
Start by applying a thin, leveling coat with a wide trowel. Use long, steady strokes to avoid leaving marks. Let it set until it’s no longer tacky but not fully cured.
Tip: Work from the top down to prevent drips and streaks.
Building depth with intermediate coats
Now it’s time to build color and texture. But be careful not to create visible seams between passes.
Use a smaller trowel for better control. Apply the plaster in thin, overlapping ‘M’ or ‘W’ patterns. This helps blend each pass into the last.
Feather the edges of each pass to avoid sharp lines. Let it set until it’s no longer tacky before moving on.
Final gloss layer and burnish timing
The final application is where you’ll achieve your high-gloss finish. But timing is crucial here.
Check the manufacturer’s guidelines for ideal timing between coats and before burnishing. Test panels can help too. Apply a thin, even layer with a soft touch to avoid disturbing previous layers.
Tip: Burnish when the plaster has just started to set but is still slightly tacky. This gives you the best gloss.
Application Techniques to Prevent Drag Marks and Streaks
Keep a relaxed grip and steady pressure on the trowel, avoiding quick, jagged strokes. Use true, uniform passes and maintain a consistent speed across large areas. Light, overlapping swipes help blend edges smoothly.
Match your stroke pattern to the surface texture and the stage of cure. Avoid heavy passes over still-wet areas, and watch for drag as you move from one section to the next. Practice deliberate, controlled movements to reduce marks.
Stroke patterns, pressure, and tool angle
Consistency is key when it comes to preventing drag marks and streaks in your concrete finish.
Direction matters: Always work in the same direction. Start at one corner and work your way across, then move down a few inches and repeat. This helps distribute any minor imperfections evenly.
Pressure control: Too much pressure can cause drag marks, too little won’t smooth out the surface properly. Aim for a consistent, even pressure. Practice on a test board to get a feel for it.
Tool angle is crucial: Hold your float at about a 45-degree angle to the surface. This helps distribute the material evenly and prevents streaks. Be sure to check your float regularly; a worn or damaged one can cause more harm than good.
Managing material consistency and remixing
The right materials ensure your concrete work looks good and lasts. Here’s what you need to know about mix types, additives, and when to remix.
- Type N mortar: Used for most masonry work. Look for ASTM C270 rating. It’s versatile but not ideal for high-traffic areas or freeze-thaw cycles.
- Type S mortar: For high-strength, low-absorptive applications. Needs ASTM C270 rating and low water absorption. Ideal for paving slabs and steps.
- Concrete mix (ready-mix): Check strength class (e.g., 3000 psi). Cheap mixes may lack durability, leading to cracking. Hire a reputable supplier.
- Concrete admixtures: Additives like accelerators or retarders control setting time. Look for ASTM C494/C1017 ratings. Avoid cheap unknown brands; they can cause issues.
- Fiber reinforcement: Adds strength and crack resistance to concrete. Check ASTM D6241 standards. Cheap fibers may not perform well, leading to weak spots.
Pro tip: Buy materials in small quantities if you’re new to this. Store them properly to maintain quality. Mix only what you can use within the working time to avoid waste and rework.
Edge blending, returns, and transition tactics
When it comes to edges and corners, the key is to blend your strokes so seams disappear. Here’s how:
Check base compaction, then start from a corner or edge. Work inwards with smooth, steady strokes. Use the same pressure and tool angle as you would for regular stroking.
For returns (where two surfaces meet at an L-shape), use a small trowel to feather the edges. Blend the material from one surface onto the other, then burnish smooth. It’s like painting a wall – you want those edges to disappear.
Transitions between different slabs or materials? Do the same thing. Feather the edge of one slab onto the next, then burnish smooth. Check your work as you go, and don’t be afraid to add more material if needed. Remember, it’s easier to blend when the concrete is still wet.
Troubleshooting, Repairs, and Finishing Corrections
Use a simple decision approach: identify the defect, assess whether it can be corrected in place, or requires rework. For minor issues, spot repairs with compatible product may suffice. Larger defects may need a targeted rework after a test patch.
Test fixes on inconspicuous areas first to confirm compatibility and results. If the gloss looks off after a repair, revisit the prep and layering plan. Document what you adjusted and why to guide future steps.
Identifying defect types and likely causes
First, let’s understand the different kinds of defects you might encounter. Drag marks are long, thin lines caused by trowel movement. Streaks appear as wider, lighter or darker bands. Blushing is a hazy, discolored patch, often due to moisture. Sanding scratches are fine, shallow grooves from improper sanding.
Drag Marks: Likely causes include moving the trowel too fast or applying too much pressure. Streaks: These can be caused by inconsistent material application or trowel angle issues. Blushing: This is usually due to high humidity or not letting the previous layer dry enough.
To diagnose, examine your work under good lighting and from different angles. Remember, prevention starts with understanding your materials and techniques (refer back to ‘Application Techniques’ section).
Local touch-ups, feathering, and re-coating strategies
For small defects, local touch-ups can save time and material. First, lightly sand the affected area with fine-grit sandpaper to remove any gloss. Wipe clean with a damp cloth.
Feathering involves blending new material into existing finish. Mix a small amount of plaster, then apply thinly over the defect using a flexible trowel. Work outwards in overlapping strokes, matching your original stroke pattern (refer back to ‘Stroke patterns’ section).
For larger defects or streaks, you might need to re-coat. Lightly sand, clean, and let it dry. Apply a thin layer of plaster, feathering it into the surrounding finish. Let it dry, then lightly sand again before applying your final gloss layer.
When to remove and redo versus repair
Not every defect needs a full redo. For minor issues like light drag marks or small streaks, local touch-ups are usually sufficient.
However, if defects are extensive, deep, or affect large areas, it’s best to remove and redo the affected section(s). Scrape off the old plaster, clean the surface, let it dry, then reapply following your original layering plan (refer back to ‘Layering Plan’ section).
Before making any corrections, test your fixes on an inconspicuous area first. This way, you can ensure your repair method works without affecting your final finish.
Visual Checkpoints, Test Panels, and Quality-Assurance Protocol
Reserve a small test panel or mockup area to verify layering, sheen, and edge work before committing to the full wall. Use both visual checks and tactile feel to assess uniformity. Compare panel results against the intended gloss level definitions.
Document acceptance criteria and results as you go, so you can reproduce or adjust for the rest of the space. If a criterion isn’t met, review the prep, products, and technique notes and adjust the plan accordingly. Keep notes accessible for future projects.
Setting up and evaluating test panels
Before diving into the full application, create test panels to ensure your layering plan works as expected.
- Choose representative areas: Select spots that mimic the final surfaces’ conditions.
- Vary tools and strokes: Test different trowels, floats, and stroke patterns to find what works best.
- Layer consistently: Apply each layer as you would in the full application.
- Assess under final lighting: Check panels at different times of day to see how light affects the finish.
- Avoid skipping this step: It helps prevent costly mistakes and ensures client satisfaction.
Quick rule: Always create test panels before starting the full application. It’s your final check before committing to the job.
Final inspection checklist and handover guidance
Once the application is complete, follow this checklist to ensure a successful handover.
- Uniform gloss: Check for consistent sheen across all surfaces. Use a flashlight at different angles to spot any variations.
- Absence of linear marks: Inspect for any drag marks or streaks, especially in corners and edges.
- Consistent color and texture: Ensure the finish is uniform throughout. Compare different areas under consistent lighting.
- Client guidance: Provide clear instructions on how to protect the finish from moisture, direct sunlight, and other potential damages.
Quick rule: A thorough final inspection ensures client satisfaction and protects your reputation as a professional applicator.
Conclusion
The core idea is simple: if you prep right, plan the layering, and test as you go, you keep drag marks and streaks from becoming costly mistakes while protecting safety and long-term durability.
Now do this in order: check your substrate and prep, confirm the product specs, set up the workspace with the right environmental controls, lay out your tools and plan the layering sequence, run a test panel, and then proceed using the approved overlaps and edge management you practiced. Keep visual checkpoints and QA reviews as you go, and document any adjustments for future projects.
Two common mistakes to avoid are skipping substrate prep and rushing layers, which invites texture inconsistencies; neglecting overlaps and edges, which creates uneven glaze lines; and ignore safety measures, like inadequate ventilation or protection for skin and eyes. Safety first, follow the test-panel results, and work in small sections to catch issues early. If you encounter structural issues, persistent dampness, or large-area coverage beyond your comfort zone, call a professional rather than pushing on. Stay disciplined, stay patient, and you’ll finish with a flawless, high-gloss finish that lasts. You’ve got this.
FAQ
How can I minimize drag marks when applying the top coats?
Keep your tool consistent and use light, even passes. Work in small, overlapping sections and don’t stay in one spot too long. If you see a line forming, back off and feather the edge with a fresh pass.
Should I practice on a test panel before tackling my actual walls?
Yes. Build a small panel with the same substrate and finish you’ll use. Practice the layering, feathering, and burnishing so you know how it behaves. Check the manufacturer’s instructions and your own results before committing to walls.
What edge and overlap technique helps prevent streaks in corners and joins?
Use narrow, controlled strokes for edges and slightly overlap each pass. Keep transitions smooth and avoid piling product at corners. If a streak shows, blend it with a light, fresh layer in the next pass.
How do humidity, temperature, and drying time affect durability and finish?
Environmental conditions matter. Too much moisture or cold can slow cure and cause defects. Check the product label for acceptable ranges and plan application when the room is within that window. If in doubt, wait and test in a small area.