
Introduction
Hairline plaster cracks are tiny surface splits that reveal movement in the wall and don’t always mean the plaster is failing.
This article helps you decide when to fill them with patching material and when you should reinforce to stop them from growing.
Look for cracks that appear after weather changes or settling to gauge the right approach.
If you’re filling, skim the crack clean, dampen the area, and apply a thin patching compound, then feather the edges smooth.
If you’re reinforcing, identify ongoing movement and consider adding reinforcing mesh or reattaching loose areas, following the product label, manufacturer instructions, or local rules.
Always prioritize safety and, when in doubt, pause and check with a pro or your local building guidance.
Key takeaways
- Hairline cracks are extremely narrow and may appear in multiple walls.
- Observe movement, moisture intrusion, or widening after temperature changes for urgency.
- Choose filling only for stable, non-structural cracks with no movement.
- Reinforce when recurring cracks or substrate movement threaten plaster stability.
- Prep area, clean dust, apply compatible filler, and feather edges smoothly.
- Wear eye protection and mask, ventilate area, and follow manufacturer instructions.
Table of Contents
- Introduction
- Key takeaways
- What Counts as a Hairline Crack
- Causes of Hairline Plaster Cracks
- How to Assess Severity and Urgency
- When to Choose Filling Only
- When to Reinforce Rather Than Just Fill
- DIY Step-by-Step: Filling Small Hairline Cracks
- DIY Reinforcement Techniques for Recurring Cracks
- Tools and Materials Checklist; Material Specs Explained
- Conclusion
- FAQ
What Counts as a Hairline Crack
A hairline crack is a narrow, shallow split in plaster or skim coats that’s barely visible at first glance. It differs from wider cracks or separations in depth and width, which can indicate movement or failure. Pay attention to texture and whether the crack runs along a joint or across a surface.
Diagnosis hinges on how wide, how deep, and how the surface feels around the crack. If in doubt, consult the product label, manufacturer instructions, or local building guidance to interpret the signs correctly. Use a straightedge to gauge width and note any changes over time as part of your plan.
Visual and Tactile Characteristics
A hairline crack is barely visible to the naked eye. It’s so fine that you might need to look at it from an angle or use a bright light to see it.
To check if a crack is just surface-level, try running your fingernail along it. If it feels smooth and continuous, it’s likely only skin-deep. But if you feel any gaps or roughness, the crack might be deeper.
Remember, width matters. A hairline crack is typically less than 0.2mm wide. Any wider, and it’s not a hairline crack anymore.
Cosmetic vs Functional Distinctions
Not all cracks are created equal. Some are just cosmetic, meaning they don’t affect the structural integrity of your walls or ceiling. These are usually short, straight, and don’t widen over time.
Functional cracks, on the other hand, can indicate deeper movement or damage. They’re often longer, irregular in shape, and may widen or reopen after repair. If a crack is wider than 0.2mm, it’s no longer hairline and might need more attention.
Rule of thumb: If you can’t feel the crack with your fingernail but it’s still visible, it’s likely cosmetic. But if it feels rough or gaping, it could be functional and may need reinforcing.
Causes of Hairline Plaster Cracks
The most common culprits are shrinkage, settlement, and normal thermal movement that happens with temperature changes. Vibration from nearby activity or equipment can also contribute over time. Moisture fluctuations may mirror through the plaster and reveal where cracks start.
Understanding the cause helps pick the repair approach. Check the label or data sheet for guidance on suitable repair methods and any cautions related to moisture, movement, or substrate conditions. If moisture or movement seems ongoing, plan for a more robust repair than a simple patch.
Shrinkage and drying-related cracks
Plaster and paint shrink as they dry, creating thin, static hairline cracks. These are usually harmless and don’t indicate a serious problem.
You’ll find these types of cracks around windows, doors, and corners where shrinkage is most pronounced. They’re typically cosmetic in nature and won’t cause further damage to your walls or structure.
However, if they’re wide enough (over 2mm) or appear in large numbers, it might be a sign of excessive moisture loss during drying. Keep an eye on them, but filling these cracks is usually all that’s needed.
Movement, settlement, and structural causes
Ongoing movement in your walls or structure can cause recurring or widening hairline cracks. This is often due to settlement of the foundation, thermal expansion/contraction, or vibration from nearby traffic or machinery.
Cracks caused by movement are typically functional, meaning they indicate a problem with your home’s structure that needs addressing. Ignoring them could lead to further damage and costly repairs down the line.
These cracks may appear at random locations on walls, ceilings, or floors. They can also be accompanied by other signs of movement, such as sloping floors or sticking doors and windows.
If you suspect your hairline cracks are due to movement, don’t attempt to fill them until you’ve addressed the underlying cause. Consult a professional if necessary to ensure your home’s structure is sound before proceeding with repairs.
How to Assess Severity and Urgency
Start with a visual check for pattern, width, and location relative to joints or corners. Note whether cracks are isolated or appearing in multiple spots. Look for signs of movement, such as widening or shifting over time.
Use a simple test to judge urgency: determine if the crack opens with seasonal changes or remains static. For anything showing ongoing movement or crossing structural joints, verify with local codes or a professional assessment rather than assuming it’s cosmetic.
Step-by-Step Process
Follow these practical steps to assess the severity and urgency of hairline plaster cracks.
- Preparation: Gather a flashlight, measuring tape, and a small hammer. Wear safety glasses.
- Safety first: Turn off any electrical switches near the crack to prevent accidents.
- Main inspection: Use your flashlight and measuring tape to examine the crack’s length, width, and depth. Tap gently with the hammer to listen for hollow or solid sounds.
- Check for movement: Gently push and pull on the plaster around the crack. If it moves more than 1/8 inch, it may indicate a structural issue.
- Final checks: Look for any adjacent damage or moisture. If you find any red flags, stop and call a professional immediately. Clean up your tools and turn electrical switches back on.
Quick On-Site Checks to Perform
Perform these simple tests to gather more information about the crack:
Visual Record: Take photos of the crack from different angles. This helps track changes over time.
Tap Test: Gently tap the plaster on both sides of the crack with a hammer. A solid sound indicates the wall is still structurally sound, while a hollow sound may suggest further damage.
Look for Adjacent Damage: Inspect the surrounding area for any other cracks or signs of damage. Multiple cracks may indicate a more serious issue.
Moisture Check: Use a moisture meter to check for excess moisture around the crack. Excessive moisture can cause plaster to crack and may indicate a leak or other underlying problem.
Indicators of Progressive or Structural Problems
These red flags suggest that the crack is more than just cosmetic and requires immediate attention:
Widening Cracks: If the crack is getting wider over time, it may indicate ongoing movement or settlement.
Stair-Step Patterns: Diagonal or stair-step cracks can suggest structural issues, as they often indicate that the wall is moving in different directions.
Cracks Through Multiple Materials: If the crack extends through multiple materials (like plaster and drywall), it may indicate a more serious problem with the structure itself.
Active Moisture: If you find moisture or mold around the crack, it could suggest a leak or other underlying issue that needs to be addressed immediately.
When to Choose Filling Only
Choose filling when cracks are superficial, static, and not accompanied by movement or widening joints. A simple repair can restore surface evenness without altering structure. Expect limitations in cracks that recur or stay active after initial patching.
Check the filler’s compatibility with your plaster and finish layer and follow the product instructions for application and curing. If the crack shows persistence, consider whether a fill-only approach fits the longer-term plan by assessing recurrence risk with local guidance.
Suitable fillers and compatibility with plaster
When choosing a filler for your hairline cracks, consider the type of plaster you have. Most plasters are gypsum-based, so look for fillers that are compatible.
Gypsum-based fillers are usually the best choice. They’re easy to apply and sand, and they won’t shrink or crack over time like some other types might. Ready-mix fillers can also work well, but make sure they’re suitable for your plaster type.
Flexible acrylic compounds can be useful in areas with movement, but they may not adhere as well to old plaster. Always check the product label for compatibility and adhesion considerations before you buy.
Cosmetic finish and paint matching
After filling your cracks, it’s important to feather the edges of the filler to blend it with the surrounding plaster. Use a damp sponge or a soft brush to gently wipe away any excess filler and create a smooth transition.
Once the filler is dry, sand it lightly using fine-grit sandpaper. This will help to create a smooth surface for painting. Remember to wear a dust mask while sanding to protect your lungs from plaster dust.
Before you paint, apply a coat of primer to seal the filled area and help your new paint adhere properly. When choosing a paint color, try to match it as closely as possible to your existing paint. If you’re unsure, ask for a small tester pot at your local hardware store.
When to Reinforce Rather Than Just Fill
Reinforcement is warranted when there’s recurrence, movement, or cracks that cross joints and show signs of structural flex. The goal is to span the crack and reduce future movement, not just hide the surface. Reinforcement often involves a combination of materials and surface preparation.
Clarify expectations by checking with the manufacturer guidance or a professional for the right combination of reinforcement and plaster. Always verify compatibility with your substrate, finishing system, and any local rules before starting.
Reinforcement methods overview
When cracks need more than just filling, reinforcement is key. Here’s a quick rundown of your options:
Mesh or Tape Embedding: For wide cracks or areas prone to movement, embed fiberglass mesh or tape into a fresh layer of plaster. This adds strength and flexibility.
Bonding Agents: These liquid additives enhance adhesion between old and new plaster. Use them when cracks are due to poor bonding.
Remember, each method has its place. Choose wisely based on the cause and severity of your cracks.
When substrate repair or structural work is needed
Some cracks aren’t just skin deep. Here’s when you need to dig deeper:
Timber Movement: If cracks follow timber framing, there might be movement or settlement issues. You’ll need to fix the timber first before plastering.
Lath Failure: Cracks along lath lines could mean lath failure. Replace damaged laths before replastering.
Masonry Issues: For cracks in masonry walls, you might need to repair or repoint the masonry first. Ignoring these issues will only lead to more plaster problems down the line.
DIY Step-by-Step: Filling Small Hairline Cracks
Begin with clean, dry surfaces and remove any loose material. Lightly feather the edges so the patch blends with the wall. Gather a filler compatible with plaster and your finish layer and read the label for surface prep details.
Apply the filler in thin layers, allowing each to set as directed by the product instructions. Finish flush with the surrounding surface and recoat after full curing. If the crack reappears, reassess whether filling alone is sufficient or if reinforcement is needed.
Step-by-Step Process
This section guides you through filling small hairline cracks in your plaster walls or ceilings, from preparation to final checks.
- Safety first: Clear the area. Wear gloves and safety glasses.
- Inspect the crack: Ensure it’s not a sign of structural issues (refer to earlier sections).
- Main work: Apply filler using a flexible filler knife, working from both ends towards the middle.
- Let it cure: Follow manufacturer’s instructions for drying time. Keep the area draft-free.
- Smooth and check: Lightly sand any rough spots. Wipe clean with a damp cloth. Inspect your work.
Surface preparation and cleaning
Proper surface preparation ensures filler adheres well to the plaster. Here’s how to prep your hairline cracks:
Open the crack: Use a sharp craft knife or scalpel to gently widen the crack slightly, creating a ‘V’ shape.
Clean the area: Remove any loose material, dirt, or dust using a soft brush or vacuum. Wipe with a damp cloth to remove any remaining residue.
Prime the surface: Apply a thin layer of primer (compatible with your filler) to seal the plaster and improve adhesion.
Application, curing, and finishing tips
Proper application and care ensure a long-lasting repair:
Apply filler: Use a flexible filler knife to apply the filler. Work from both ends towards the middle to avoid creating air pockets.
Curing: Follow the manufacturer’s instructions for drying time. Keep the area draft-free to prevent the filler from curing too quickly, which can lead to cracking.
Sanding and painting: Lightly sand any rough spots with fine-grit sandpaper. Wipe clean with a damp cloth. Apply a coat of paint that matches your existing finish (refer to earlier sections on paint matching).
DIY Reinforcement Techniques for Recurring Cracks
For recurring cracks, embed a suitable reinforcement like tape or mesh across the crack after a light keying of the surface. Use a plaster or patch compound to recoat over the reinforcement and blend to a seamless finish. Follow product guidance for the recommended layer thickness and cure time.
Decide between flexible vs rigid reinforcement based on expected movement and crack pattern. If in doubt, consult the product instructions or local guidance to choose the right method and materials for your wall type.
Installing mesh or paper tape
Before you embed your reinforcement, ensure the crack is clean and dry. Apply a thin layer of plaster to the area using a trowel.
For paper tape, press it firmly into the wet plaster. Use a straight edge to smooth out any ridges. For mesh, lay it in the wet plaster, pressing down gently and ensuring no air bubbles are trapped.
Let this initial layer dry slightly until it’s tacky but not hard. This will help your reinforcement stick better when you apply your skim coat.
Re-skim and blend procedures
Once your reinforcement is secure, mix a small batch of plaster. You want it thinner than usual, about the consistency of single cream.
Using a trowel, apply this skim coat over your reinforcement. Work quickly but carefully to avoid trapping air bubbles. Ensure you blend the new plaster into the existing wall seamlessly.
Let this dry until it’s touch-dry, then lightly sand any ridges or rough spots using fine-grit sandpaper. Wipe off any dust with a damp cloth and apply a second skim coat if needed to ensure a smooth finish.
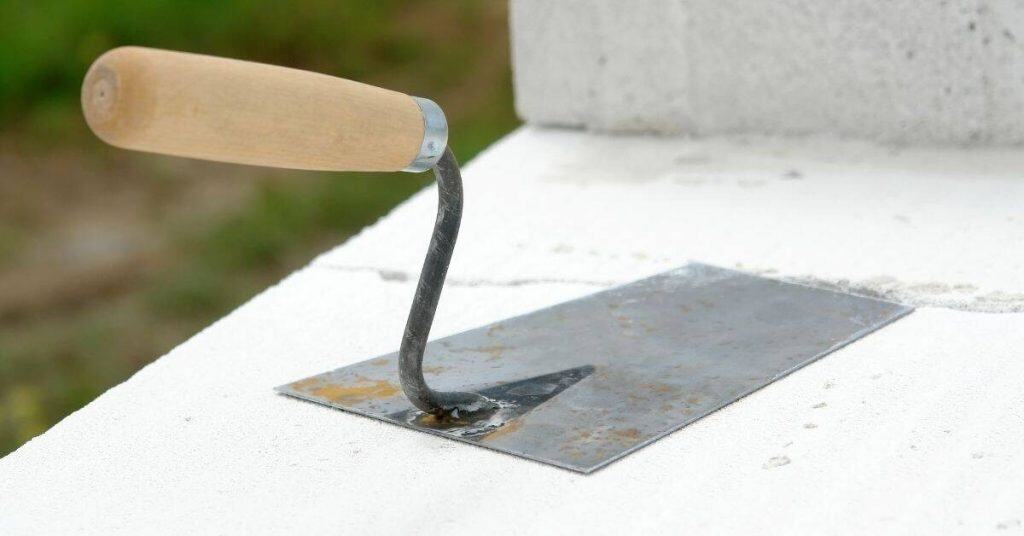
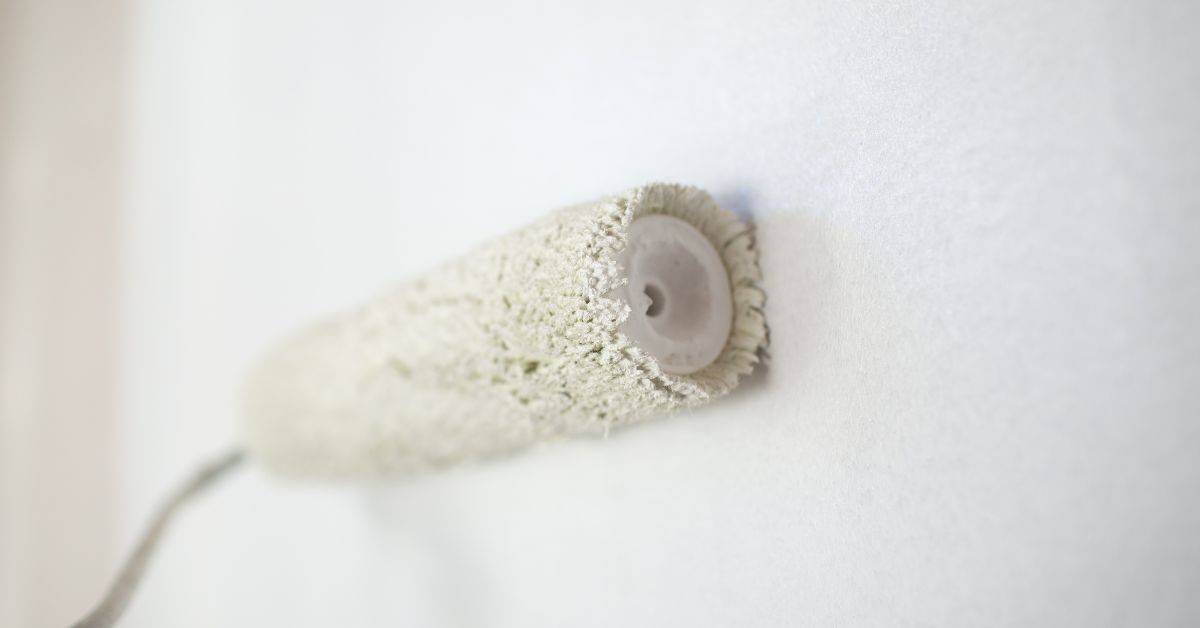
Tools and Materials Checklist; Material Specs Explained
Prepare a basic set of hand tools, along with plaster or patch compounds compatible with your plaster system. Have tape or mesh on hand for reinforcement and a suitable filler for patches. Read labels for surface prep, cure time, and cleanup notes.
Key specs to check include compatibility with your substrate, flexibility of the repair material, dry time, and VOC considerations. If you’re unsure about a product’s suitability, verify with the manufacturer instructions or local guidelines before purchase.
Tool selection and best-use notes
Before you start your concrete project, use this checklist to ensure you have the right tools for the job. This will help you achieve a professional finish and avoid costly mistakes.
- Knives: Check blade sharpness. Dull blades can cause uneven cuts and increase effort. Test by slicing through paper easily.
- Scrapers: Ensure they’re straight and rigid for even, smooth surfaces. Flexible scrapers may lead to wavy or uneven finishes.
- Sanders: Choose orbital sanders (12,000-15,000 RPM) for fine finishing. Lower speeds can leave swirl marks and reduce surface quality.
- Brushes: Select stiff-bristled brushes (e.g., broomcorn or synthetic) for efficient concrete cleaning. Soft bristles may not remove all residue, leading to bonding issues.
- Safety gear: Verify hard hats, safety glasses, gloves, and steel-toed boots are in good condition. Inadequate protection can result in injuries.
- Tape measure: Ensure it’s calibrated correctly to prevent measurement errors that could lead to miscuts or improper mixing ratios.
- Level: Check level accuracy using a 2-foot straight edge. Inaccurate levels can cause uneven surfaces and sloping floors.
- Trowels (for finishing): Select trowels with smooth, unchipped edges to avoid damaging the concrete surface during finishing.
Quick rule: Always check your tools before starting work. A few minutes of preparation can save hours of rework and prevent costly mistakes.
Material selection and safety considerations
Before you start your plastering project, use this checklist to ensure you’ve got the right materials and understand how to use them safely.
- Fillers: Check they’re suitable for your substrate (e.g., gypsum fillers for drywall). Ensure they’re fine enough to avoid sanding issues later. What goes wrong if you skip this: Incorrect fillers can lead to cracking or poor adhesion.
- Bonding agents: Confirm they’re compatible with your plaster and substrate. Check the label for application instructions. A quick test on a small area ensures it works well. Skipping this could result in poor bonding and peeling.
- Plaster tapes: Choose ones designed for your specific job (e.g., joint tape, corner bead). Ensure they’re wide enough to cover joints properly. Inadequate coverage can cause cracking or joint failure.
- Ventilation: Check local rules and manufacturer guidelines for safe ventilation during application and drying. Poor ventilation can lead to improper curing and mold growth.
- PPE (Personal Protective Equipment): Ensure you have gloves, goggles, and a dust mask. Check they’re in good condition before use. Neglecting PPE can result in injuries or health issues.
- Plaster type: Choose the right plaster for your needs (e.g., multi-purpose, finishing). Check it’s suitable for your climate and application method. Using incorrect plaster can lead to poor results and wasted effort.
- Plaster consistency: Mix plaster according to manufacturer instructions. Test a small batch first to ensure the right consistency. Incorrect mixing can cause application issues or waste material.
- Storage: Check storage conditions for all materials (e.g., dry, cool place). Improper storage can lead to damaged or ineffective products.
Quick rule: Always check product labels and manufacturer instructions before use. This ensures you’re using the right material in the correct way, saving time, money, and effort in the long run.
Conclusion
Careful assessment and the right choice next keep walls durable and looking good. If a crack is truly hairline, clean and fill; if it shows movement or repeats after a fill, reinforce before filling again. Safety and proper prep matter more than any quick fix.
First, check for movement, moisture, and crack width, then decide if filling alone is okay or if reinforce steps are needed; test a small area, gather the right materials, and follow a simple order: clean and dry the area, prime where required, apply the filler or mesh/reinforcement as dictated, and let it cure before a light finish coat; keep moisture in mind and seal any exposed edges so the fix lasts. Test first on a hidden spot and proceed only if the small area behaves.
Common mistakes to avoid are ignoring moisture or movement, using the wrong filler for a widening crack, and skipping prep or cure time; another trap is overloading the surface with compound or skipping a reinforcement where it’s needed. The rule of thumb is simple: fix what you can see with the right method, and don’t push ahead if the crack keeps returning or flags other signs of trouble. Safety comes first and taking it slow saves time and money.
If cracks keep recurring, or you spot structural signs, or the area bears loads, it makes sense to bring in a pro rather than pushing on alone. When in doubt, assess the severity honestly, follow the steps you’ve learned, and stay focused on small, testable moves. You’ve got this—steady work now means fewer calls later.
FAQ
How do I tell if a crack is just filler material or needs reinforcement?
If a crack reopens after filling, widens, or runs through multiple coats, it likely needs reinforcement. Look for movement that repeats after settling or seasonal changes. When in doubt, check the product label and manufacturer instructions for guidance.
What simple steps can I take to reinforce after filling?
Clean the area and key the surface so new material grips. Apply a mesh or plaster scrim over the repaired area, then recoat with a base layer per the product instructions. Don’t overload the patch; keep it thin and flush with the wall.
When should I stop DIY and call a pro?
If cracks are wider than a typical hairline, keep reappearing in the same spots, or the wall shows bulging, moisture, or peeling paint, call a pro. Ongoing movement or signs of water intrusion can indicate structural or plumbing issues that need professional evaluation. Check local rules and manufacturer instructions for any escalation guidance.
What should I check before starting repair to prevent return?
Inspect for moisture sources and fix leaks before patching. Use the right filler and base coat for the surface, and follow curing times and application temps on the label. If in doubt, test a small area first and verify compatibility with the plaster or skim coat you’ll use.