
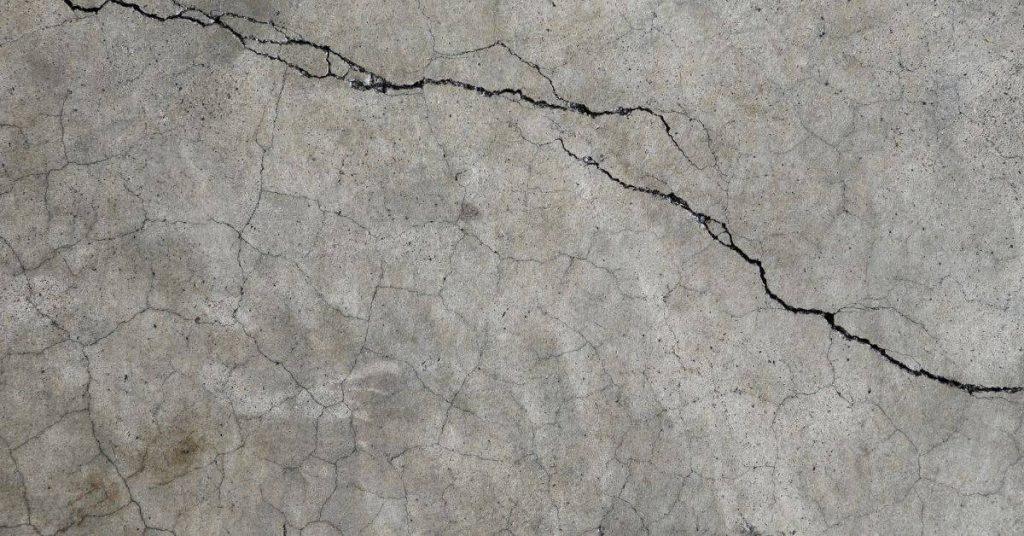
Introduction
Crack injection can seal a suitable crack in a cast-concrete basement wall, but it is not a universal fix for a wet basement or a moving foundation. Choose the resin and injection method from the crack’s condition: rigid epoxy is used for selected cracks where structural bonding is part of the repair design; flexible polyurethane is commonly used to stop water through wet, leaking, or potentially moving cracks. The repair system must match the crack, moisture condition, and its cause.
Stop and arrange a professional evaluation before injecting if the wall is bulging, displaced, bowing, or visibly deteriorating; if there are horizontal or stair-step cracks; if the crack is reopening or widening; or if water is entering under substantial pressure. Injection does not correct poor grading, failed gutters or downspouts, exterior drainage problems, hydrostatic pressure, settlement, or ongoing wall movement. Those causes need separate correction.
Table of Contents
- Introduction
- Key takeaways
- What High-Pressure Epoxy Injection Is and When to Use It
- Identifying Cracks That Require High-Pressure Injection
- System Components: Resins, Pumps, Ports, and Packers
- Tools, Materials, and Preparation Checklist
- Step-by-Step Injection Process: Ports, Packers, and Injection Sequence
- Safety, Environmental, and Jobsite Considerations
- Costs, DIY Vs. Professional Services, and Budgeting Checklist
- Common Mistakes, Aftercare, and Long-Term Maintenance
- Conclusion
- FAQ
Key takeaways
- Do not choose epoxy simply because a crack leaks. Epoxy and polyurethane serve different crack conditions.
- Crack width alone does not identify a structural problem or determine injection pressure.
- Use one complete, compatible injection system: resin, pump or cartridge gun, ports or packers, fittings, and crack-seal material.
- Surface-mounted ports and drilled mechanical packers are different systems with different installation methods.
- Use the product data sheet for port spacing, drilling details, mixing, temperature, moisture limits, working time, pressure, cure time, and cleanup.
- Inject at the lowest effective pressure. Stop for abnormal pressure, uncontrolled leakage, moving packers, spalling, or resin entering an unintended space.
Choosing an Injection Method
Injection sends a specified resin through a crack rather than merely covering its face. It can be a useful repair for a suitable cast-concrete crack, but pressure is not a measure of repair quality. Resin penetration depends on crack geometry and continuity, moisture, resin properties, port setup, and the complete equipment system. Some systems use slow, low-pressure injection; excessive pressure can damage the substrate or force resin into unintended paths.
Use epoxy only when the selected product and repair design call for a rigid bond and the crack is not expected to continue moving. Use a polyurethane system when its manufacturer identifies it as suitable for the wet, leaking, or moving condition at hand. ACI guidance emphasizes that crack-repair selection must consider the crack’s cause, movement, orientation, complexity, substrate, and water transmission—not width alone. See the ACI crack-repair guidance for that broader assessment framework.
How injection differs from a surface seal
A surface patch or sealant covers the exposed face of a crack. Injection is intended to fill a crack path through the wall when the chosen system can reach it. Neither method solves a crack that is still being driven by settlement, pressure, corrosion, or other active causes.
Do not assume that a high-pressure setup reaches the full crack depth, that low-pressure systems are superficial, or that one method is stronger in every case. Follow the sequence, pressure limits, and completion signal specified for the exact kit.
What injection can and cannot do
A properly selected and installed system may seal a crack or bond its faces under the conditions for which it was designed. It does not prove that the wall is structurally sound, halt future settlement, or eliminate exterior water pressure. Correct drainage and movement problems before treating an injection as a lasting water-control repair.
Assessing a Basement-Wall Crack
Start by confirming the wall material. This procedure is written for cast concrete. Concrete block, brick, stone, and other masonry assemblies can require a different diagnosis and repair method. Make a dated sketch and take photos before cleaning the area. Record the crack’s orientation, length, visible width, leakage pattern, any offset across the crack, and whether it changes over time.
Look outside as well as inside. Note water after rain or thaw, downspout discharge near the wall, poor grading, saturated soil, and drainage failures. These observations help identify the water source, but they do not establish a structural diagnosis.
Structural vs. non-structural crack indicators
Do not classify a crack as structural or harmless by a single width measurement. Horizontal cracking, stair-step cracking in masonry, wall bowing, displacement, crumbling concrete, repeated reopening, or a pattern of new cracks warrants professional assessment. A vertical crack without displacement may be a candidate for a product-specific injection repair, but only after confirming that movement and water conditions fit the system.
Visual checkpoints and pre-repair diagnostics
- Wall and crack type: Confirm cast concrete and record whether the crack is vertical, horizontal, diagonal, or irregular.
- Movement and displacement: Look for offset faces, bowing, widening, repeated reopening, or new related cracks.
- Moisture behavior: Record whether the crack is dry, damp, seeping, or actively flowing and when it occurs.
- Surface condition: Note loose concrete, efflorescence, coating failure, or damaged areas that may prevent the specified seal from bonding.
- Water source: Check grading, gutters, downspouts, and drainage before assuming injection alone will keep the basement dry.
- Utilities: Identify electrical, plumbing, and other concealed services before drilling.
Stop-work rule: Do not DIY inject a bulging, displaced, horizontal, stair-step, actively widening, or structurally suspect wall, or one with substantial water pressure. Seek a qualified foundation or structural professional.
System Components: Resins, Pumps, Ports, and Packers
Buy or rent a complete system intended for the resin and wall condition you have assessed. Do not combine a resin from one system with another maker’s pump, fittings, port adhesive, or packers unless both manufacturers explicitly permit it. The current technical data sheet (TDS) and safety data sheet (SDS) control the job.
Resin types and compatibility
- Epoxy: A rigid resin used for selected cracks where bonding is required and movement is not expected.
- Polyurethane: Commonly used for water sealing in wet, leaking, or potentially moving cracks when the product is rated for those conditions.
Check the selected product’s temperature range, allowed moisture condition, mix ratio, working time, cure time, and required cleanup method. Do not generalize these limits from another resin. Some systems tolerate damp or wet concrete; others do not. Active water may need temporary management before installation, unless the manufacturer’s water-reactive system directs otherwise.
Pumps and pressure control
Use only the cartridge gun or pump, hose, couplers, and fittings rated for the selected resin and packer or port. Set pressure and flow only as the system instructions direct. Start at the lowest effective setting; never increase pressure merely to force material into a resistant crack. A manufacturer method statement likewise describes slow, controlled injection and warns that excessive pressure can damage the structure; review the crack-injection method statement as an example of why the endpoint and pressure are system-specific.
Ports, packers, and attachment methods
Choose one of these arrangements; do not blend their installation steps.
- Surface-mounted ports: These bond directly over the crack. The port base is sealed to the wall with the specified adhesive, while its center channel remains open for resin. The crack is then capped between ports with the compatible surface-seal material.
- Drilled mechanical packers: These are inserted into drilled holes, typically arranged to intersect the intended injection path. Tightening the packer expands its sleeve against the hole wall to seal it. Hole diameter, depth, angle, spacing, and packer length come from the packer and resin instructions.
- Crack seal: This is the surface cap used with many surface-port systems. It contains resin long enough for it to travel through the crack; it is not a substitute for the port or packer seal.
Tools, Materials, and Preparation Checklist
Read the TDS and SDS before opening the resin. Confirm that the planned work conditions meet the product requirements and that you have enough material to finish within its working time. Do not guess at port spacing, drill dimensions, mixing ratio, or cure time.
Essential tools and consumables
- Complete injection system: Named resin, matching hardener or cartridge, specified pump or gun, static mixers if required, hoses, couplers, and fittings.
- Selected delivery hardware: Surface-mounted ports and compatible crack-seal adhesive, or the specified mechanical packers and drill bit.
- Preparation tools: Marking pen, tape measure, brush, and only the cleaning tools allowed by the selected product instructions.
- Drilling controls: Drill, specified bit, and a depth or angle guide when mechanical packers are used.
- Protection and containment: Floor covering, drain protection, absorbent material, and labeled waste containers.
- Finishing material: A compatible patch material for packer holes or removed surface-seal material, if the system calls for it.
PPE, ventilation, and workspace preparation
- PPE: Wear the gloves, eye protection, protective clothing, and respiratory protection specified by each product SDS. Do not assume disposable gloves or a respirator are suitable for every resin or solvent.
- Ventilation: Provide ventilation appropriate to the product hazards and keep ignition sources away when required. A basement is not automatically a confined space, but it can still have chemical, electrical, and egress hazards.
- Area protection: Remove or cover stored items. Protect floors, drains, electrical equipment, and finished surfaces from spills and resin migration.
- Water and electricity: Address standing water and electrical hazards before using powered tools. Use GFCI protection where appropriate.
- Pre-start check: Inspect hoses, fittings, ports or packers, and the wall surface. Do not begin with damaged or unrated components.
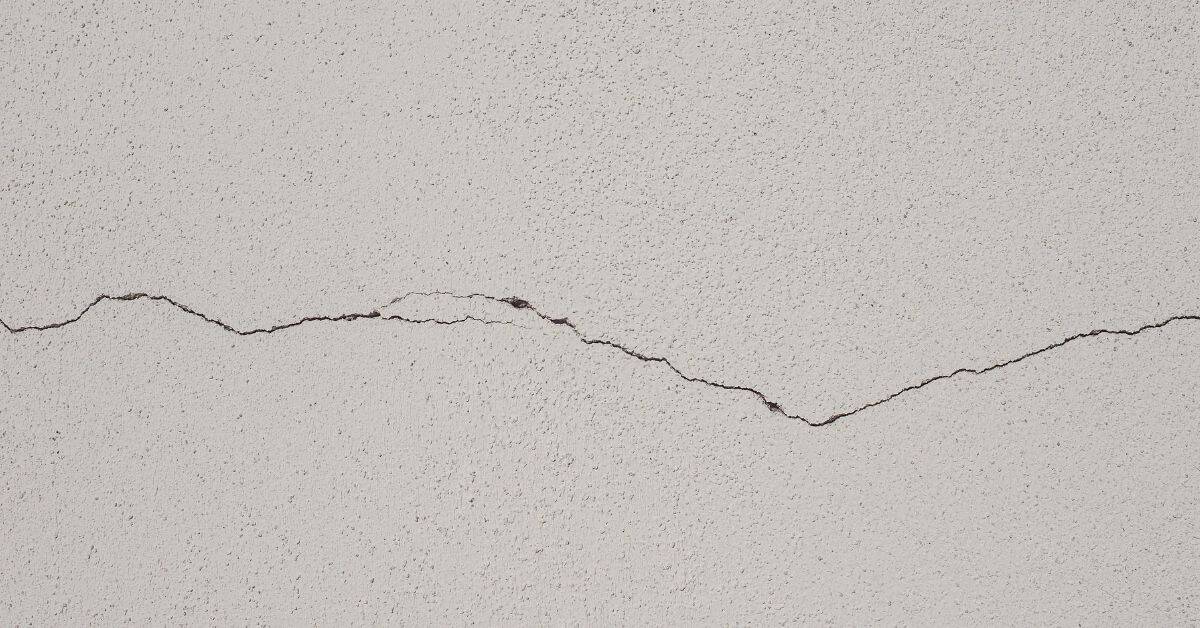
Step-by-Step Injection Process: Ports, Packers, and Injection Sequence
Follow the exact sequence in the kit instructions when it differs from the general sequence below. Do not drill or inject until the crack has passed the assessment above, the cause of water has been addressed as appropriate, and you have confirmed whether the system accepts dry, damp, wet, or actively water-bearing conditions.
Step-by-Step Process
- Document and mark the repair. Photograph the crack, mark its ends and visible branches, and mark the planned ports or packers using the system’s layout instructions.
- Protect the work area. Set containment beneath the repair, protect drains and nearby equipment, put on SDS-specified PPE, and prepare the product-specific cleanup materials before mixing.
- Prepare the crack. Remove only loose material and surface contaminants as the TDS directs. Do not automatically solvent-clean or force-dry the concrete; either can conflict with the selected system.
- Install one port system. For surface ports, bond each port over the crack and cap the crack between ports with the specified sealant, leaving the port channels open. Allow that seal to cure for the stated time. For mechanical packers, drill only the prescribed holes, install each packer, and tighten it as directed so its sleeve seals without damagi