
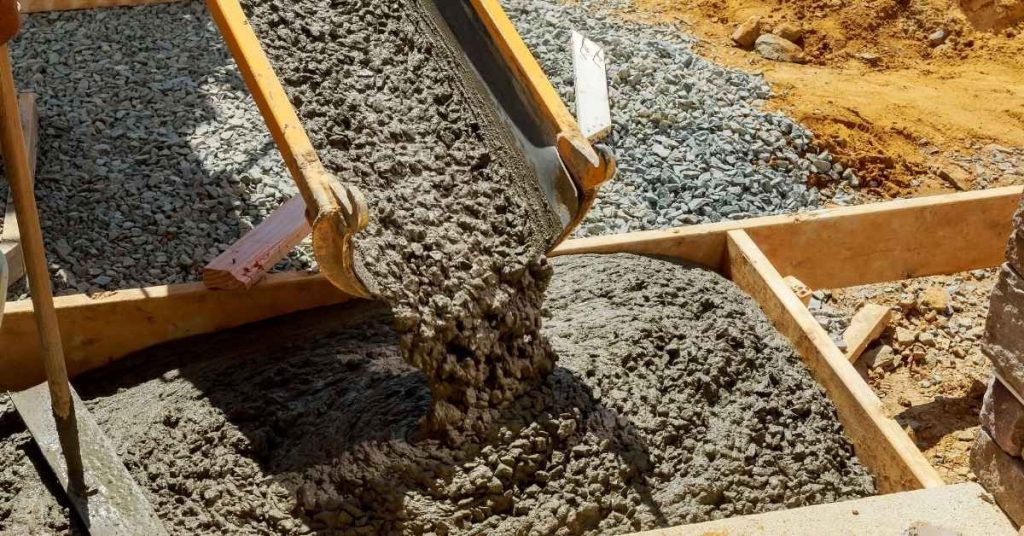
Introduction
Concrete steps are built by casting each riser and tread with forms that include a nosing and proper crack control. This guide gives a plain‑language overview you can use on a DIY job site. Pay attention to how you set up riser forms and where the nosing sits.
Crack control on landings comes from control joints, proper curing, and consistent reinforcement where required. Check local rules and product labels for gaps, mixes, and sequencing. If in doubt, consult manufacturer instructions or your local building authority.
Key takeaways
- Plan riser form types and select materials matching stair width and load.
- Detail nosing profile choices for slip resistance and code compliance.
- Use proper crack control measures at landings with joints and sealant planning.
- Always wear PPE and follow formwork safety procedures during installation.
- Coordinate concrete mix considerations and additives per project site requirements.
- Ensure pouring, vibration, and curing steps protect steps and landings integrity.
Table of Contents
- Introduction
- Key takeaways
- Project Planning and Design Considerations
- Riser Forms: Types, Materials, and Selection
- Riser Formwork Installation Techniques
- Nosing Details, Profiles, and Safety Compliance
- Concrete Mix Considerations and Additives
- Pouring, Vibration, and Curing Techniques for Steps and Landings
- Crack Control Strategies at Landings
- Maintenance, Inspection, and Common Mistakes to Avoid
- Conclusion
- FAQ
Project Planning and Design Considerations
Begin by outlining the project scope for DIY concrete steps, landings, and nosing details. Identify dimensions, materials, and finish options, plus dependent elements like rebar spacing, formwork, and drainage. Note any site-specific constraints such as grade, soil bearing, or moisture to flag early.
Review applicable codes and accessibility guidelines and assemble a checklist for permits, inspections, and stakeholder approvals. Consider IRC/ACI guidelines, ADA/ANSI considerations, and headroom or nosing requirements. Assess site conditions and expected loads from foot traffic and equipment to shape the design package and sequencing.
Site survey and dimensional planning
The first step in building concrete steps is understanding your site. Measure everything carefully.
Start by measuring the rise (height) and run (depth) of each step. The total rise will determine how many steps you need. The run should be consistent throughout, typically around 10-12 inches for comfort and safety.
Mark out landing sizes at the top and bottom. landings should be at least as deep as your treads to accommodate a full stride.
Check the slope of your site. If it’s too steep, you might need to terracing or adjust your design. Also, consider drainage paths to prevent water from pooling around your steps.
Code and accessibility requirements
Before you start building, check local codes and accessibility guidelines. These vary by location, so don’t assume one size fits all.
Riser height: Typically 6-7 inches max. Check your jurisdiction’s limit.
Tread depth: Usually around 10-12 inches. Again, confirm with local codes.
Nosing projection: Often 1/2 inch, but can vary. Make sure nosings aren’t too sharp to prevent tripping.
Accessibility guidelines (like ADA or ANSI) might apply if your steps are public or part of a multi-family dwelling. They often require handrails and specific dimensions.
Confirm all these limits with your local building department to avoid costly rework.
Tools and materials checklist
Before you start mixing concrete, make sure you have everything you need. Here’s a quick checklist:
- Tape measure: To ensure accurate dimensions.
- Level: For checking formwork and ensuring steps are level.
- String line or laser level: For setting consistent riser heights.
- Shovel, wheelbarrow, and mixing tools: For handling concrete.
- Form materials (wood, screws, nails): To create your step forms.
- Reinforcement (rebar, wire mesh): To strengthen your steps.
- Finishing tools (trowel, edger): For smoothing and finishing the concrete surface.
- PPE (gloves, safety glasses, ear protection): To protect yourself from hazards.
- Concrete mix: Ensure you have enough for your project. Consider ordering pre-mixed or using a calculator to get it right.
Quick rule: Always double-check your measurements and calculations before starting. It’s easier (and cheaper) to fix mistakes on paper than in concrete.
Riser Forms: Types, Materials, and Selection
Define the exact scope for riser form options, comparing plywood panels, metal forms, and plastic/reusable modular systems. Evaluate durability, installation/tear-down speed, surface finish quality, and impact on riser geometry and nosing details. Include a practical view of reuse potential versus initial cost.
Establish selection criteria based on riser height, landing width, loads, mix flow versus stiffness, and exposure conditions. Consider nosing treatments and when to prioritize long-term durability over upfront price. Outline workflow for measurement, layout, and setup to ensure proper alignment and consistent wall thickness.
Custom vs Modular Forms
When it comes to riser forms, you’ve got two main choices: custom-built or modular. Each has its pros and cons.
Custom (Site-Built): You can build your own forms on-site using plywood or other materials. This gives you total control over size and fit. But it’s time-consuming, and they won’t last as long as factory-made ones.
Modular: Factory-made forms are quick to install, come in standard sizes, and can be reused many times. They’re more expensive upfront but save you time and labor. However, they might not fit your exact dimensions perfectly.
Material Specs and Standards Explained
Choosing the right riser form material is crucial for a smooth finish and long-lasting results. Here’s what to look for:
- Stiffness: Forms need to hold their shape under pressure. Check the material’s stiffness rating.
- Corrosion Resistance: If you’re working in harsh conditions, ensure your forms can withstand exposure without rusting or degrading.
- Surface Finish: The form’s surface will imprint onto your concrete. Look for a smooth, even finish that matches your desired texture.
- Manufacturer Data Sheets: Always consult these to understand the material’s properties and limitations.
- Local Standards: Check local building codes and standards to ensure your chosen material complies.
Riser Formwork Installation Techniques
Discuss material and fabrication choices for riser forms, including timber, plywood, and steel, and how each affects rigidity and edge quality. Address how these choices influence reuse and edge detail retention. Provide guidance on achieving crisp edges and accurate riser profiles.
Cover accurate sizing, alignment, and layout to match stair geometry, with consistent riser height, tread width, and form-to-form joints. Include bracing, supports, and methods to resist fresh-concrete pressure. Talk through joint detailing, sealing, and form release planning for clean edges.
Leveling, squaring, and bracing
Start by ensuring your riser forms are level and square. Use a laser level or water level for accuracy. Square the forms using a 2×4 as a straight edge and shims to adjust.
Brace the forms properly to prevent movement during concrete placement. For timber forms, use 2x4s diagonally nailed at both top and bottom. For steel or plywood, use adjustable braces or temporary supports.
Check for plumb using a level on all four corners of each form. Adjust as needed before bracing.
Preventing blowouts and leakage
Seal joints between riser forms with a bead of silicone or construction adhesive to prevent leakage. Stagger fastenings on adjacent forms to create a tight seal.
Use temporary supports like wedges or props at the base of each form to hold them in place and resist concrete pressure. Inspect these supports regularly during placement.
Check for any gaps or weak points before pouring. Look for signs of movement, warping, or improper sealing. Address any issues immediately to prevent blowouts or excessive leakage.
Nosing Details, Profiles, and Safety Compliance
Describe nosing profiles and dimensions, including radii or bevels, and how transitions integrate with treads and risers. Explain edge treatments and how nosing interfaces with adjoining surfaces to reduce trip hazards. Note how nosing choices affect finish quality.
Address slip resistance, texture options, and testing methods to meet local codes. Discuss visibility, contrast, and tactile indicators where required, plus lighting considerations for edge perception. Review safety compliance and accessibility requirements, including ADA/ABA standards and documentation for inspections.
Nosing profiles and trim options
The nosing profile is crucial for comfort and safety. Here are your main options:
- Rounded: Smooth, easy on feet but can be slippery when wet.
- Beveled: Provides a clear edge, good for visibility, but can catch toes if not careful.
- Recessed insert systems: Allows for different materials (e.g., wood, metal) for added durability and aesthetics. Make sure inserts are securely fastened to prevent movement.
Choose based on your needs – durability, comfort, or aesthetics. For installation, ensure nosing integrates smoothly with risers and treads, maintaining consistent thickness transitions.
Slip resistance and visibility treatments
Slip-resistant surfaces are a must for safety. Consider these options:
- Broom finish: A standard, textured surface created by dragging a broom across wet concrete.
- Exposed aggregate: Adds grip but can be rough on bare feet. Use caution in areas with high foot traffic.
- Anti-slip additives: Can be mixed into the concrete or applied as a surface treatment. Always test for local code compliance.
For visibility, use contrasting strips or colors at edges. Tactile indicators are required on landings and at changes in direction. Ensure lighting is adequate to enhance perception of nosing details.
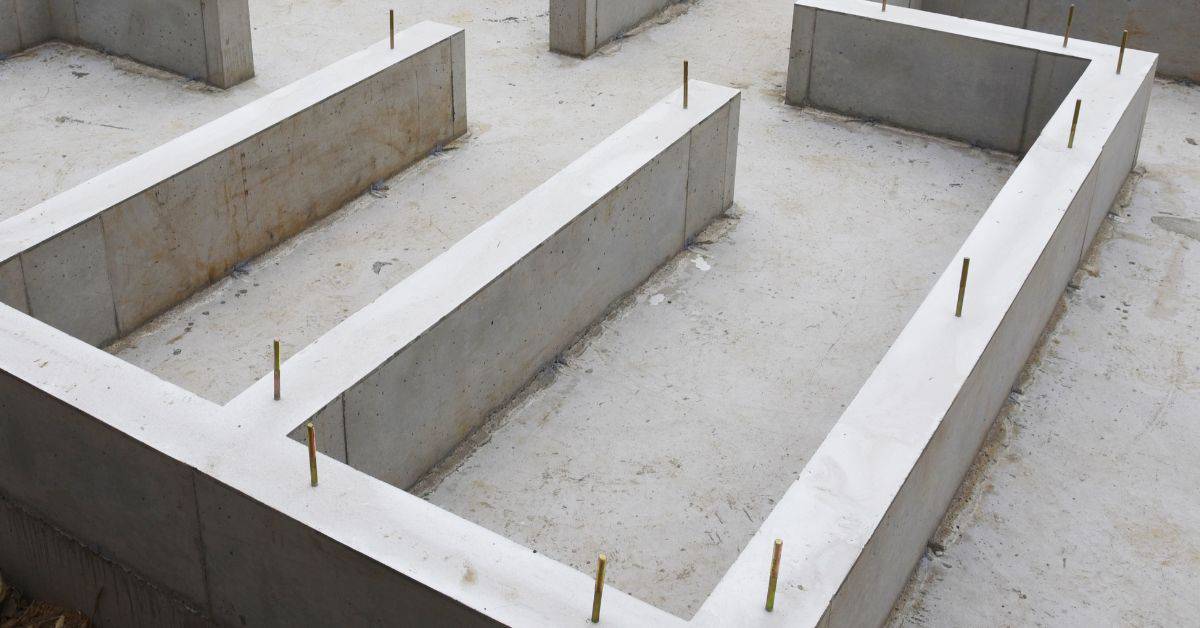
Concrete Mix Considerations and Additives
Outline target performance for workability, strength, and set times, tying these to loads, ramps, and form conditions without specifying numbers. Explain how mix choices influence edge finish and crack resistance. Emphasize documenting performance against targets across batches for landings and nosing work.
Discuss mix design levers like water-cement ratio, cement type, aggregates, and compatible admixtures, noting their impact on durability and surface quality. Include guidance on admixtures and fibers for crack mitigation and plastic shrinkage control. Mention practical planning for trial mixes and field testing.
Selecting Strength and Workability Targets
First, match your mix to the job’s demands. Heavy traffic? Go for high strength. Smooth finish needed? Opt for good workability.
Slump: For landings and nosings, 4-6 inches is good. Too much slump can cause segregation, too little makes placement tough.
28-day Strength: 3000-4000 psi should do for most steps. Check your local codes for exact needs. More strength means better durability under heavy loads and harsh weather.
Set Times: Initial set in 1-2 hours, final set in 6-8 hours is ideal. This gives you time to finish pouring and vibrating without rushing.
Admixtures and Fibers for Crack Control
Admixtures and fibers are your secret weapons against cracks. Here’s how they work:
Plasticizers (Superplasticizers): These boost slump, making your mix easier to place without adding water. More water means more shrinkage cracks.
Retarders/Accelerators: Retarders give you more time to pour and finish. Accelerators speed up setting for quick turnaround. Follow manufacturer dosing instructions.
Air-entrainment Agents: These create tiny air bubbles in the concrete, making it resistant to freeze-thaw damage and reducing shrinkage cracks. Too much air weakens strength, too little doesn’t protect against cracking.
Fiber Reinforcements (Polypropylene, Macro-synthetic): Fibers control plastic shrinkage crack