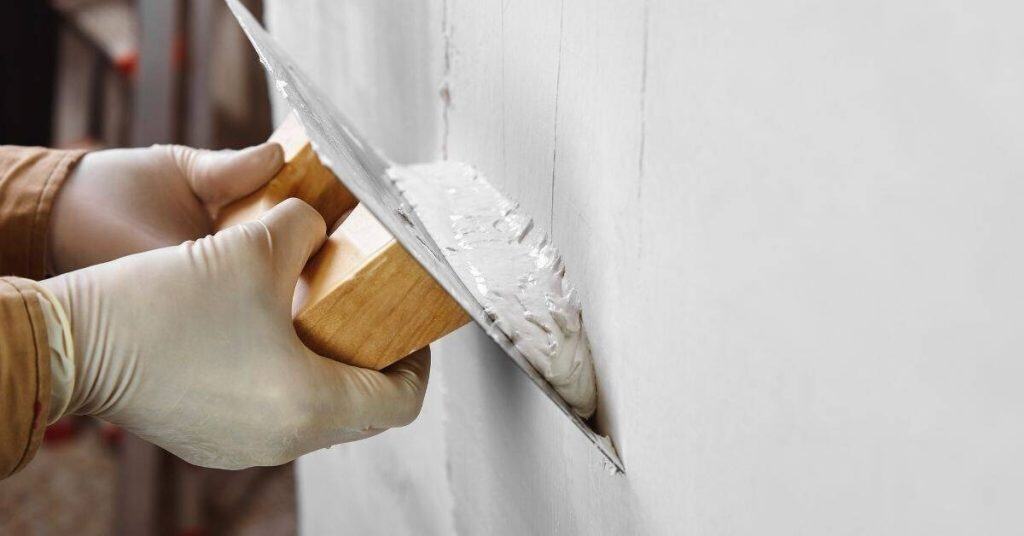
Plaster Patch Over Metal Lath: Preventing Rust Bleed and Using the Right Fasteners
Introduction A plaster patch over metal lath is a repair made by patching the damaged area with plaster or patch material over the metal lath to restore a smooth surface. The goal is to seal the patch and prevent rust bleed from the lath into the plaster. Check manufacturer guidelines for patch materials and compatible […]
Plaster Patch Over Metal Lath: Preventing Rust Bleed and Using the Right Fasteners Read More »