Plaster

Plaster is for cement-based and traditional plastering projects where a smooth or durable surface is the goal.

You’ll find guides on surface prep, bonding, scratch/brown/finish coats, patching, corner details, sanding and finishing, and how to avoid common issues like cracking, poor adhesion, and uneven texture.

If your project is “make this wall look right again,” this is the category to start with.

Hand applying plaster to rough brick wall with trowel

How to Patch Plaster Over Brick Arches Without ‘Shadow Lines’ Reappearing

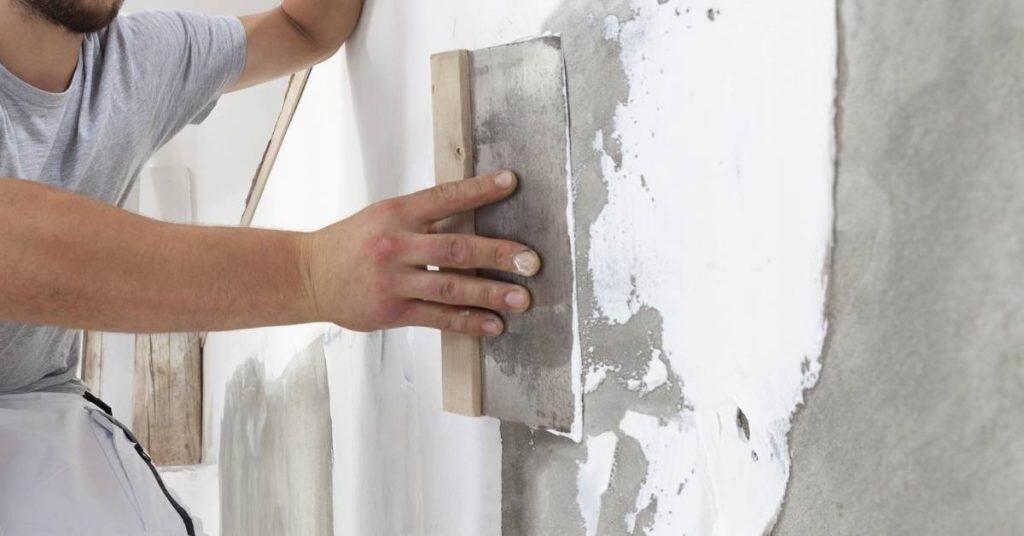
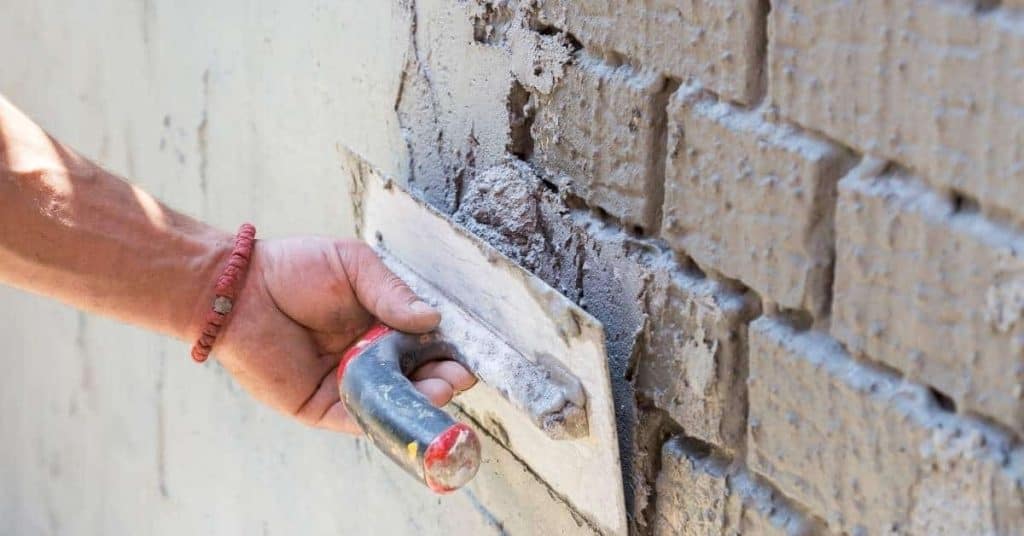
Introduction Patching plaster over brick arches means applying new plaster to cover the brick and hide uneven shadows. You’ll aim for a flat, uniform surface that looks seamless with the surrounding wall. Work in small steps, keeping the mix workable and the surface clean as you go. Start by inspecting for loose bricks or dust, […]

How to Patch Plaster Over Brick Arches Without ‘Shadow Lines’ Reappearing Read More »

Person smoothing plaster on ceiling with trowel

DIY Plaster Repair at Radiator Niches: Heat, Moisture, and Primer Choices

Introduction Plaster repair around radiator niches is fixing damaged plaster to restore a clean, sealed surface that can handle heat and moisture. This work is hands-on and happens where the radiator meets the wall, so you’ll patch, skim, and finish to blend in. You’ll want to understand how heat and moisture can affect the repair

DIY Plaster Repair at Radiator Niches: Heat, Moisture, and Primer Choices Read More »

Person applying plaster to wall with tool

Creating a Plaster Accent Wall With Inlaid LED Channels (No Cracks at the Channel)

Introduction This is plaster on a wall with inlaid LED channels designed to hide lighting and keep cracks at the edges under control. It’s a hands-on project that blends masonry work with lighting details. You’ll mix, set, and shape plaster around recessed channels while planning for even lighting. Plan the layout and follow straightforward steps

Creating a Plaster Accent Wall With Inlaid LED Channels (No Cracks at the Channel) Read More »

Worker spraying cement plaster on concrete wall

Plaster in Shower Areas: When Cement Plaster Is Safer Than Gypsum (and Why)

Introduction Cement plaster is typically safer in shower areas because it resists moisture better than gypsum. It dries hard and handles moisture and humidity in wet zones better. Choose cement plaster for areas that get a lot of splash, and always follow the product label and local building guidance. Check that the substrate is sound,

Plaster in Shower Areas: When Cement Plaster Is Safer Than Gypsum (and Why) Read More »

Person holding a trowel with fresh plaster

Fixing Chalky Old Lime Plaster: Consolidation Options Before You Paint

Introduction Consolidating chalky old lime plaster means stabilizing its surface so it won’t shed when you touch it. Before you paint, you need to decide how to rebind the surface using methods that fit lime without ruining breathability. Check the plaster for loose chunks, and review manufacturer labels or local rules to choose a safe

Fixing Chalky Old Lime Plaster: Consolidation Options Before You Paint Read More »

two buckets with plastering tools on concrete surface outdoors

Plaster Setting Time Control: Retarders, Cold Water, and Small-Batch Strategy

Introduction Plaster setting time control means managing how quickly plaster hardens so you can work it without it setting on you. In practice, you can use retarders, cold water, and small batches to buy yourself more time. Always follow the product label and local rules for compatibility and safety. Plan your mix so you can

Plaster Setting Time Control: Retarders, Cold Water, and Small-Batch Strategy Read More »

Person holding plaster on trowel and hawk

Feathering Plaster Into Painted Surfaces: Where to Sand, Where Not To, and Why

Introduction Feathering plaster into painted surfaces means blending the edge of new plaster into the existing paint so the transition is smooth. Keep the plaster slightly proud and wipe away excess as you work to avoid hard lines. Work in small, overlapping passes and check the edge from different angles. Be careful not to sand

Feathering Plaster Into Painted Surfaces: Where to Sand, Where Not To, and Why Read More »

Hand applying plaster to brick wall with trowel

Feathery vs. Sharp Transitions in Plaster Repairs: Choosing the Right Edge Strategy

Introduction A feathery transition blends into the surrounding plaster, while a sharp transition leaves a crisp, defined edge. That choice changes how visible the repair is and how easy it feels to the eye. As a DIYer, your pick depends on wall texture, room style, and how the surface will be used. When you repair,

Feathery vs. Sharp Transitions in Plaster Repairs: Choosing the Right Edge Strategy Read More »

Man applying plaster compound on ceiling with trowel

How to Stabilize a ‘Rattly’ Plaster Ceiling (Beyond Washers): Joist Checks and Re-Key Options

Introduction Stabilizing a rattly plaster ceiling means tightening and re-supporting the joists so the ceiling stops moving. I’ll walk you through practical checks and simple fixes you can do yourself, without fancy tools. It’s about locating loose supports, listening for squeaks, and planning safe adjustments. Start by inspecting the joists above the ceiling for sag,

How to Stabilize a ‘Rattly’ Plaster Ceiling (Beyond Washers): Joist Checks and Re-Key Options Read More »

Worker spraying plaster onto brick wall wearing safety helmet

Creating Sharp Modern Plaster Edges (Trimless Look) With Reveal Beads

Introduction Reveal beads create sharp, trimless plaster edges by guiding the plaster away from the joint and leaving a clean line where the wall and plaster meet. This article walks you through a practical, hands-on approach you can use on a standard interior wall to get that modern, uninterrupted look. Start by choosing the right

Creating Sharp Modern Plaster Edges (Trimless Look) With Reveal Beads Read More »