Plaster

Plaster is for cement-based and traditional plastering projects where a smooth or durable surface is the goal.

You’ll find guides on surface prep, bonding, scratch/brown/finish coats, patching, corner details, sanding and finishing, and how to avoid common issues like cracking, poor adhesion, and uneven texture.

If your project is “make this wall look right again,” this is the category to start with.

Worker spraying plaster onto wall wearing safety gear

Restoring Plaster Picture Rails: Patch Techniques That Preserve Shadow Lines

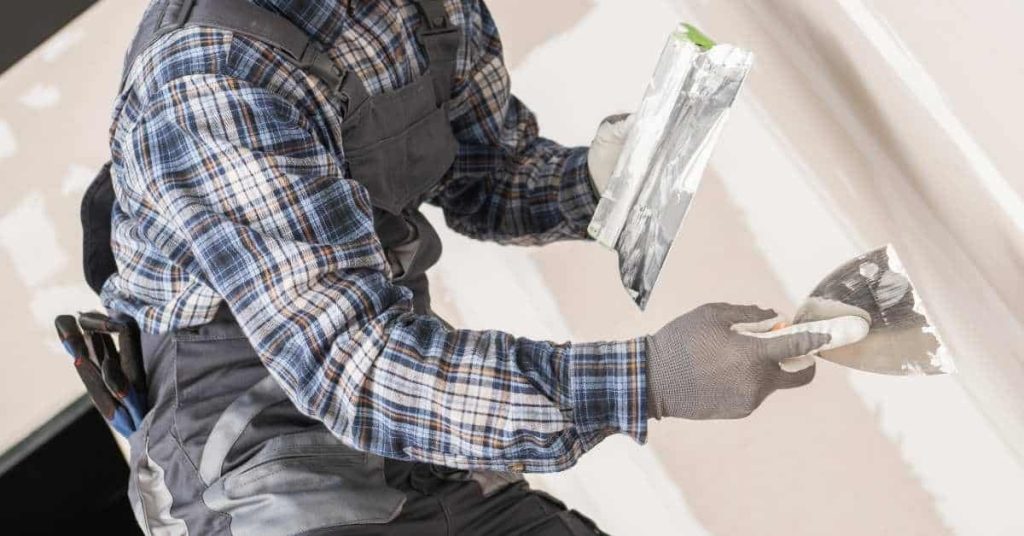
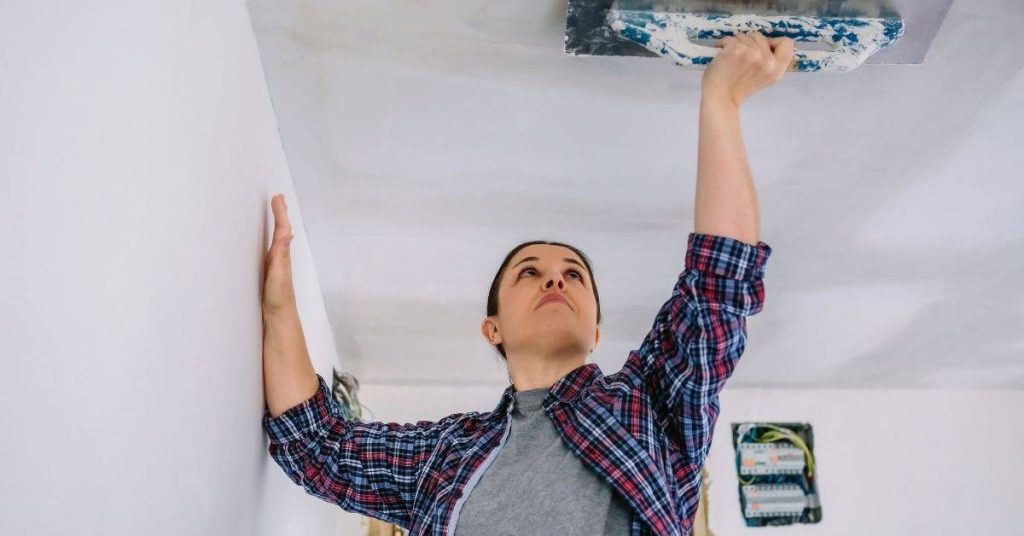
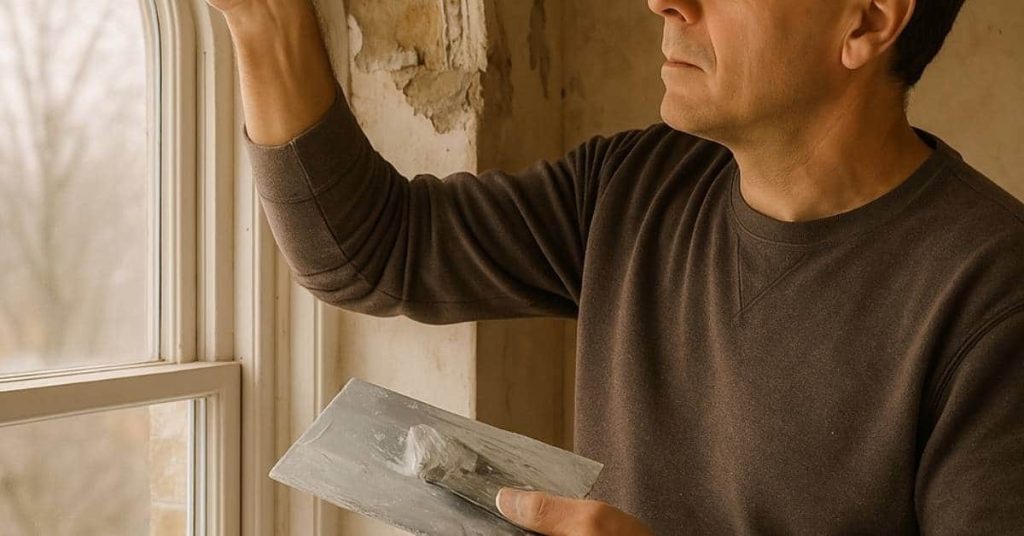
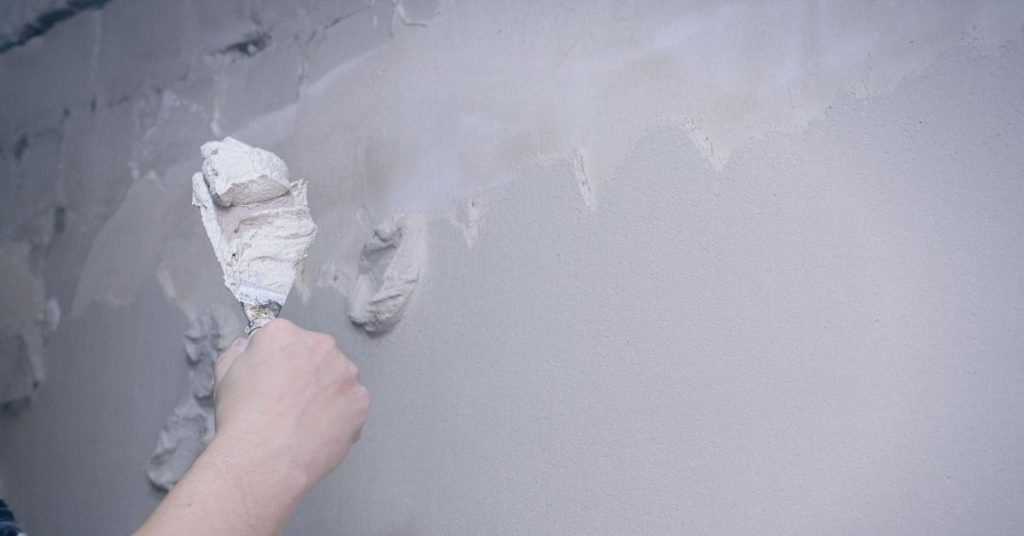
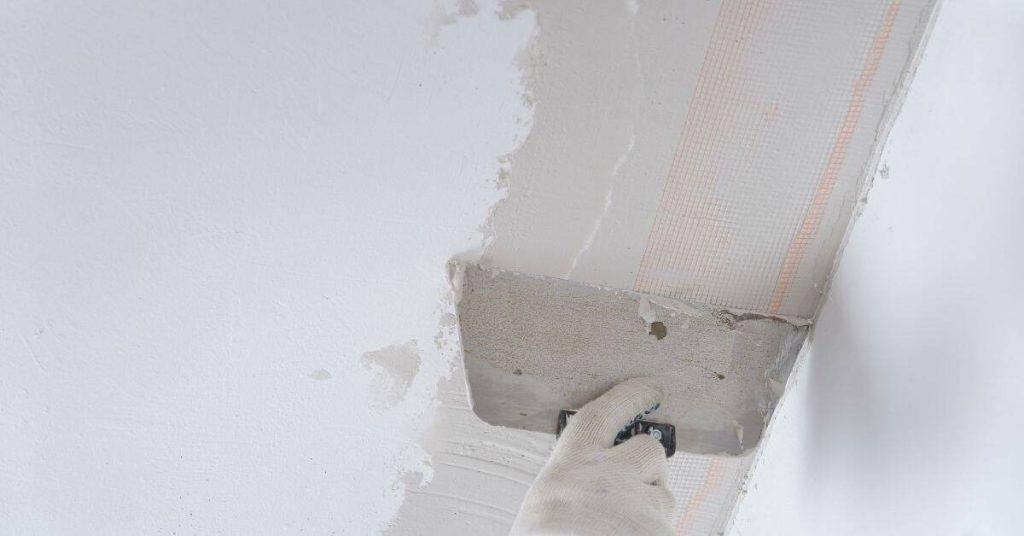
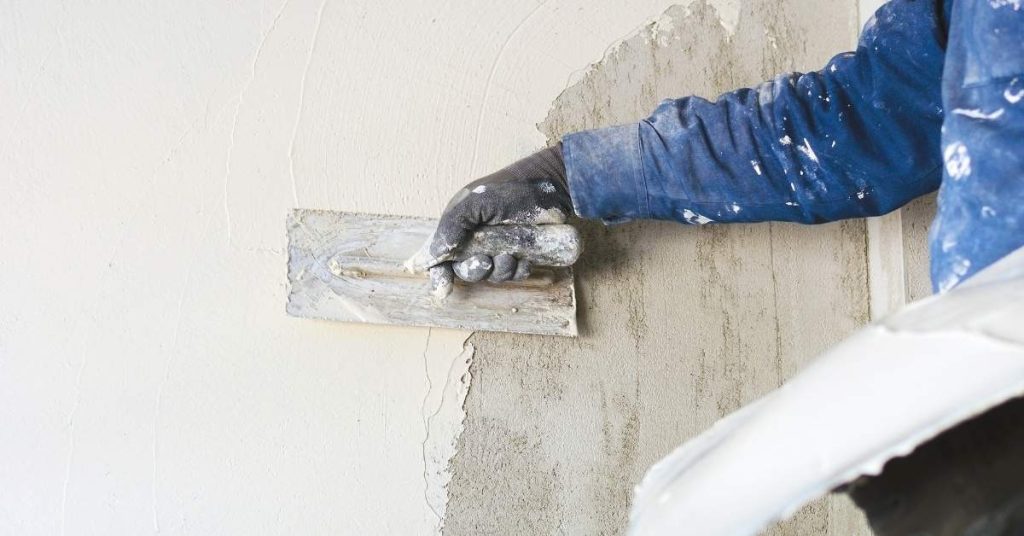
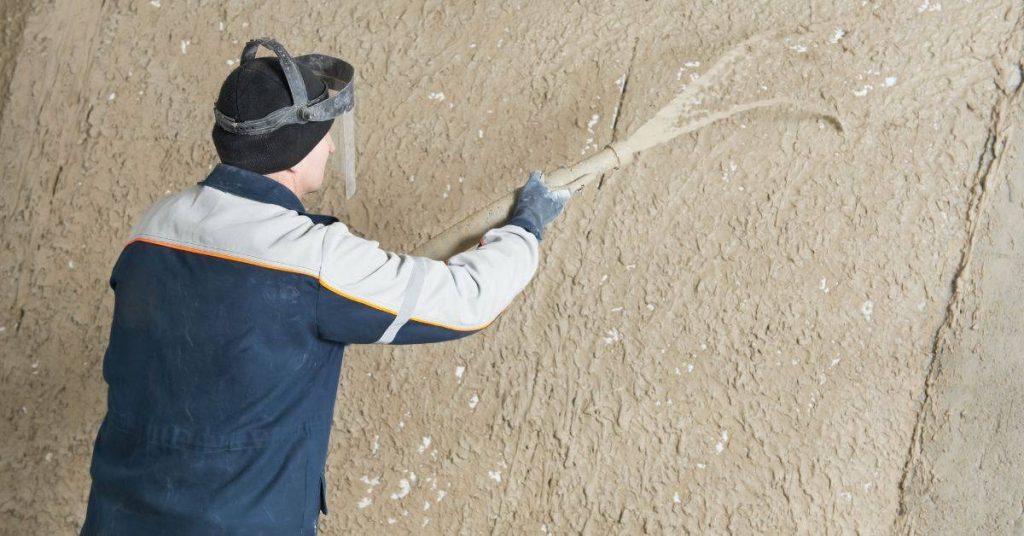
Introduction Restoring plaster picture rails means repairing damaged plaster while keeping the thin, shadowed groove where the rail meets the wall intact. This is a hands-on patch job that focuses on feathering new material into the old, matching texture, and protecting the shadow line during work. Expect to use basic plastering tools, patching compounds, and […]

Restoring Plaster Picture Rails: Patch Techniques That Preserve Shadow Lines Read More »

Person applying plaster to plaster cornice with trowel and spatula

Plaster Cornice Repairs: Making Simple Running Molds for Clean Profiles

Introduction Plaster cornice repairs using simple running molds means making a flexible or straight guide that lets you press or cast matching profile runs to restore damaged cornice sections. It’s a hands‑on jig you shape to the original profile and use to form or press repair material in place. This approach is practical for small

Plaster Cornice Repairs: Making Simple Running Molds for Clean Profiles Read More »

Person smoothing plaster on ceiling with trowel

Fixing Plaster Cracks at Ceiling Medallions: Stress Relief Cuts and Rebuild Strategy

Introduction Fixing plaster cracks at ceiling medallions means cutting relief gaps to stop old stresses and then rebuilding the substrate so the medallion sits on sound plaster, not cracked or loose bits. Start by exposing the damaged area cleanly, check the lath condition and how the medallion is attached, and decide whether to repair lath

Fixing Plaster Cracks at Ceiling Medallions: Stress Relief Cuts and Rebuild Strategy Read More »

Man applying plaster near window casing with trowel

Repairing Plaster Around Window Casings: Keeping Returns Straight and Corners Crisp

Introduction Repairing plaster around window casings means removing loose material, backing up the returns, and filling and finishing so the casing meets the wall with straight returns and crisp corners. This is a hands‑on job that starts with good surface prep and the right tools—check product labels for compatibility and drying times before you buy.

Repairing Plaster Around Window Casings: Keeping Returns Straight and Corners Crisp Read More »

Person applying plaster over blue mesh on wall

Reinforcing Plaster at Material Transitions: Mesh Choices That Don’t Telegraphed Through

Introduction Reinforcing plaster at material transitions means embedding the right type of mesh or alternative so the joint won’t crack or show through once the plaster dries. Pick a mesh compatible with your plaster and substrate and follow the product label and common-sense joint detailing to avoid telegraphing. If you’re unsure which mesh to use,

Reinforcing Plaster at Material Transitions: Mesh Choices That Don’t Telegraphed Through Read More »

Hand applying plaster to wall with trowel tool

Plaster Delamination ‘Bubbles’: Cutback Rules and How to Reattach Without Big Tear-Out

Introduction Plaster delamination “bubbles” are areas where the top plaster coat has lost adhesion to the substrate and forms a raised blister that can pop or tear back. This usually means moisture, weak bonding, or movement has separated layers; check the surface and product instructions to confirm causes before you act. In many cases you

Plaster Delamination ‘Bubbles’: Cutback Rules and How to Reattach Without Big Tear-Out Read More »

Man applying plaster over rough stone wall wearing gloves

Salts in Masonry Plaster: Efflorescence, Spalling, and Compatible Repair Materials

Introduction Salts in masonry plaster are soluble minerals that migrate to the surface as moisture moves through the wall, leaving white or powdery deposits called efflorescence and in worse cases causing spalling where the plaster flakes or crumbles. This usually comes from water intrusion, damp soils, or moisture wicking through masonry and carries salts via

Salts in Masonry Plaster: Efflorescence, Spalling, and Compatible Repair Materials Read More »

Hand applying plaster to ceiling corner with trowel

Plastering Over Painted Masonry: Decontamination Steps That Improve Bond

Introduction Plastering over painted masonry can be a challenge due to the existing paint layer. To ensure a strong bond and prevent peeling, decontamination is crucial. The process involves removing contaminants that could compromise adhesion. By following these steps, you’ll improve the bond between your new plaster and the painted surface. Key takeaways Assess feasibility

Plastering Over Painted Masonry: Decontamination Steps That Improve Bond Read More »

Worker applying plaster with trowel over cement board

Plaster Over Cement Board: Bonding Agents and Scratch Patterns That Hold

Introduction Plaster over cement board means using the right bond coat and a keyed scratch surface so the plaster mechanically and chemically adheres to the board. In plain jobsite terms: use a compatible bonding agent or cement-based scratch coat, make a consistent scratch pattern so the plaster keys, and follow product label instructions for mixing

Plaster Over Cement Board: Bonding Agents and Scratch Patterns That Hold Read More »

Hand applying plaster to wall with trowel

Veneer Plaster Repairs: Feathering, Timing, and Avoiding Hollow Spots

Introduction Veneer plaster repairs are the process of fixing damaged plaster by feathering new material into the old so the wall looks continuous and solid. This means assessing whether the existing veneer is well-bonded, cleaning and wetting the surface, and choosing a compatible patching mix and bonding method. I’ll focus on practical steps you can

Veneer Plaster Repairs: Feathering, Timing, and Avoiding Hollow Spots Read More »