
Introduction
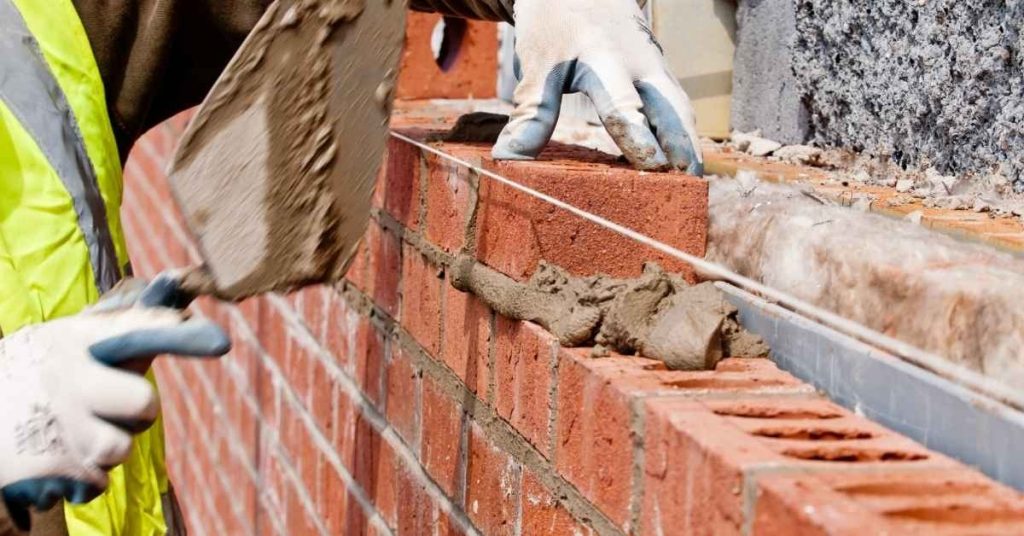
N, S, M, and O are mortar types defined by strength and intended use. They determine how the masonry holds up under load and weather, so you pick based on your project. Think of them as different recipes for bricks and blocks in specific situations.
Use N for general bricks and blocks in most non-historic walls. Use S for exterior or load-bearing walls where higher strength is preferred. Use M for high-stress or heavy-duty applications, and O for traditional lime-putty mixes or historic restoration. Always check the product label and manufacturer instructions to confirm suitability with your units, climate, and local rules, and when in doubt ask for guidance from the supplier or a local pro.
Key takeaways
- Select mortar type based on brick, substrate, and climate per manufacturer guidance.
- Match color and texture to surrounding masonry to prevent glaring contrast.
- Follow mixing instructions; don’t improvise by eye to avoid weak joints.
- Use proper tools, clean joints, and cure-approved watering to avoid cracking.
- Repoint damaged mortar quickly; remove old mortar carefully to prevent brick damage.
- Hazards: wear eye protection, gloves, and dust mask during mixing and brushing.
Table of Contents
- Introduction
- Key takeaways
- Mortar Types Explained: What N, S, M, and O Mean
- Strength, Stiffness, and Performance Differences
- Matching Mortar to Brick and Substrate
- DIY Mixing, Tools and Materials Checklist
- Color Matching and Aesthetic Considerations
- Repointing, Repair Techniques, and Common Mistakes
- Material Specs, Standards, and How to Choose the Right Mortar
- Conclusion
- FAQ
Mortar Types Explained: What N, S, M, and O Mean
N, S, M, and O are names used to label mortar strength. The letters hint at how the mix is intended to perform in the wall. They also reflect the typical cement-to-sand ratio and the bonding properties you get from the mix.
In plain terms: N is a general purpose mortar for many above-grade walls, S is a stronger option for load-bearing sections, M is the stoutest choice for high-strength needs, and O is a lower-strength mix typically used where movement is minimal. Use the label and the manufacturer instructions as your primary guide for each project.
Letter definitions and common shorthand
The letters N, S, M, and O you see on mortar bags are not some secret code. They’re a standard way to tell you how strong the mortar is.
N means ‘normal’, S is for ‘special’, M stands for ‘modified’, and O is for ‘ordinary’. You’ll see these on product labels and spec sheets. It’s like our shorthand on site.
For example, N20 means it’s a normal mortar with a 1:3 cement to sand ratio. Simple, right?
Basic composition overview (cement, lime, sand, additives)
Mortar’s not just cement and sand, there’s more to it. Think of it like a recipe.
Cement’s the glue that binds everything together. Lime makes it workable, so you can spread it easy. Sand gives it strength and stops shrinkage. Additives… well, they do all sorts of things depending on what you need.
The ratios change based on the job. More cement for stronger mortar, more lime for better workability. Check your product datasheets to get it right.
Strength, Stiffness, and Performance Differences
Different mortar types offer different levels of strength and rigidity. Higher-strength options tend to be stiffer and crack-resistant when pushed to the limits of a structure. Lower-strength mixes can be more forgiving in soft substrates or where movement is expected.
Understanding these differences helps you choose what holds bricks or blocks together without introducing damage. Always check the product label or data sheet to confirm the intended performance for your wall type and climate.
How strength affects load-bearing and movement
Stronger mortars, like Type N, have higher compressive strengths. This means they can transfer more stress to the bricks, making them ideal for load-bearing walls.
However, stronger mortars are less flexible. In areas with frequent earthquakes or where there’s a risk of movement due to soil settlement, a more flexible mortar like Type S might be preferable.
Flexible mortars can absorb some movement without cracking, reducing the risk of structural damage. But remember, they’re not as strong in compression, so use them wisely.
Durability, weather resistance, and freeze-thaw concerns
Mortar choice greatly influences durability. Type O mortars are weak but offer good flexibility, making them suitable for non-load bearing walls in mild climates.
Type N and S mortars provide better weather resistance due to their higher cement content. They’re great for most climates, but consult local standards to be sure.
Freeze-thaw is a concern in colder regions. Stronger mortars can handle more freeze-thaw cycles without degrading. Always check manufacturer guidance for your chosen mortar type.
Matching Mortar to Brick and Substrate
Brick hardness, porosity, and the type of substrate (stone, CMU, or solid brick) all influence mortar choice. Softer bricks or more porous materials benefit from mortars with a little more flexibility. Very dense bricks may need a tougher mortar to bond properly without stressing the units.
Pair the mortar to the substrate by consulting the brick and substrate manufacturer guidelines, and verify compatibility notes on the product label or data sheet before you buy. If in doubt, ask a masonry pro or your supplier for a recommended match for your specific brick type and backing material.
Soft, historic, and reclaimed bricks
When working with soft, historic, or reclaimed bricks, it’s crucial to use a mortar that won’t overpower them. Stronger mortars can cause these delicate bricks to crack under stress.
Go for N or S type mortars, which are more flexible and forgiving. They allow for some movement without breaking the bond.
Remember, using a stronger mortar won’t make your wall any stronger if it ends up cracking the bricks. It’s like trying to make a weak rope stronger by tying it tighter – it’ll just snap sooner.
Hard engineering bricks and concrete block (CMU)
For dense, hard units like engineering bricks or concrete blocks (CMUs), you can use stronger mortars. These won’t overpower the units and will provide a solid bond.
Opt for M or O type mortars. They’re stiffer and offer better resistance to movement, which is great for these strong units.
However, be mindful of the freeze-thaw cycle. Even with hard units, using an O type mortar in areas prone to freezing can lead to cracking over time due to water expansion.
Mixed-material walls and transition details
When mixing different masonry materials, it’s essential to consider how they’ll work together. The mortar plays a significant role in this.
- Transitioning from soft to hard units: Use an intermediate mortar type. Start with N or S for the softer bricks, then gradually increase to M or O as you move to harder units.
- Mixing different materials in one wall: Match the mortar type to the hardest material being used. This ensures a strong bond and prevents weaker materials from failing under stress.
- Avoiding cracking at transitions: Use a flexible, intermediate mortar at junctions. This allows for some movement without breaking the bond between different materials.
- Preventing staining: When mixing natural and man-made materials, consider their porosity and permeability. Ensure the mortar doesn’t stain or discolor either material by choosing a suitable type and color.
- Avoiding weak bonds: Always match the mortar to the substrate. Using a strong mortar with soft bricks can lead to a weak bond that won’t hold up over time.
DIY Mixing, Tools and Materials Checklist
Gather basic mixing tools: a sturdy trowel, a hawk, a mixing trough or wheelbarrow, and a mixing paddle if you’re using a drill. Have a margin trowel and a level on hand for clean joints and alignment. Don’t forget gloves and eye protection for safety.
Common materials to have include the chosen mortar type, clean water, and appropriate sand if you’re blending on-site. For small jobs, consider pre-mixed bags that match the wall type and check the label for any mixing notes or surface prep guidelines from the manufacturer.
Tools and PPE you need
Before you start mixing mortar, make sure you have the right tools and personal protective equipment (PPE) to keep your job safe and efficient.
- Mortar Mixer: Essential for small jobs. Check it’s in good working order before starting.
- Trowels: Various sizes needed. Inspect for bends or cracks that could cause issues.
- Finishing Trowel: Smooth edge ensures a neat finish on your mortar joints.
- Pointing Trowel: V-notch helps create proper joint profiles.
- Brick Brush: Clean bricks before laying to ensure good bond with mortar.
- Gloves: Protect hands from cement burns and irritation. Check for tears or holes.
- Safety Glasses: Shield eyes from debris during mixing and laying.
- Dust Mask: Essential when working with dry materials to prevent inhalation.
Quick rule: Always prioritize safety. Check your tools and PPE before starting each job.
How to judge mix consistency and small-batch testing
Before committing to a full batch, test your mortar mix to ensure it’s workable and performs as expected.
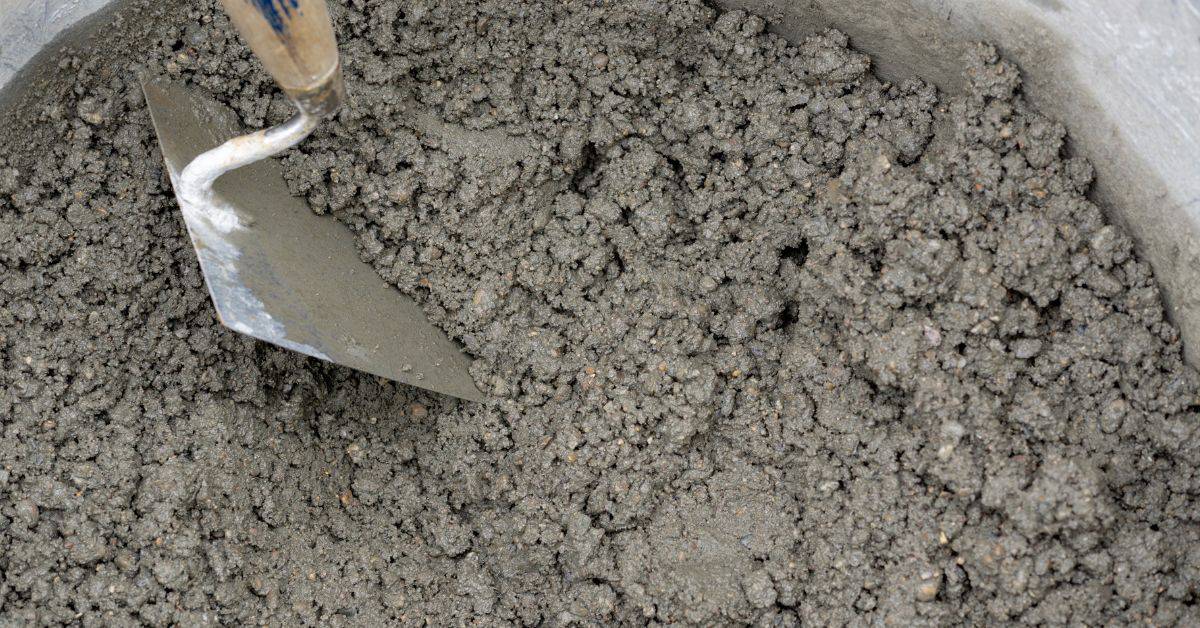
- Visual Check: Mortar should have a uniform, creamy texture. Too much water or sand will affect this.
- Tactile Check: Squeeze a handful of mortar. It should hold its shape but crumble gently when pressed.
- Water Test: Drop water onto the mix. If it beads up, add more sand. If it sinks in too quickly, add more cement.
- Drop Test: Drop a small amount of mortar from 30cm. It should spread out slightly but not collapse.
- Adhesion Test: Apply mortar to a brick and let it sit for 15 minutes. Scrape off with a trowel. If it comes off easily, add more cement.
Quick rule: Always test your mix in small batches before committing to a full job.
Sourcing pre-mixed vs site-mixed mortars
Understand the pros and cons of bagged pre-mixes versus on-site blends to make an informed decision.
- Pre-Mixed Mortar: Pros – Consistent mix, easy to use. Cons – Limited flexibility in mix design, can be more expensive.
- Site-Mixed Mortar: Pros – Greater control over mix design, often cheaper. Cons – Requires more effort and skill, consistency can vary.
- Manufacturer Data Sheets: Always review these to understand the product’s properties and performance standards.
- Local Conditions: Consider your climate and substrate when choosing a mortar type.
Quick rule: Pre-mixed mortars are convenient but site-mixed can offer more control. Always review manufacturer data sheets.
Color Matching and Aesthetic Considerations
Mortar color can be adjusted with pigments and by selecting sands that blend with the brick. The sand texture and particle size influence the final look as joints weather and age. If you want a closer match, start with a sample batch on a scrap piece of brick to compare.
Think about joint profile as well—wide or narrow joints can change how color appears over time. Weathering effects will alter the final shade, so plan for gradual changes and verify with pigment and sand choices on the product label or data sheet.
Achieving a consistent mortar color
The final color of your mortar can vary due to several factors. The type and amount of pigment, sand color, and even the weather can all play a role.
To ensure consistency, start by choosing a high-quality pigment that matches your desired shade. Add it gradually while mixing, checking often for the right hue.
Next, consider your sand. Different sands have different colors – test a few to find one that complements your bricks and mortar color.
Trial batches are crucial. Mix small amounts of mortar with varying pigments and sands until you get it just right. Make sample panels for approval, as colors can look different once laid.
Joint profiles and tooling for appearance and function
Joint profiles affect both the look of your wall and its ability to shed water. Here are some common profiles:
- Concave: Best for weather resistance, as it e