Matt L.

Concrete worker.

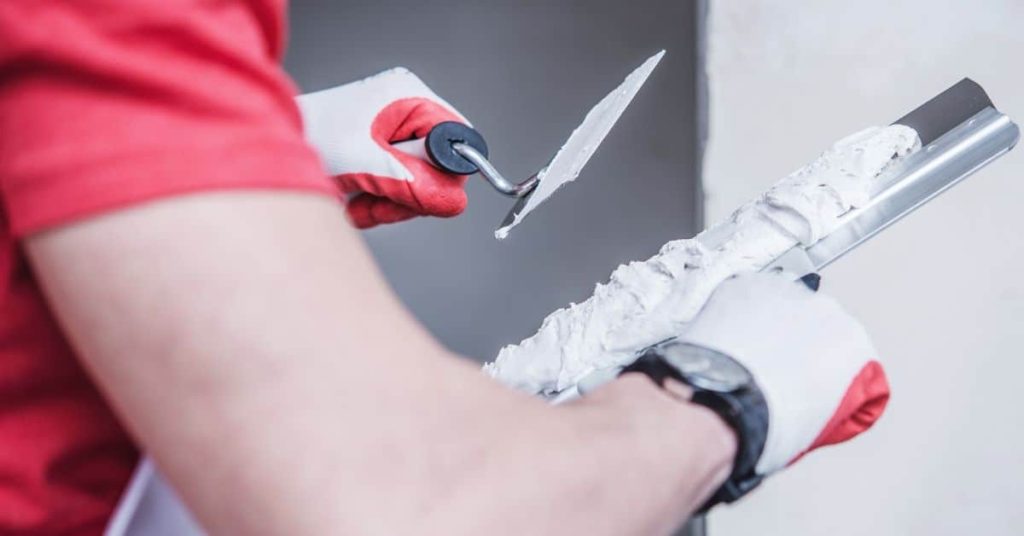
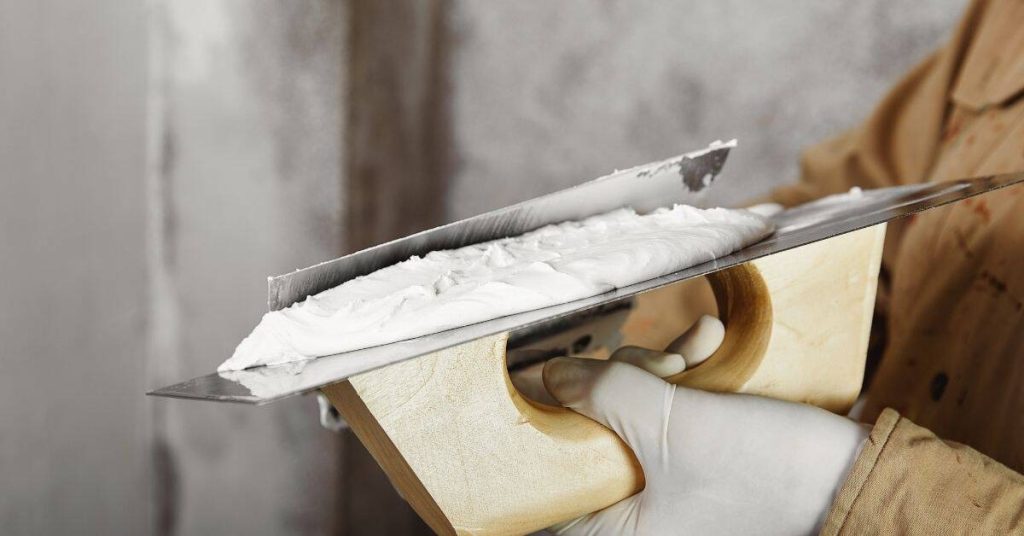
Hand holding plastering trowel with fresh white plaster

Clay Plaster in Bathrooms: Suitability, Steps, and Project Timeline

Introduction Clay plaster can give a bathroom a warm, textured finish, but it is not a universal wet-area finish. Use it only in a location, on a substrate, and with a primer and sealer that the exact product manufacturer approves. The exact product technical data sheet and installation instructions control. Before starting, verify permitted substrates, […]

Clay Plaster in Bathrooms: Suitability, Steps, and Project Timeline Read More »

close up of white gypsum plaster wall texture

Plaster in Kitchens: Grease Contamination Tests & Primer Choices – Timeline Before Painting

Introduction Preparing plaster kitchen walls for painting involves several steps, including testing for grease contamination and applying the right primer. Understanding the timeline of these processes helps you plan your project efficiently. This guide walks you through each step, focusing on how long it takes to test, clean, prime, and paint your kitchen plaster walls,

Plaster in Kitchens: Grease Contamination Tests & Primer Choices – Timeline Before Painting Read More »

Person holding plaster on hawk and applying with trowel

Restoring Plaster Picture Rails: A Step-by-Step Timeline to Preserve Shadow Lines

Introduction Preserving the original character of your home’s plaster picture rails involves careful repair and restoration. Understanding the timeline for this project helps you plan effectively, ensuring a successful outcome that maintains the shadow lines. From initial assessment to final touches, let’s break down the process into manageable steps, focusing on how long each task

Restoring Plaster Picture Rails: A Step-by-Step Timeline to Preserve Shadow Lines Read More »

Close-up of decorative plaster cornice with leaf motif

Plaster Cornice Repairs: A Step-by-Step Timeline for Running Molds

Introduction Repairing plaster cornices with running molds can seem daunting, but breaking down the process into a clear timeline makes it manageable. This step-by-step guide focuses on the duration of each task, helping you plan and complete your repair project efficiently. Whether you’re restoring an old cornice or fixing damage in a newer home, understanding

Plaster Cornice Repairs: A Step-by-Step Timeline for Running Molds Read More »

Ornate plaster ceiling medallion with floral and scrollwork design

Fixing Plaster Cracks at Ceiling Medallions: A Step-by-Step Timeline

Introduction Tackling plaster cracks around ceiling medallions can seem daunting, but breaking down the process into a clear timeline makes it manageable. This step-by-step guide walks you through fixing these issues efficiently, from initial inspection to final touch-ups. Understanding how long each stage takes helps you plan your project effectively and ensures you allocate enough

Fixing Plaster Cracks at Ceiling Medallions: A Step-by-Step Timeline Read More »

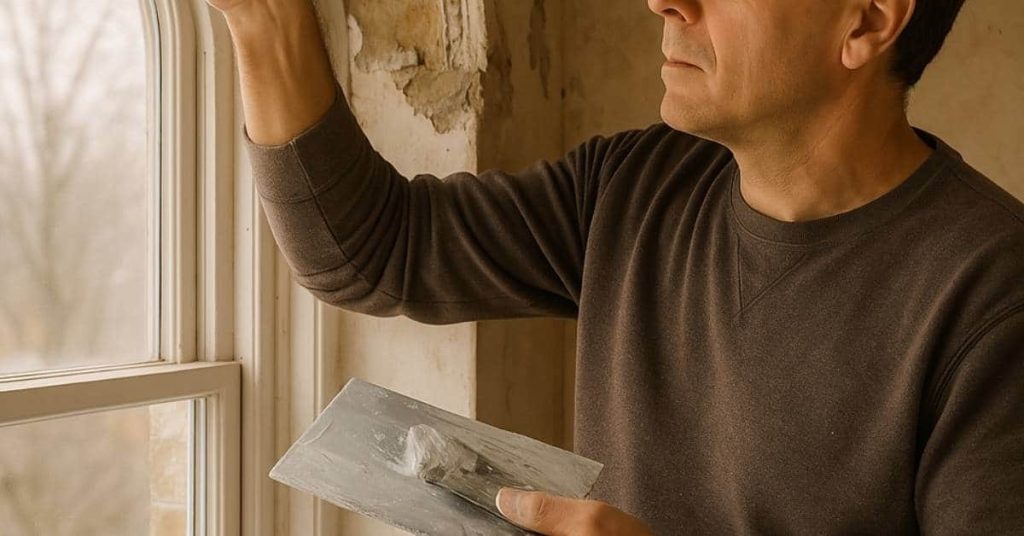
Man applying plaster around window casing with trowel

Repairing Plaster Around Window Casings: A Step-by-Step Timeline for Straight Returns and Crisp Corners

Introduction Tackling plaster repairs around window casings can seem daunting, but with a clear understanding of the timeline, you’ll find it’s a manageable project. This step-by-step guide breaks down the process into digestible stages, helping you complete your repair efficiently and effectively. From assessing damage to applying the final coat of paint, let’s explore how

Repairing Plaster Around Window Casings: A Step-by-Step Timeline for Straight Returns and Crisp Corners Read More »

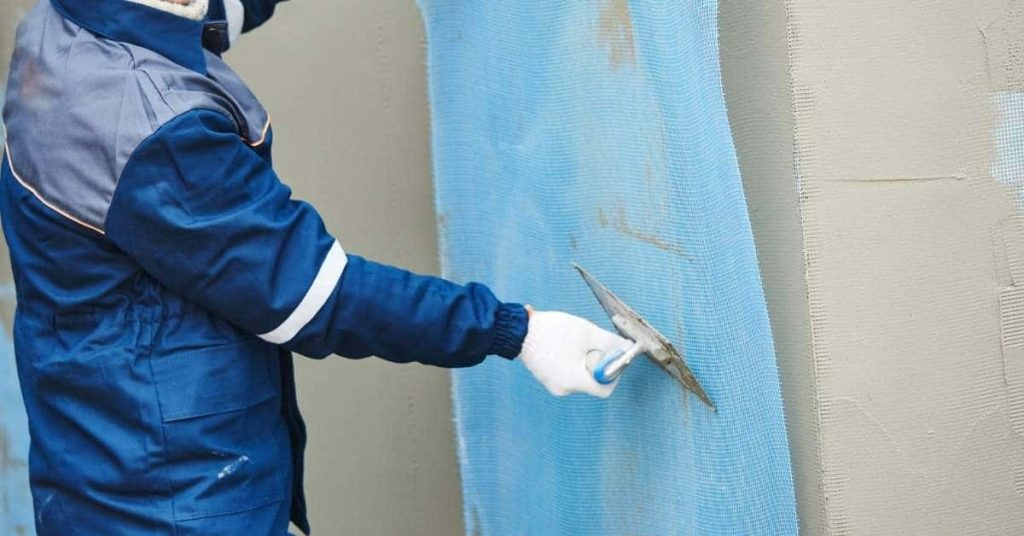
Worker applying plaster over blue reinforcing mesh on wall

Reinforcing Plaster at Material Transitions: A Step-by-Step Timeline to Avoid Telegraphing

Introduction Embarking on a DIY plaster reinforcement project? Understanding the timeline is crucial for successful results. Reinforcing plaster at material transitions involves careful planning and execution, with each step building upon the last. To avoid common mistakes and ensure your finished surfaces don’t telegraph through, follow this comprehensive step-by-step timeline tailored to your specific transition

Reinforcing Plaster at Material Transitions: A Step-by-Step Timeline to Avoid Telegraphing Read More »

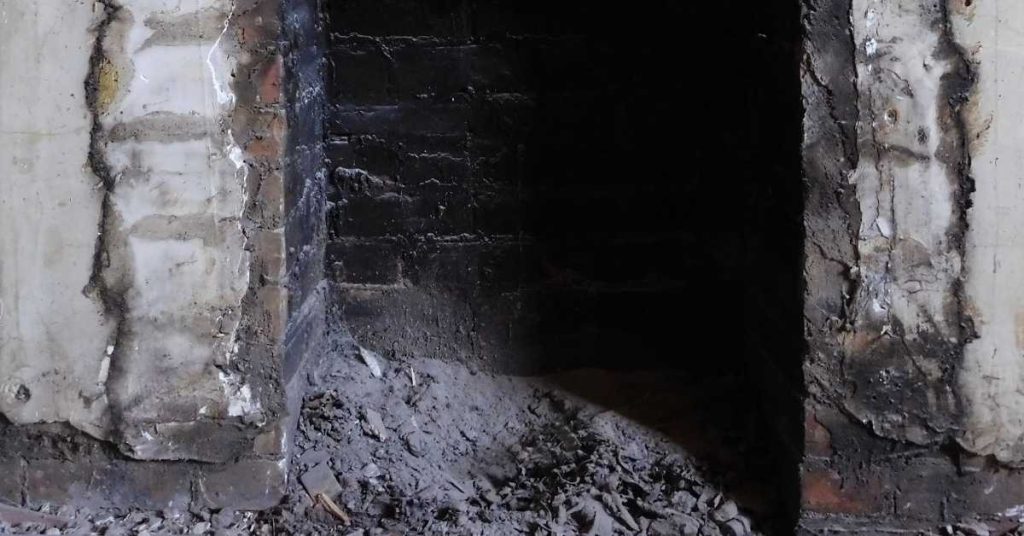
Inner brick fireplace with crumbling plaster on sides

Plaster Delamination ‘Bubbles’: Timeline for Reattachment Without Big Tear-Out

Introduction The timeline of fixing plaster delamination ‘bubbles’ is crucial to minimize damage and maintain your home’s structural integrity. Understanding the duration of each step helps you plan effectively. From initial assessment to final touch-ups, this guide walks you through the process, ensuring you allocate sufficient time for each task. For the full guide, see

Plaster Delamination ‘Bubbles’: Timeline for Reattachment Without Big Tear-Out Read More »

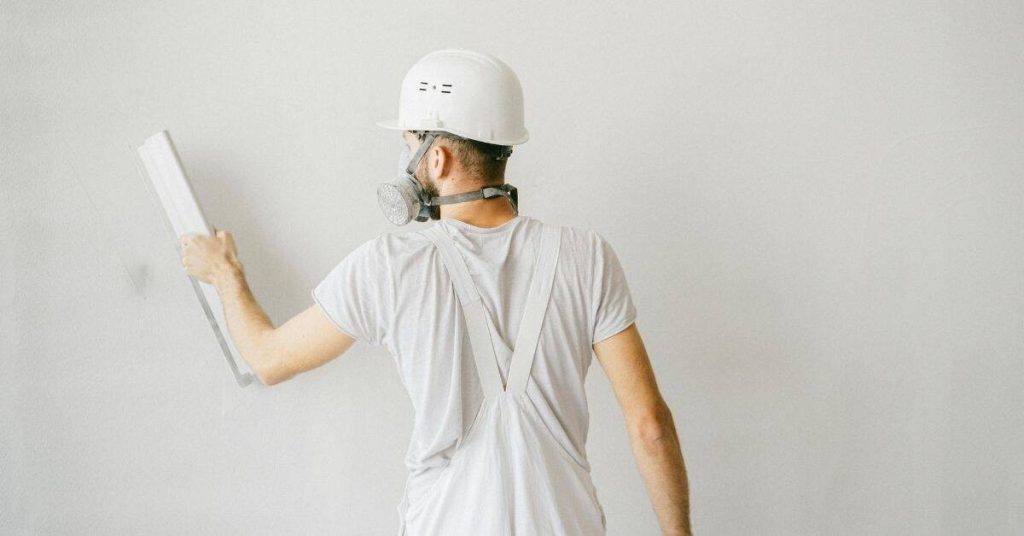
Plasterer smoothing white plaster on wall wearing helmet and mask

Salt Deposits on Masonry Plaster: Diagnose Efflorescence and Repair Safely

Introduction White deposits on masonry plaster usually mean water has dissolved and carried salts to an evaporation surface. The deposit itself does not prove that the plaster has failed or that the masonry is spalling. First identify the moisture path, then determine whether the problem is limited to removable surface efflorescence or includes detached plaster

Salt Deposits on Masonry Plaster: Diagnose Efflorescence and Repair Safely Read More »

Worker plastering ceiling with trowel in orange outfit

Plastering Over Painted Masonry: A Step-by-Step Timeline for Optimal Bonding

Introduction The process of plastering over painted masonry can be time-consuming, but with a well-planned timeline, you can ensure a strong bond and professional-looking results. This step-by-step guide walks you through the entire process, from surface preparation to application, with an emphasis on how long each stage takes. Understanding the duration of each step is

Plastering Over Painted Masonry: A Step-by-Step Timeline for Optimal Bonding Read More »