
Introduction
Anti-washout admixtures are additives that help concrete stay in place underwater or in wet forms. They slow water loss and improve cohesion so the mix doesn’t segregate. Use only as directed on the product label and by local rules.
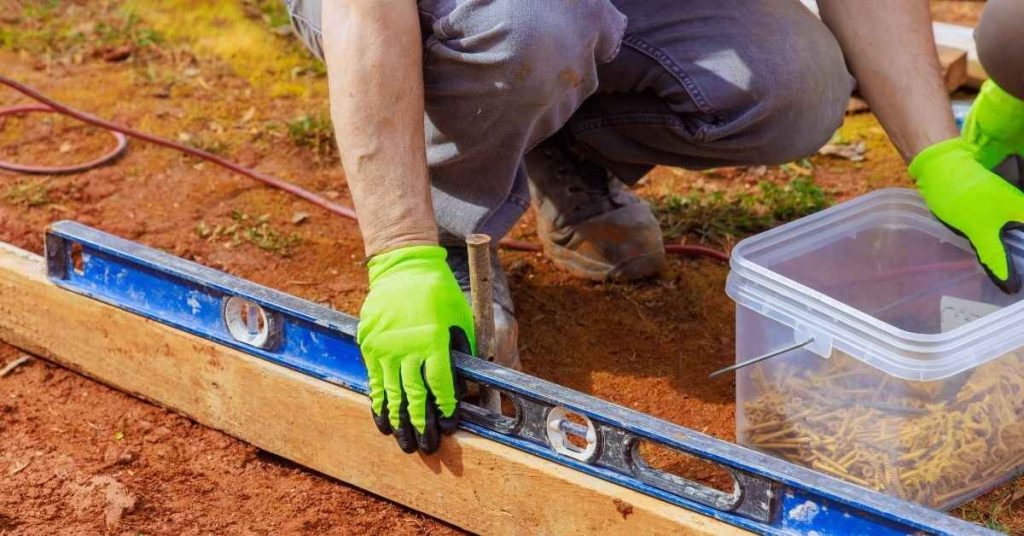
Pick a product that is rated for underwater or wet-form use, and read the label for mixing and application steps. Prepare the work area, work in short passes, and keep the repair compact to minimize washout. If in doubt about a mix or procedure, check manufacturer instructions or local regulations.
Key takeaways
- Choose anti-washout admixtures compatible with your cement type and formwork.
- Confirm product instructions for underwater placement, cure type, and shelf life.
- Mix and place promptly, monitor slump and consistency during simultaneous wet operations.
- Use proper protective gear, ventilate area, and follow noise and splash precautions.
- Inspect cured patch visually for voids, laitance, or pullouts before loading.
- Know limitations: some patches need retreatment or alternative repair methods.
Table of Contents
- Introduction
- Key takeaways
- What Anti-Washout Admixtures Are and When to Use Them
- How Anti-Washout Admixtures Work (Mechanisms)
- Types and Formulations to Consider
- Material Specs and Standards Explained
- Selecting the Right Product for Your Repair
- Mixing, Placement, and Curing Best Practices
- Testing, Quality Assurance, and Visual Checkpoints
- Limitations, Troubleshooting, Safety, and Environmental Considerations
- Conclusion
- FAQ
What Anti-Washout Admixtures Are and When to Use Them
Anti-washout admixtures are additives designed to keep the cementitious matrix in place when you’re working in moving water or in forms that stay wet. Their main job is to slow or limit cement loss as you place repair materials. Use them in repairs where water flow or wet conditions threaten bond and continuity between old and new material.
Look for signs that you need extra cohesion, such as visible washout, silt carry, or thinning mortars. Check project notes, site conditions, and product instructions to decide if an anti-washout agent fits your job. If in doubt, verify with the manufacturer or local code guidance before proceeding.
Definition and primary purpose
Anti-washout admixtures are special additives mixed into mortar, grout, or concrete to increase its cohesion and viscosity. This makes the fresh mixture more resistant to dispersion in water.
In simple terms, they help your repair material stick together instead of breaking apart when it comes into contact with flowing water or wet forms.
Think of them as a thickener, much like how cornstarch thickens soup. But unlike cornstarch, these admixtures don’t just thicken; they also help the repair material adhere to underwater surfaces and prevent loss during placement.
Typical repair scenarios and jobsite triggers
You’ll typically need anti-washout admixtures in these situations:
– Underwater patching: When you’re repairing cracks or holes in submerged structures like dams, bridge pilings, or underwater foundations.
– Wet-form repairs: For repairs where the formwork is wet or underwater. This could be for new construction or repair work on retaining walls, cofferdams, or other water-retaining structures.
– Submerged grouting: When you’re grouting anchor bolts, post-tensioning tendons, or other embedded items that are underwater or in wet conditions.
On-site triggers might include:
– Water flowing into the repair area during placement.
– Wet formwork that can’t be dried before placing concrete.
– Submerged surfaces where the repair material needs to stick and set properly.
How Anti-Washout Admixtures Work (Mechanisms)
These admixtures work by affecting how the mix moves and holds together in wet environments. They often increase viscosity locally and form a thin film to trap rough particles in place. The result is reduced washout without stopping the hydration reaction.
Other mechanisms involve thixotropic behavior, which helps the material stiffen under shear and reflow when you stop mixing or pressing. They also promote bonding by binding surface grains, all without turning the mix into a rigid, non-workable set. Always confirm mechanism claims from the label or datasheet before relying on them.
Rheology and cohesion effects
The secret to anti-washout admixtures lies in their ability to boost the mix’s yield stress and cohesion. This means they make your concrete more resistant to flow, keeping fines and cement paste bound together even when underwater or in turbulent conditions.
Imagine it like this: Think of your concrete as a bowl of porridge. With regular concrete, if you stir it too much (like the three bears), the oats (fines) will wash away with the milk (water). But with anti-washout admixtures, it’s more like eating oatmeal with apples in it – the apples (cohesive particles) stick together and don’t float away.
This increased resistance to flow is thanks to a phenomenon called thixotropy. It’s like having a concrete that ‘remembers’ its shape even when disturbed. So, when you’re doing underwater repairs or working in wet conditions, your concrete won’t just wash away with the current.
Polymer and cellulose action
Anti-washout admixtures use two main types of additives to boost their resistance: polymers and cellulosic/biopolymers. Both work differently but with the same goal – to reduce washout.
Polymers, like PVA (polyvinyl alcohol), form a film around the concrete particles. It’s like having a thin, invisible skin that holds everything together. This film helps prevent fines from leaching out even when submerged in water or exposed to flowing water.
On the other hand, cellulosic and biopolymers work more like thickeners. They absorb water and swell up, increasing the viscosity of the mix. This makes it harder for water to carry away the fines. Think of it as making your concrete ‘thicker’, so it doesn’t flow as easily.
Both types of additives are used in anti-washout admixtures, often combined with other ingredients like silica fume or fly ash, to create a mix that’s tough enough to handle underwater and wet conditions without washing away.
Types and Formulations to Consider
Common formulations include polymer emulsions, water-soluble cellulose ethers, and multifunctional blends. Each type has its own performance profile in underwater or wet-form repairs. Consider how quickly you need set resistance and how the mix interacts with your repair mortar.
Pros and cons vary with substrate, water movement, and repair size. Read the product data and compatibility notes to match to your conditions. If you’re unsure, compare labels and manufacturer guidelines to pick a safe option.
Polymer-emulsion admixtures
Polymer-emulsion anti-washout admixtures are a popular choice for underwater and wet-form repairs. They’re made by suspending polymers in water with surfactants to keep them dispersed.
Benefits: These admixtures improve adhesion, helping the repair material stick better to the existing concrete. They also promote film formation, creating a strong, continuous layer that resists washout.
However, they might not be compatible with all types of cement or aggregates. Always check before using. Also, curing time could be longer compared to other admixtures.
Cellulose and biopolymer thickeners
Cellulose ethers and other biopolymers are natural thickeners used in anti-washout admixtures. They increase the viscosity of the repair mixture, making it thicker and less likely to wash away.
Temporary stabilization: These thickeners provide temporary stabilization in water. This means they help keep the repair material in place until it sets, but their effect diminishes over time.
They’re compatible with most cements and aggregates, making them a versatile choice. But remember, too much can make the mixture hard to pump or apply.
Blends and specialty products
Some anti-washout admixtures are blends of polymers and thickeners. These are designed for balanced performance, combining the benefits of both types.
Specific tasks: Many of these blends are marketed for specific underwater repair tasks. They might be formulated to work best with certain types of cement or aggregates, or in specific environmental conditions.
Always read the product label and follow the manufacturer’s guidelines. These specialty products can offer unique advantages, but they might also have specific handling or storage requirements.
Material Specs and Standards Explained
Know which standards and specifications apply to your project, such as national or industry benchmarks and relevant performance tests. Standards help you compare products on a like-for-like basis. Use the datasheet as a primary source of verified information.
When procuring, interpret performance claims by cross-checking test methods and acceptance criteria described in the documentation. If anything is unclear, contact the supplier or consult local code requirements for clarification.
What to check on a datasheet
Before you buy, review the product datasheet. It’s your guide to using anti-washout admixtures right.
- Recommended dosage: Check how much to use per cubic yard of concrete. Too little won’t work, too much can cause issues.
- Compatibility notes: Ensure it’s compatible with your cement type and other admixtures you’re using.
- Storage/stability: Know how to store it and for how long. Improper storage can ruin the product.
- Test methods referenced: Check which tests the manufacturer used to prove its effectiveness.
- Curing time: Understand when the repaired area will be strong enough for traffic or additional work.
- Shelf life: Know how long you can use the product once opened before it goes bad.
- Handling and safety: Follow safety guidelines to protect yourself and others on site.
- Warranty/guarantee: Check if the product comes with a warranty or guarantee for peace of mind.
Quick rule: If it’s not on the datasheet, ask. It’s your job site’s safety net.
Relevant standards and test methods to request
When procuring anti-washout admixtures, don’t forget to ask for these essentials. They ensure you’re getting a quality product that meets local codes.
Standards: Ask for conformity to relevant national or industry standards like ASTM C494/C494M (Standard Specification for Chemical Admixtures for Concrete) and ACI 212.3R-16 (Guide to the Use of Admixtures in Concrete).
Test methods: Request reports on washout-resistance tests like ASTM C1594/C1594M (Standard Test Method for Resistance to Washout of Concrete) and compatibility tests with your specific cement type. This ensures the admixture works as expected in your conditions.
Local codes: Check if local building codes require any additional testing or standards conformity. It’s always better to be safe than sorry.
Selecting the Right Product for Your Repair
Begin with the substrate type and the expected water conditions at the repair site. Consider the repair size and whether the existing mortar or grout is compatible with the anti-washout formulation. Choose a product that aligns with those factors and your workflow.
Check compatibility notes for repair mortars, grouts, and surface treatments. If a mismatch is possible, test a small batch before full-scale use. When unsure, seek guidance from the manufacturer or a building professional familiar with underwater repairs.
Assessing site and environmental conditions
Before choosing an anti-washout admixture, understand your jobsite’s unique conditions. These factors influence how well the product works:
Flow velocity: High flow rates can sweep away even the toughest admixtures. Slower flows need less washout resistance.
Temperature: Warmer water speeds up chemical reactions, making products work faster but also degrade quicker. Colder water slows everything down.
Salinity and contamination: Salty or polluted water can interfere with admixture performance. Some products handle this better than others. Trial mixes help find the best fit.
Compatibility with cement, SCMs, and admixtures
Anti-washout admixtures work best when they play nice with other ingredients. Check these:
Cement types: Different cements react differently with admixtures. Trial mixes ensure the right match.
Supplementary cementitious materials (SCMs): Fly ash, slag, or silica fume can affect admixture performance. Follow product guidelines for SCM usage.
Other admixtures: Air-entrainers, set accelerators, or other additives might interact with anti-washout products. Trial mixes help avoid surprises.
Performance vs. practical constraints
Anti-washout admixtures balance washout resistance with other important factors:
Workability: Too much washout resistance can make your repair mortar or grout hard to place. Find the sweet spot between washout resistance and workability.
Pumpability: If you’re pumping, the admixture must not clog lines or cause issues at high pressures. Check product data for pumpability info.
Cure requirements: Some repairs need faster curing times. Make sure your chosen admixture doesn’t slow down cure too much.
Mixing, Placement, and Curing Best Practices
Write a simple sequence for mixing that keeps the product and the base material consistent. Do a trial batch on-site to verify cohesion and pumpability before full placement. Plan placement steps to minimize disturbance in flowing water or wet forms.
Follow recommended curing and protection practices to maintain the bond and prevent premature drying or washout. Verify curing conditions with product guidance and adapt to on-site conditions as needed. If you’re unsure about sequence specifics, consult the label or manufacturer instructions for safe procedures.
Recommended mixing sequence and trial batches
Always follow the manufacturer’s mixing order. This ensures your anti-washout admixture blends evenly with cement and aggregates.
Why it matters: Following the right sequence prevents clumping and ensures consistent performance.
Before you start, make a small trial batch. Check its consistency and stability. Adjust dosage if needed.
Why trial batches: Site conditions vary. Trial batches help you fine-tune your mix design for optimal results.
Placement techniques for submerged and wet-form repairs
For submerged repairs, use a tremie pipe. Slowly lower it into the water, keeping the bottom open. Pump or pour your mix down the pipe.
Why tremies: They minimize washout by keeping the mix underwater until it’s placed.
For wet-form repairs, use controlled pumping or hand troweling. Keep forms filled steadily to prevent segregation.
Why control placement: Steady, controlled placement helps maintain the mix’s integrity and prevents washout.
Curing, protection, and finishing
For submerged repairs, use a membrane curing compound. Apply it after the repair has set but before it’s fully cured.
Why membranes: They protect against water loss and maintain high humidity for proper curing.
Perform visual and physical checks to confirm proper setting and bond. Tap the surface with a hammer. Listen for a solid sound.
Why check setting: It ensures your repair is strong and bonded properly before you proceed with finishing work.
Testing, Quality Assurance, and Visual Checkpoints
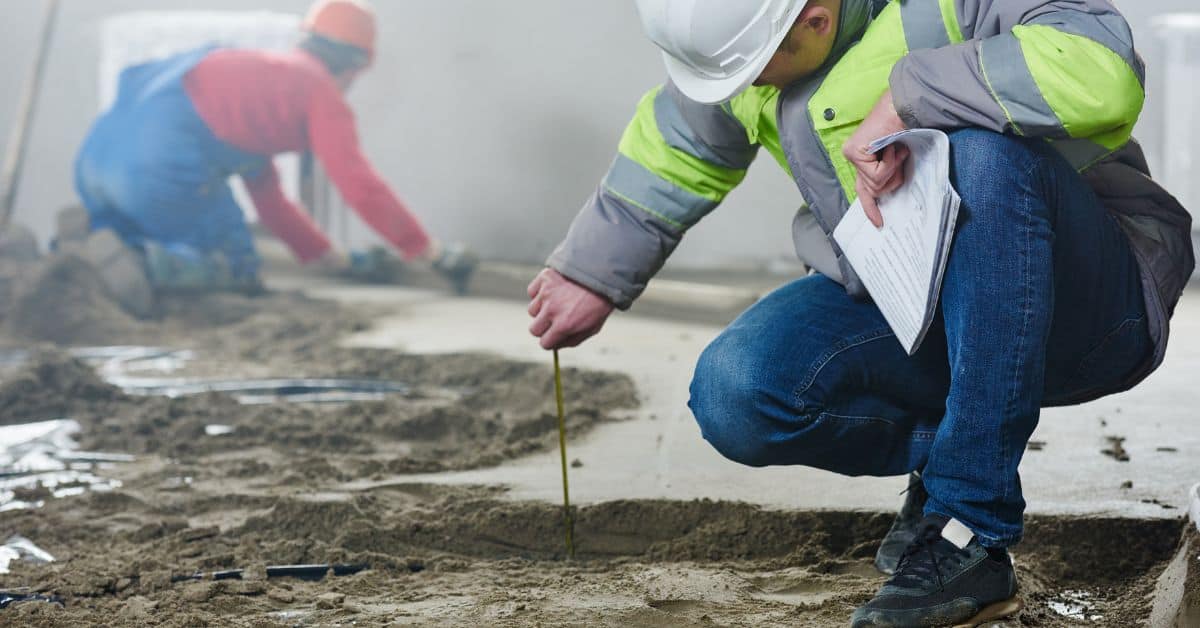
Identify basic field tests or visual checks you can perform during and after placement to gauge performance. Simple tactile or surface observations can reveal washout or inadequate cohesion. Use these as a quick on-site QA gauge while the repair sets.
Document results and compare against the product’s stated performance criteria from the datasheet. If results don’t look right, stop and re-check the mix, placement method, and curing conditions, then adjust or re-run a small test patch as needed.
Lab and Field Tests to Request or Perform
Before you start your repair, check off this list to ensure your anti-washout admixture performs as expected.
- Request manufacturer’s performance reports: Check for data on cohesion, set time, and strength development under submerged conditions. This helps you understand what to expect from the product.
- Conduct small-scale site trials: Mix and test samples in your specific repair environment to confirm compatibility with your cement, aggregates, and other materials. This ensures the admixture works well with your mix design.
- Check cohesion: Observe how well the fresh concrete sticks together. It should maintain its shape without slumping or segregating. If it’s too fluid, it might wash out underwater.
- Measure set time: Monitor when the concrete starts to set and harden. This helps you plan your repair sequence and avoid delays.
- Test compressive strength: After curing, check the concrete’s strength. It should meet or exceed your project’s requirements even under submerged conditions.
- Evaluate flowability: Ensure the mix flows easily into forms but maintains its shape without excessive bleeding or segregation.
- Check air content: Verify that the admixture doesn’t negatively impact the concrete’s air content, which is crucial for durability and freeze-thaw resistance.
- Assess water demand: Make sure the admixture doesn’t significantly increase your mix’s water demand, as this can lead to strength loss and durability issues.
Quick rule: Always test before you trust. Don’t assume an admixture will work just because it says so on the bag. Verify its performance in your specific conditions.
Visual and Tactile On-Site Checkpoints
During and after placement, use these practical indicators to judge the success of your anti-washout admixture.
- Surface cohesion: Gently touch the concrete’s surface. It should feel cohesive and hold together without crumbling or flaking off. If it’s too weak, it might not withstand underwater conditions.
- Absence of paste flocculation: Look for any separation or clustering of cement particles on the surface. This indicates the admixture isn’t working properly and could lead to strength loss.
- Intact aggregate matrix: Check that aggregates remain well distributed throughout the mix without segregation or bleeding. If aggregates are floating or settling, it’s a sign of poor performance.
- Consistent color: The concrete should have a uniform color throughout. Any discoloration could indicate areas of weakness or improper mixing.
- Smooth finish: After finishing, the surface should be smooth and even without excessive trowel marks or rough patches. This indicates good workability and proper curing.
- No signs of segregation: Look for any layering or separation of materials within the concrete. This can indicate poor mixing or placement techniques.
Quick rule: Trust but verify. Even if your tests looked good, always check the repair visually and tactilely to ensure everything went as planned.
Limitations, Troubleshooting, Safety, and Environmental Considerations
Recognize common failure modes such as insufficient cohesion, rapid washout under strong flow, or poor bonding with aged concrete. Develop a troubleshooting plan that covers substrate prep, mix consistency, and placement technique. Safety data should guide handling and PPE choices.
Be mindful of washwater management and disposal practices to minimize environmental impact. Follow local rules for containment and cleanup, and verify disposal options with site guidelines or product instructions. If unsure about safety or environmental steps, consult the label, manufacturer, or local environmental authority.
Common problems and fixes
Anti-washout admixtures are powerful tools, but they can cause issues if not used right. Here’s what to watch out for:
Excessive stiffening: If your mix is too thick, it might not flow well or bond properly. Fix: Reduce the dosage of admixture.
Delayed set: If your mix takes too long to harden, it could be due to low temperatures or high humidity. Fix: Adjust your mixing protocol or switch to a faster-setting formulation.
Poor bond or segregation: These issues can happen if the admixture isn’t compatible with your cement or other materials. Fix: Check compatibility and remix if needed.
Safety, handling, and environmental controls
Safety first, folks. Here’s how to handle anti-washout admixtures safely:
Wear gloves, goggles, and a respirator when handling. Keep the area clean to prevent spills. If there is a spill, contain it immediately with absorbents.
For washwater, use containment measures like silt curtains or barriers. Don’t let it run off into waterways – that’s bad news for aquatic life.
Always follow your local regulations and manufacturer guidelines for safe handling and disposal of admixtures and washwater.
Procurement, cost, and availability considerations
Before you buy, consider these factors:
Budgeting: Anti-washout admixtures can add to your costs. Make sure to factor this into your repair budget.
Lead times: Some products might take time to deliver. Plan ahead to avoid delays in your project schedule.
Availability: Always trial locally available products before making large purchases or critical repairs. This ensures you won’t be left high and dry if supplies run out.
Conclusion
In the real world, the goal is to keep your repair stable under water or in a wet form long enough to cure without a washout. Using the right anti-washout admixture gives you safer, more durable results and a better look once you’re done.
First, confirm the product meets local specs, read the label, and plan around the water conditions, substrate, and curing method; mix only what you need, test a small patch first, keep the formwork tight, place promptly, and cure per instructions while monitoring for signs of washout or bleed. Then verify you have the right viscosity, proper confinement, and that access allows for safe mixing, placement, and finishing before you move to the full repair.
Common mistakes to avoid include skimping on testing, ignoring substrate compatibility, and rushing placement in moving water or poor formwork. Always wear the required PPE, keep the work area clean and well-ventilated, and respect product limits and safety data. If in doubt about depth, flow, or proper curing, stop and reassess, and don’t exceed the recommended mix ratios or working time.
If the environment or damage is complex, or you’re unsure about substrate or sealing and you’ve tried basic testing, call a professional. With careful planning and disciplined execution, you can achieve a solid, watertight repair that lasts, and you’ll gain confidence for the next project.
FAQ
1. How do I know if an anti-washout admixture is right for my underwater repair?
Read the product label and the manufacturer instructions. Check if it’s designed for wet-form pours and underwater conditions, and what the recommended usage is for your project.
2. What should I look for on the product label to determine suitability for wet-form pours?
Look for explicit notes on wet conditions, setting behavior, and any cautions. Follow the manufacturer’s recommended mix ratios and placement instructions exactly as written.
3. Can I mix anti-washout admixtures with standard concrete or mortar mixes?
Only if the label or datasheet says it’s compatible. If the guidance isn’t clear, don’t mix; find a product that states compatibility and follow its directions.
4. How do I test the mix in the field before placing the repair?
Do a small trial batch and observe how it behaves in your conditions. Compare its washout resistance, workability, and set appearance to the manufacturer’s guidance and your project needs.