
Introduction
Anchoring into old concrete means attaching hardware to an existing slab or wall when the surface may be uneven or compromised. The key is to verify whether the concrete can hold fasteners and to choose a method that matches the condition of the surface. This needs practical, hands-on steps rather than guesswork.
To test strength and plan your anchors, inspect for cracks, hollow sounds, and moisture, and follow the hardware instructions for limits. Prepare the surface by removing loose material, cleaning all dust, and dampening the area where approved, as some bonds need moisture control. For bonding, use mechanical means on solid spots and chemical methods when allowed, and always check label directions and local requirements.
Key takeaways
- Assess surface condition: look for cracks, scaling, moisture, and delamination before repairs.
- Field test with hammer sounding and surface scratching to gauge uniformity.
- Wet surfaces before bonding and keep proper cure dry for better adhesion.
- Choose bonding method: mechanical anchors or chemical adhesives suited to old concrete.
- Remove laitance, etch or profile, clean dust and debris from surface.
- Wear PPE, follow permit rules, and avoid overhead hazards.
- Plan repair vs replacement decisions with scope and permit requirements.
Table of Contents
- Introduction
- Key takeaways
- Why Old Concrete Can Be Misleading
- Repair Vs. Replace — Decision Framework
- Planning, Permits, and Cost Considerations
- Tools, Materials, and Material Specs Explained
- Surface Assessment and Preparation Techniques
- How to Test Old Concrete Strength — Field and Lab Methods
- Bonding Methods for Anchoring into Old Concrete
- Installation Best Practices, Safety, and Final Inspection
- Conclusion
- FAQ
Why Old Concrete Can Be Misleading
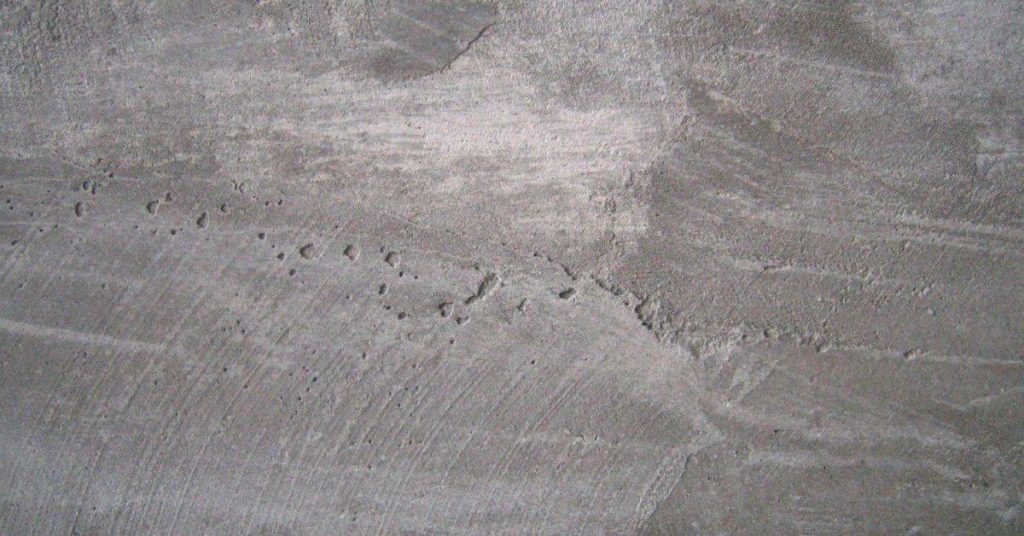
Visual clues like a hard crust, surface laitance, dusting, or patched textures can hide real weakness beneath. A surface that looks intact may mask delamination, differential settlement, or low core strength under patches. Relying on appearance alone is unreliable for judging anchor compatibility.
Common failure modes missed by visuals include strength loss below patches, voids or honeycombing, debonded layers, and moisture-related weakness that can reduce holding power. Practical checks that don’t require cores include hammer tests for hollow sounds, scratch indicators for laitance, and quick moisture or pull-off tests to gauge relative strength. Context from history and construction methods helps interpret findings and guide the next steps for embedment and surface prep.
Common deceptive surface conditions
Old concrete can fool you with its looks. It might seem solid, but it could be hiding problems.
Powdery laitance is a fine layer on top that washes off easily. It’s weak and won’t hold an anchor well.
Surface scaling happens when bits of concrete flake off. This means the surface is unstable and anchors might not grip properly.
Paint or oil films can make concrete look solid, but they stop anchors from bonding. Thin hard skins can hide soft, weak concrete beneath.
Risks of anchoring into a deceptive surface
Anchors in deceptive surfaces can fail. Here’s what might happen:
Pull-out: The anchor just pops out, like pulling a nail from wood.
Breakout: A chunk of concrete comes with the anchor when it’s pulled or pushed.
Cracking: Anchors can cause cracks to spread through your concrete if it’s weak.
Progressive collapse: One failing anchor can lead to others going too, like dominoes. This is a big safety issue.
Repair Vs. Replace — Decision Framework
Establish criteria to distinguish minor surface damage from actual structural movement. Patches may be acceptable in some cases, while others require removal and re-pouring. Use observable conditions and test results to decide when a patch is enough or when full replacement is safer.
Assess the extent and depth of deterioration by looking at crack behavior, hollow sounds, rust staining, and any visible settlement. Consider load demands and intended use to determine whether a repair suffices or if a larger remediation is needed. Practical planning should weigh cost, downtime, moisture, material compatibility, and the expected long-term performance of any chosen approach.
Signs that replacement is required
If you’re seeing pervasive movement across your entire slab, it’s a red flag. This could mean the concrete has lost its structural integrity.
Deep interconnected cracks are another sign of serious trouble. These can indicate that the reinforcement inside is no longer supported properly.
Contamination throughout the cross-section, like widespread rust staining or delaminating layers, suggests that the entire slab needs to be replaced.
When repair or localized anchoring is acceptable
If damage is contained to a small area, you might get away with surface repairs. This could include isolated cracks or minor spalling.
Non-critical load cases are also candidates for repair. If the slab isn’t bearing heavy loads or critical structures, patching up may be sufficient.
Localized anchoring can sometimes be done if the surrounding concrete is sound and the anchor depth is minimal.
Planning, Permits, and Cost Considerations
Start by defining load requirements and anchor types to scope the project. Identify whether static, dynamic, or safety factors will drive the design. Gather the basics to estimate what the job will entail before committing to a approach.
Verify codes, standards, and permit needs and know when to involve an engineer or building official. Conduct a site assessment of surface and sublayers, and plan for engineering design considerations and material choices. Draft a budget and timeline that itemizes drivers like labor, testing, permits, and equipment, so you can coordinate with other trades.
When to call a structural engineer or testing lab
You’re not always on your own when anchoring into old concrete. Here’s when to seek professional help:
Life-safety anchors. If you’re securing something that could cause harm if it falls, like a heavy shelf or safety railing, don’t guess. Call an engineer.
Uncertain test results. If your own tests show varying or questionable results, get a second opinion from a lab.
High design loads. When the load is high – think heavy machinery or significant weight – it’s wise to have an engineer check your calculations and designs.
Budgeting and cost trade-offs
Anchoring into old concrete can add up. Here are the main cost drivers:
Testing. Expect to pay for core sampling, petrographic analysis, and strength tests. These ensure your anchors have a solid foundation.
Materials. Specialty anchors, grout, or epoxy can hike costs. But they’re often necessary for a secure hold.
Removal vs. repair. Sometimes it’s cheaper to replace the concrete entirely. Other times, repairing and anchoring is better. Weigh your options.
Labor. Hiring pros can save you time and stress. But DIY can cut costs. Plan for both.
Contingencies. Always set aside extra cash for unexpected issues. Old concrete can hide surprises.
Tools, Materials, and Material Specs Explained
Create a field-ready tools list that covers drills, core bits, pull-test gear, grinders, rust removal, PPE, and cleanup supplies. Include a plan for dust containment and site ventilation. Have a clear sense of what you’ll need on hand for a smooth day of work.
Outline materials such as epoxies, rapid-set mortars, patch and grout products, fasteners, corrosion inhibitors, and compatible surface treatments. Note relevant standards and certification marks to verify before purchase. Prepare for surface prep, moisture checks, and compatibility with the old substrate, then document acceptance criteria for records.
Visual checkpoints and simple on-site kit
Before you start drilling or mixing, use this quick checklist to assess your old concrete surface and make minor repairs.
- Wire brush: Remove loose debris and dust. Skipping this can lead to weak bond.
- Chisel & hammer: Tap out deep cracks or crumbling pieces. Ignoring these can cause anchors to fail.
- Compressed air: Blast away remaining dirt from crevices.
- Hand drill: Test-drill small holes to check for voids or soft spots. Missing this step might result in anchors pulling out.
- Solvent (like acetone): Clean oil stains and grease. These can prevent adhesives from bonding properly.
- Moisture meter: Check for dampness. High moisture can ruin epoxy-based products.
- Alkalinity test kit: Ensure pH is suitable (6-8) for new materials. Too high or low can cause failure.
- Tape measure & level: Verify dimensions and ensure surface is flat enough for your project.
Quick rule: Always clean, prep, and test before anchoring into old concrete.
Material selection guidance
Choosing the right materials is crucial for a strong, long-lasting anchor. Here’s how to decide:
- Cementitious mortars: Use when loads are light and substrate is sound. Look for ASTM C881/C881M standards. Avoid on vertical surfaces or heavy loads.
- Epoxy anchors: Ideal for high loads, chemical exposure, or vertical surfaces. Check ASTM D7234/D7234M specs. Not suitable for wet environments without proper primers.
- Mechanical anchors (expansion bolts): Great for heavy loads and where substrate is sound. Follow ASTM C918/C918M guidelines. Can cause cracking in weak concrete.
- Corrosion inhibitors: Must be used with steel anchors to prevent rusting, especially in damp conditions.
- Protective coatings: Apply after installation to shield fasteners from elements and extend lifespan.
Tip: Always check material certifications (like UL, ISO) before purchasing. Wrong materials can lead to cracking, staining, or weak bonds.
Surface Assessment and Preparation Techniques
Assess the substrate for cracks, delamination, laitance, spalling, and moisture intrusion. Decide if the concrete is sound enough to anchor into or if repair is required first. Use quick checks to guide the next steps while keeping safety in mind.
Clean and degrease with stiff brushes, pressure washing, and appropriate cleaners to remove coatings and contaminants. Mechanical preparation with grinders or scarifiers should expose a roughened profile and any exposed cement paste. Test for inhibitors and moisture and address them before bonding if needed.
Cleaning and decontamination methods
Before you start anchoring, you need to clean the concrete surface. This is crucial for a strong bond.
Start with a stiff brush to remove loose dirt and debris. Then, use a pressure washer to blast away any remaining grime. Be careful not to damage the surface.
For oil or grease stains, use a suitable degreaser. Apply it, let it sit for a few minutes, then scrub and rinse. For tree sap, you might need to use a scraper and a solvent-based cleaner.
Remember: The surface needs to be clean and free of any contaminants that could hinder adhesion.
Profile creation and bonding priming
The concrete’s surface profile is key for a good bond. You want it rough, not smooth.
Use a wire brush, grinder, or scarifier to create this profile. The goal is to expose the Portland cement and create mechanical keys – little nooks and crannies that your anchor can grip onto.
Once you’ve created the right profile, it’s time for priming. This helps with adhesion and seals the surface. Use a bonding primer or agent if you’re applying an adhesive. If you’re using a cement-based repair material, you might need to apply a scratch coat first.
Tip: Always follow the manufacturer’s instructions when it comes to primers and bonding agents.
Wetting and moisture control
Moisture is a tricky thing when it comes to anchoring into concrete. Too much, too little – both can cause problems.
Ideally, the substrate should be slightly damp before you apply your cementitious repair or adhesive. This helps with adhesion and prevents the material from sucking moisture out of the concrete, which could lead to cracking.
To check for excessive dryness, perform a simple test: Sprinkle some water on the surface. If it’s too dry, the water will bead up and not be absorbed. If this happens, dampen the surface with