

Introduction
Caulking between stucco and window frames should be sealed where moisture can enter and left unblocked where drainage is needed.
This article keeps it simple for DIYers: look for gaps, cracks, and misfitting edges and decide what to seal. Use the right sealant and apply cleanly, then check drainage paths.
Identify gaps around windows of varying sizes and choose the appropriate sealing approach for each. Apply sealant in clean, dry lines and keep weep holes or drainage channels clear to prevent pooling. Always verify manufacturer guidance, check local rules, and ensure the seal allows proper drainage.
Key takeaways
- Inspect gaps around windows and reveals; identify drainage paths before sealing.
- Choose sealant type by configuration; preserve weep holes and airflow for drainage.
- Leave controlled drainage paths clear; avoid full seals that trap moisture.
- Use appropriate tools and clean surfaces; adhesion improves with dry, dust-free prep.
- Safety: wear eye protection and gloves; avoid caulk misuse near electrical openings.
- Check flashing continuity and sealant compatibility; prevent water intrusion over time.
Table of Contents
- Introduction
- Key takeaways
- Article Scope and Quick Decision Guide
- Identifying Stucco-to-Window Junctions and Common Configurations
- Decision Criteria — When to Seal Versus Leave Drainage Paths
- Types of Caulk Lines and Sealant Systems for Stucco-to-Window Joints
- Tools, Materials Checklist, and Site Preparation
- Step-by-Step Caulk Application and Finishing Techniques
- Flashing, Drainage Continuity, and Integration with the Building Envelope
- Common Mistakes, Failure Modes, and Long-Term Structural and Energy Impacts
- Conclusion
- FAQ
Article Scope and Quick Decision Guide
This section outlines what you’ll learn about stucco-to-window joints, how to identify configurations, and how to decide where to seal or leave drainage open. You’ll see a practical decision flow to reference before starting work. Use the quick checklist to keep scope and plan clear for both homeowners and contractors.
Here we’ll define the joint scope, outline assessment steps, and present a repair workflow. You’ll learn how to spot movement cracks, drainage paths, and signs of water intrusion. The goal is a durable, moisture-managed seal that respects drainage at every step.
Who this is for
This guide is designed for homeowners, remodelers, and window installers with basic DIY skills. You’ll need a caulk gun, sealant, backer rod, primer, and some basic tools like a putty knife, utility knife, and tape measure.
Professionals will find this a useful reference, while homeowners should feel confident tackling most common repairs with the right information and care.
Note: If you’re unsure about any aspect of your project, it’s always best to consult with a professional before proceeding.
When to call a pro
While this guide covers most common repairs, there are situations that warrant professional evaluation:
Extensive Water Damage: If you notice significant water stains, peeling paint, or warped trim, it might indicate extensive damage behind the stucco that requires expert assessment.
Mold: The presence of mold indicates a moisture problem that may require professional remediation to ensure it doesn’t spread and cause health issues.
Structural Concerns: If you suspect structural damage, such as cracks in the foundation or walls, it’s crucial to consult with a structural engineer or architect before proceeding with any repairs.
Identifying Stucco-to-Window Junctions and Common Configurations
Start by locating every stucco-to-window juncture on the exterior and identifying window type. Note typical junction geometries at heads, jambs, sills, and corners that affect sealing. Visual cues guide where drainage might be hidden by trim or cladding.
Watch for flashing, drainage planes, and weep holes as you map each joint. Distinguish exposed flange or jamb from hidden edges. Understanding common geometries helps you plan moisture control and sealant needs without guessing.
Typical joint types (flush, recessed, trim-adjacent)
When inspecting your stucco-to-window junctions, you’ll encounter different joint layouts. Each type influences how you should seal or leave gaps for drainage.
Flush joints are where the window frame sits level with the stucco surface. Here, you typically need a continuous bead of moisture-tolerant caulk to prevent water intrusion.
Recessed joints, found in pocket or flush windows, have the frame set back into the wall. These often require backer rods and caulk to create a proper seal while allowing for expansion and contraction.
Trim-adjacent joints involve trim or cladding covering part of the junction. Be sure to check behind this trim for hidden gaps, as water can get trapped and cause damage if not properly sealed.
Visual checkpoints for inspection
Before you start sealing or making repairs, use this checklist to identify problem areas at your stucco-to-window junctions. Inspect both the exterior and interior of your home.
- Cracks: Look for hairline cracks or gaps in the sealant, stucco, or around windows. These can let water in.
- Staining: Check for discoloration on walls, trim, or ceilings. This could indicate past water intrusion.
- Failed sealant: Inspect existing caulk lines. If they’re missing, cracked, or peeling, it’s time to replace them.
- Buckling: Look for warped or bowed windows or walls. This could signal hidden water damage.
- Flashing: Check if flashing is present and properly installed at the head, jambs, and sill. It should be visible behind trim in some areas.
- Drainage planes: Ensure there are no obstructions blocking water from flowing down and away from windows.
- Weep holes: Verify that weep holes at the bottom of window frames are unobstructed to allow water to escape.
- Trim or cladding: Inspect for any gaps between trim, stone, or other cladding and the wall. Water can get trapped here if not properly sealed.
Quick rule: If you find any of these issues, address them before proceeding with sealing to prevent further damage.
Decision Criteria — When to Seal Versus Leave Drainage Paths
Use practical criteria to assess moisture risk and exposure at each joint. Look for signs that water could be trapped if sealed too aggressively. Let drainage remain where vents or gaps are necessary for moisture management.
Apply rules that balance waterproofing with ventilation, such as sealing where surfaces are impermeable and drainage where microcracks or porosity could trap water. A simple decision flow helps prevent over-sealing and misfitting joints.
Signs you should seal (air leaks, pest entry, energy loss)
Sealing is necessary when you notice visible gaps between your stucco and windows. These gaps can let in cold air during winter and hot air during summer, making your home less energy-efficient.
Drafty windows are a clear sign of air leaks. You might feel a draft or see curtains moving when there’s no breeze. Sealing these gaps will improve your home’s insulation and reduce energy bills.
Another reason to seal is to prevent pest entry. Gaps can serve as highways for insects, rodents, and other pests looking for a warm place to live. By sealing these openings, you’ll make your home less inviting to unwanted guests.
When to preserve drainage and flashing continuity
There are times when preserving drainage channels or weep gaps is crucial. This is especially true with layered stucco systems, where water needs a path to escape from the inner layers.
At window head and sill details, improper sealing can trap water. Weep gaps and flashing continuity allow water to drain out instead of getting trapped behind your stucco. If you seal these areas without proper drainage, moisture can build up and cause damage over time.
Remember, moisture is the enemy. It can lead to mold growth, rot, and structural damage. Always ensure there’s a way for water to escape, even if it means leaving some areas unsealed.
Types of Caulk Lines and Sealant Systems for Stucco-to-Window Joints
Identify the main sealant families and how they perform in outdoor, moving joints. Consider adhesion, elasticity, UV resistance, and long-term durability for exterior use. Compatibility with stucco and window materials matters here.
Compare paintability, cure behavior, and installation steps like backer rods and bead sizing. Understand how movement and water resistance drive material choices and maintenance needs for these joints.
Backer rods, bond breakers, and joint geometry
Controlling joint depth and adhesion is crucial for a durable seal. Here’s how:
Backer rods are foam or fiberglass inserts used to maintain a consistent joint width. They prevent overfilling and ensure even curing.
Bond-breaker tapes, like polyethylene film, create a barrier between the sealant and substrate, preventing adhesion at the back of the joint. This allows for better movement accommodation.
Joint shape affects sealant performance. Flush joints need less sealant but require precise tooling. Recessed joints hide imperfections but may trap moisture if not properly drained.
Material specs and standards explained
Choosing the right material ensures a long-lasting, functional seal.
- Movement capability: Look for elongation ratings (e.g., 200% or 500%) to accommodate joint shifts. Too low, it cracks; too high, it sags.
- Adhesion to substrate: Check peel strength and bond durability. Weak adhesion leads to sealant failure at edges.
- UV resistance: Ensure the sealant can withstand sun exposure without degrading or discoloring.
- Paintability: If you plan to paint, choose a paintable sealant with good adhesion and color retention.
- Cure time: Consider how long it takes for the sealant to set and reach full bond strength. Too fast, it’s hard to tool; too slow, it’s messy.
- Flashing integration: Ensure the sealant is compatible with your flashing material (e.g., metal, membrane) to maintain a watertight barrier.
- Building codes and manufacturer recommendations: Always check local building codes and follow manufacturer guidelines for best results.
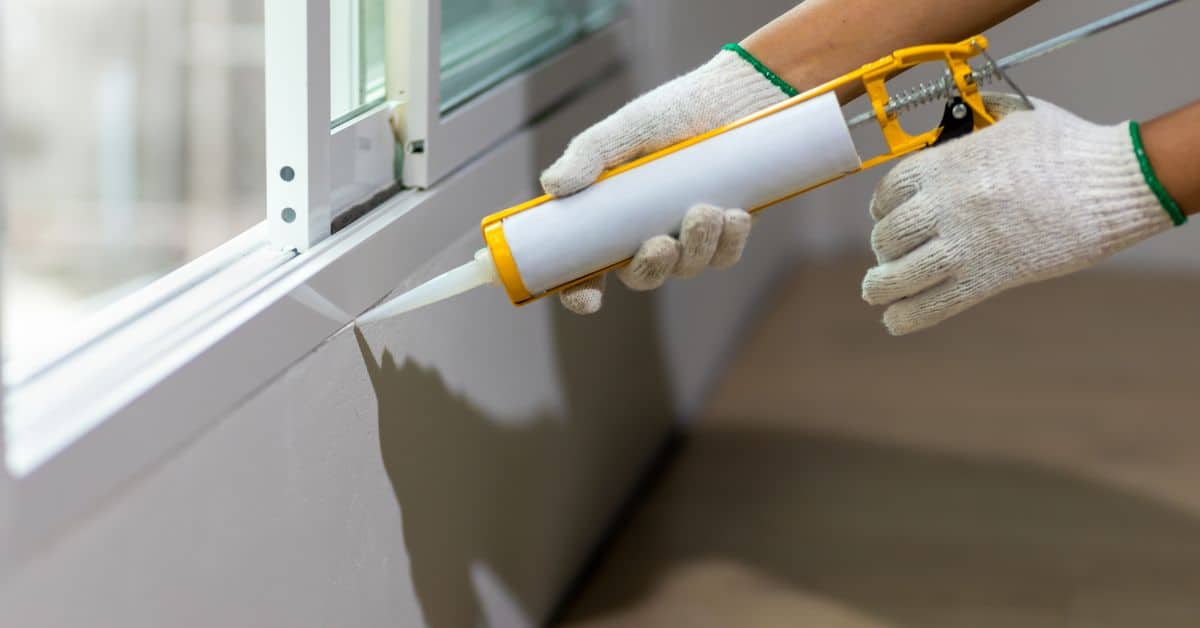
Tools, Materials Checklist, and Site Preparation
List the essential tools and consumables you’ll need, plus staging tips to protect finishes. Include PPE recommendations and ventilation practices for solvent-based products. Plan for safe ladder use or fall protection if working above ground.
Cover surface prep materials, sealant types, backer rods, masking, and cleaners. Outline steps to keep joints dry and clean before the work begins, and how to plan for weather gaps or delays.
Cleaning and removal of old sealant
Before applying new caulk, it’s crucial to remove any old or failed sealant. This ensures a clean surface for the new sealant to bond with.
- Inspect joint: Check if old caulk is cracked, peeling, or missing.
- Cut out old caulk: Use a utility knife or blade to carefully cut out any remaining old caulk. Be sure not to damage the substrate.
- Remove backer rod (if present): If there’s a backer rod, remove it gently with pliers or needlenose pliers.
- Clean joint faces: Use a stiff-bristle brush and solvent-safe cleaner to remove dust, laitance, and any residue. Wipe clean with a microfiber cloth.
- Assess substrate soundness: Check for any cracks, voids, or damaged areas in the stucco or window frame. Repair as needed before caulking.
- Check joint depth: Ensure the joint is deep enough to accommodate new backer rod and caulk. If not, fill with a suitable patching compound.
- Dry out joint: Allow the cleaned joint to dry completely before applying new caulk. This may take several hours or overnight.
- Check temperature and humidity: Ensure the joint is above the minimum recommended temperature (usually 40°F/4°C) and within acceptable humidity range for proper caulk curing.
Quick rule: Always remove old sealant to prevent new sealant from failing prematurely due to poor adhesion.
Masking, protection, and surface conditioning
Proper masking and surface preparation are key to a clean, professional-looking caulk line.
- Protect stucco: