
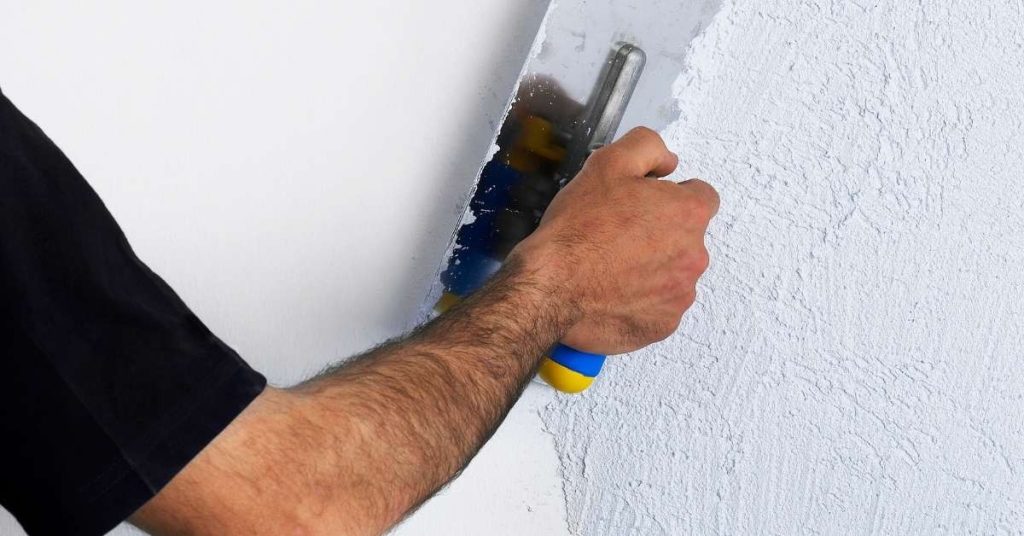
Introduction
Misting during curing helps prevent weak, dusty finish coats on stucco patches. A light, even spray keeps the surface from drying too fast and pulling water away from the patch. Keep it consistent and watch for a slightly damp look without pooling.
Set a gentle misting routine and stick with it for the full cure period. Check the stucco patch product label and follow the manufacturer guidance on timing and moisture. If you notice dusty edges or cracks forming, adjust the schedule and consult local rules or guidance.
Key takeaways
- Begin misting after initial set shows stiffness; avoid surface flash-drying or cracking.
- Use fine mist and consistent intervals; document environmental conditions for schedule adjustments.
- Inspect substrate and patch edges for sound adhesion before misting routine.
- Protect surrounding surfaces with plastic and rinse tools to prevent staining.
- Safety: wear eye/respiratory protection; avoid over-saturation and mold risk.
- Use visual checks and simple tests to confirm cure progress daily.
Table of Contents
- Introduction
- Key takeaways
- Why Proper Curing Matters for Stucco Patches
- Tools and Materials Checklist for Controlled Misting
- Material Specs and Substrate Preparation That Affect Curing
- Misting Schedules by Environmental Condition (Safe Ranges and What to Check)
- Step-by-Step Practical Misting Plan for a Patch Job (Start to Finish)
- Visual Checkpoints and Simple Tests to Confirm Adequate Cure
- Troubleshooting Common Problems and Corrective Actions
- Best Practices, Safety, and Jobsite Controls
- Conclusion
- FAQ
Why Proper Curing Matters for Stucco Patches
Proper curing is essential to create a strong, durable patch. When hydration is uneven or rushed, the bond can be weak and the finish may dust or powder. Early moisture has a big influence on long term strength and crack resistance.
Misting helps maintain a consistent moisture balance during the critical early cure. It reduces the risk of dry spots and shrinkage cracks by supporting a controlled hydration environment. Understanding this link helps you plan a reliable patch job from the start.
How hydration controls strength and surface integrity
Cement needs sustained moisture to keep hydrating, forming a strong matrix. Without it, the surface dries out too fast, leaving dusty patches.
Think of it like baking a cake. You can’t take it out early or it’s dry inside, just like stucco that cures too fast.
Proper misting keeps hydration going, building strength and preventing surface dusting.
Common failure modes from poor curing
Inadequate moisture control leads to common failures. The surface powders or turns dusty, making it weak and prone to cracking.
Shrinkage cracks appear as the patch dries out too fast. Delamination happens when the new stucco peels off from the old due to poor bonding caused by improper curing.
These failures reduce durability and can lead to costly repairs down the road.
Tools and Materials Checklist for Controlled Misting
Gather a light misting sprayer, a garden hose, and a simple spray nozzle suitable for fine mist. Have a moisture meter or a damp fingertip test handy to check surface dampness. Don’t forget protective gear like eye protection and gloves.
Choose tools that won’t disrupt the patch or wash out fresh material. Verify that sprayer specs fit the project size and follow manufacturer recommendations. When in doubt, check product labels and datasheets for compatibility with your patch mix.
Misting Equipment Options and Pros/Cons
Choose the right misting equipment for your project’s size and complexity.
- Hand-pump sprayers: Ideal for small patches. Easy to use, but requires manual effort.
- Fine-mist hose attachments: Good for medium-sized areas. Lightweight, adjustable mist, but may require a separate pump.
- Automated mist systems: Suitable for large projects. Consistent misting, but more expensive and complex to set up.
Quick rule: Match your equipment to the project size. Larger areas need consistent, automated misting.
Moisture and Environmental Monitoring Tools
Regularly check moisture levels and ambient conditions for optimal curing.
- Ambient temperature/humidity sensors: Monitor surrounding air. Ideal for preventing excessive drying or condensation.
- Surface moisture probes: Measure patch moisture content. Essential for knowing when to adjust misting schedules.
Quick rule: Cross-check readings with manufacturer cure guidance to avoid under- or over-curing.
Material Specs and Substrate Preparation That Affect Curing
Mix design, patch thickness, and bonding agents influence how much misting is needed. A thicker patch or a stronger bond may require longer or more frequent misting. Surface prep quality also changes how the moisture interacts with the patch.
Keep substrate temperature and ambient conditions in mind. Review product data sheets and local codes for any limits that apply to cure timing and moisture management. Use the documented guidance to tailor your approach to the specific product you’re using.
How patch thickness changes cure demand
Thicker patches retain moisture differently and may need altered misting and protection strategies.
Thinner patches (<6mm) dry out quicker, requiring more frequent misting. Thicker ones (>25mm) hold moisture longer but risk cracking if not properly protected from sun and wind.
Monitor patch thickness during application to adjust misting schedule accordingly.
Compatible bonding agents and admixtures
Certain bonding agents and admixtures can increase or reduce cure sensitivity. Always follow manufacturer compatibility instructions.
Accelerators speed up curing but may cause surface crazing if not used correctly. Retarders slow down curing, preventing premature drying. Some may affect strength development.
Check product data sheets and consult with your supplier to ensure compatible products for your specific mix design.
Misting Schedules by Environmental Condition (Safe Ranges and What to Check)
Hot and dry conditions call for more frequent light misting to prevent rapid surface drying. Moderate climates usually need a steady, gentle approach with regular checks. Cool or humid environments may require slower misting to avoid oversaturation.
Always verify misting guidance against the product datasheet and local rules. Increase frequency when you see surface drying or a powdery finish, and slow down if you notice surface gloss or pooling. Rely on visual cues and moisture readings to decide the cadence.
Hot, dry, and windy conditions
Use this checklist when working in hot, dry, and windy conditions to ensure your stucco patch cures properly.
- Misting frequency: Increase misting frequency. Aim for every 15-20 minutes during the day and every hour at night.
- Wind protection: Use temporary barriers or windbreaks to protect the patch from strong winds.
- Shading: Provide temporary shade, especially during peak sun hours, to slow down moisture loss.
- Product guidance: Consult the product datasheet for safe frequency ranges in hot and dry conditions.
- Temperature monitoring: Keep an eye on temperature. If it exceeds 90°F (32°C), consider slowing down work or adjusting misting schedule.
- Moisture loss: Watch out for rapid moisture loss, which can lead to weak and dusty patches.
- Nighttime curing: Maintain misting at night to prevent excessive drying. Use a timer if needed.
- Wind damage: Check for wind damage daily. Strong winds can blow away the wet stucco or cause it to cure too quickly.
Quick rule: In hot, dry, and windy conditions, frequent misting and protection from wind are crucial to prevent weak patches.
Moderate/ideal conditions
Use this checklist when working in moderate temperatures and humidity for controlled wetting during initial cure.
- Misting frequency: Misting should be less frequent than hot conditions. Aim for every 20-30 minutes during the day and every 1-2 hours at night.
- Humidity monitoring: Keep humidity levels between 40% and 75%. Below 40%, misting may need to be increased; above 75%, consider slowing down.
- Product guidance: Consult the product datasheet for recommended misting schedules in moderate conditions.
- Temperature monitoring: Keep an eye on temperature. If it exceeds 80°F (27°C), consider adjusting your misting schedule.
- Moisture content: Ensure the patch retains enough moisture for proper curing. A quick check is to see if the surface feels slightly damp to touch.
- Nighttime curing: Maintain some misting at night, but reduce frequency as the patch cures.
- Drying out: Watch for signs of drying out, which can lead to weak patches and cracks.
- Even wetting: Ensure the entire patch is evenly wet during misting. Inconsistent wetting can lead to uneven curing.
Quick rule: In moderate conditions, controlled wetting is key. Adjust misting frequency based on humidity and temperature.
Cool or very humid conditions
Use this checklist when working in cool or very humid conditions to prevent freezing or extended drying delays.
- Misting frequency: Misting should be less frequent than moderate conditions. Aim for every 30-60 minutes during the day and every 2-4 hours at night.
- Temperature monitoring: Keep an eye on temperature. If it drops below 50°F (10°C), consider slowing down work or adjusting misting schedule.
- Product guidance: Consult the product datasheet for minimum temperatures and safe misting schedules in cool conditions.
- Humidity monitoring: Keep humidity levels above 75%. Below this, misting may need to be increased.
- Freezing prevention: Protect the patch from freezing. If temperatures drop below freezing, consider providing heat or covering the patch.
- Moisture content: Ensure the patch retains enough moisture for proper curing. In humid conditions, this may require less misting but more monitoring.
- Drying out: Watch for signs of drying out, which can lead to weak patches and cracks in cool conditions.
- Extended drying: Be aware that cool conditions can slow down the curing process. Plan your schedule accordingly.
Quick rule: In cool or very humid conditions, less frequent misting is needed but monitoring for freezing and extended drying delays is crucial.

Step-by-Step Practical Misting Plan for a Patch Job (Start to Finish)
Start with a light pre-wet of the substrate to equalize moisture before patching. After applying the patch, protect the surface from rapid loss of moisture with a light mist or damp covering as recommended.
During the initial cure window, implement scheduled misting and then gradually reduce frequency as the patch hydrates. Use visual checks and moisture readings to determine when to transition to finish coats, and always verify times with product instructions.
Step-by-Step Process
This section guides you through a practical, step-by-step misting plan for your patch job from start to finish.
- Preparation and safety checks: Ensure all tools are clean and ready. Wear appropriate PPE. Check the weather forecast to adjust your schedule if needed.
- Substrate preparation: Clean and dampen the substrate with a fine mist, avoiding pooling water. This helps achieve better bond strength.
- Apply patch material: Trowel on the stucco patch mix evenly, following the manufacturer’s guidelines for thickness and application.
- Initial moisture retention: Cover the patch with plastic sheeting immediately after application to retain moisture and prevent rapid drying.
- Establish misting schedule: Set up your misting equipment according to the conditions (hot/dry/windy, moderate/ideal, cool/humid) and follow the recommended safe ranges for misting intervals and duration.
- Misting during early cure window: MIST regularly but lightly during t