
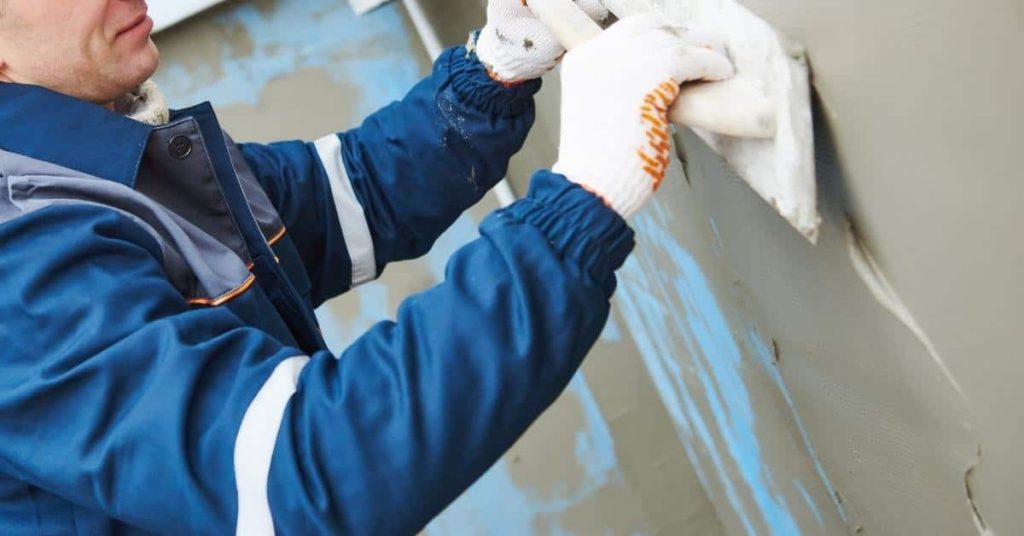
Introduction
This article covers how to stucco around solar mounts to seal, support, and keep drainage clear. It’s a hands-on, DIY approach that balances protection with easy maintenance.
Use proper technique for applying stucco around mounts, choosing standoffs that keep panels level and allow drainage paths. Select sealants rated for roof penetrations and check manufacturer instructions and local rules to confirm suitability.
Key takeaways
- Ensure stucco around mounts uses proper standoffs to maintain drainage and movement space.
- Sealant choice: select flexible, paintable sealants compatible with stucco and metal mounts.
- Keep drainage paths open by sloping and avoiding blockages at penetrations.
- Use correct penetration detailing: flashings, backer rods, and proper bead widths per manufacturer.
- Plan coordination: protect solar equipment during stucco prep and curing, stagger work.
- Inspect and repair: diagnose cracking, moisture issues, and reseal promptly after repairs.
Table of Contents
- Introduction
- Key takeaways
- Why Careful Stucco Detailing Around Solar Mounts Matters
- Solar Standoffs and Mount Penetrations: Types and Correct Use
- Choosing and Applying Sealants for Stucco-to-Mount Interfaces
- Keeping Drainage Paths Open: Design Details and Field Techniques
- Stucco Application and Repair Techniques Around Existing Solar Installations
- Diagnosing Common Problems and Proven Repair Solutions
- Safety, Coordination, and Protecting Solar Equipment During Work
- Planning, Tools, Materials, Specs, and Budgeting for Projects
- Conclusion
- FAQ
Why Careful Stucco Detailing Around Solar Mounts Matters
Proper detailing around solar mounts affects performance, durability, and moisture control. It also influences warranty expectations and long-term finish integrity. Penetrations require targeted attention to avoid hidden failures.
Define what proper detailing includes—standoffs, flashings, sealants, and drainage paths—and why those elements matter at wall and roof edges. Moisture management hinges on avoiding capillary leakage and microcracking. Ensure you understand how material choices and install details interact with the mounting hardware and climate.
Risks of poor detailing
Sloppy stucco work around solar mounts can lead to serious issues. Water intrusion is the big one. It seeps in through microcracks or gaps, travels along framing, and ends up inside your walls.
Cracking happens when stucco dries too fast or shrinks. This lets water in, creating a vicious cycle. Corrosion of fasteners is another problem. Moisture meets metal, and you’ve got rust.
Secondary damage follows. Sheathing can rot, insulation gets soaked, and mold starts growing. All this costs time and money to fix, not to mention the hit to your home’s value.
How stucco details affect solar equipment and warranties
Proper detailing keeps your solar panels happy, too. It’s about movement and heat.
- Standoffs: They let the wall breathe, preventing panel contact that could cause damage or restrict expansion/contraction.
- Sealants: Use compatible ones to avoid reactions with solar hardware. Silicone’s a good bet, but check compatibility first.
- Flashings: They direct water away from the panel/wall interface, keeping it dry and preventing leaks.
- Thermal cycling: Solar panels heat up and cool down daily. Stucco should accommodate this movement without cracking or pulling away.
- Documentation: Keep records of approved methods used. This helps protect warranties during inspections.
Solar Standoffs and Mount Penetrations: Types and Correct Use
Identify common standoff and mount types used on stucco surfaces and roof edges, and note where each is appropriate. Consider load scenarios and flashing needs for walls versus roof installations. Confirm the intended application with your project specifics before proceeding.
Explain how standoff selection affects load transfer, fastener length, and substrate compatibility. Detail flashing methods and sealant choices that maintain continuity around each penetration. Keep drainage paths clear and avoid creating moisture traps near mounts.
Typical standoff styles and when to use them
Standoffs come in various styles, each suited for different scenarios. Here are four common types:
Lag-style standoffs are ideal for walls with solid backing like wood or metal studs. They’re easy to install and can handle moderate loads.
Through-flashing mounts are great for roof edges where waterproofing is crucial. They allow flashing to be lapped over the standoff, preventing leaks.
Tile hooks are useful when mounting on curved surfaces or thin substrates like tile. They provide minimal penetration and can be adjusted to fit different tile thicknesses.
Adhesive or clamp systems are suitable for lightweight structures or where drilling is not feasible. However, they may not withstand high loads or extreme weather conditions as well as other standoff types.
Flashing and penetration protection best practices
Proper flashing is key to preventing water intrusion around solar mount penetrations. Here’s how to do it right:
Use Z-flashing for wall mounts, lapping the flashing over the standoff and under the stucco finish. For roof edges, use lapped/flashed penetrations, ensuring the flashing extends at least 3 inches up the roof slope.
Backing plates should be used with all standoffs to distribute loads and protect the substrate. Fastener lengths must be long enough to penetrate through the stucco layer, reaching solid backing.
Seal all penetrations with a high-quality, flexible sealant. Ensure it’s compatible with your stucco finish and can withstand UV exposure. Always maintain clear drainage paths around penetrations to prevent moisture traps.
Choosing and Applying Sealants for Stucco-to-Mount Interfaces
Compare sealant families by elasticity, UV resistance, adhesion to stucco and metal, and movement accommodation. Note which options suit PV hardware and finish materials, and when to choose each type. Check labels and manufacturer guidance for compatibility with your setup.
Outline surface prep, priming needs, and moisture considerations for both stucco and mounting plates. Describe how to test adhesion and plan for joint design that tolerates solar movement while staying watertight. Consider cure times and weather windows for best results.
Sealant types and environmental performance
Choosing the right sealant is crucial for a durable, long-lasting bond. Here’s what you need to know about different sealant families:
Silicone: Offers excellent UV resistance and elasticity, making it ideal for sunny or coastal climates. However, it doesn’t adhere well to metal and can stain if not compatible with finish materials.
Polyurethane: Provides superior adhesion to both stucco and metal, but has lower UV resistance and less elasticity than silicone. It’s a good choice for freeze-thaw climates or where movement accommodation is needed.
Hybrid/MS Polymer: Combines the benefits of silicone and polyurethane, offering good UV resistance, adhesion, and elasticity. It’s versatile but may not perform as well in extreme conditions.
Proper surface prep and application technique
Thorough preparation is key to a successful sealant job. Here’s how:
Cleaning: Remove all dirt, debris, and contaminants from both stucco and metal surfaces using a wire brush or compressed air.
Priming (if needed): Apply a primer to improve adhesion and seal the surface. This is especially important for porous substrates like stucco.
Joint backing and bead size: Use backer rod to create a uniform joint width, typically 1/4″ to 3/8″. Apply sealant in a continuous bead, following the manufacturer’s recommended thickness (usually 1/8″ to 1/4″).
Tooling and cure time: Tool the sealant immediately after application to create a smooth, even surface. Follow the manufacturer’s instructions for cure times, usually 24-72 hours before exposure to weather or water.
Longevity expectations and inspection intervals
Regular inspections help maintain the sealant’s integrity. Here’s a checklist for every 6-12 months:
- Visual check: Inspect for cracks, gaps, or discoloration that could indicate failure.
- Movement assessment: Check if there are any signs of excessive movement around the mounts, like stress fractures in the sealant.
- Moisture intrusion: Look for water stains, mold, or mildew, which may indicate a breach in the seal.
- Staining: Check for any discoloration on finish materials that could signal incompatibility with the sealant.
- UV degradation: Inspect for signs of UV damage, like hardening or loss of elasticity.
- Expansion/contraction: Ensure the joint can still accommodate movement without compromising the seal.
- Backer rod integrity: Check if backer rod is intact and hasn’t shifted or compressed over time.
- Sealant adhesion: Gently pull on the sealant to ensure it’s still well-adhered. If it peels off easily, re-sealing may be necessary.
Quick rule: If you notice any issues during your inspection, address them promptly to prevent further damage and maintain the solar array’s warranty.
Keeping Drainage Paths Open: Design Details and Field Techniques
Discuss flashing design around solar mounts and how to integrate it with stucco to prevent water ingress. Cover counter-flashing and guidance on where flashing should sit relative to cladding. Ensure details support reliable drainage from the outset.
Address weep paths, vent routing, and protection from debris. Explain slope requirements and alignment with roof and wall drainage planes. Share practical steps to verify that standoffs and sealants won’t obstruct drainage.
Weep Screeds, Gaps, and Drainage Channels
Stucco walls need to breathe. That’s where weep screeds come in. These are small openings at the base of your stucco wall, allowing any trapped moisture to escape.
Never block these with soil or landscaping materials.
Control joints and clearance gaps serve a similar purpose. They prevent cracking and allow for expansion while letting moisture out. Make sure solar mounts don’t obstruct these features.
Slope, Flashing Laps, and Directing Runoff
Flashing isn’t just about preventing water entry. It’s also about guiding water out. Ensure your flashings have a slope, directing water away from mounts.
Lap flashing pieces in the direction of runoff.
Runoff should be directed away from penetrations and foundation areas to prevent it from finding its way back behind the stucco. Align slopes with roof and wall drainage planes for best results.
Stucco Application and Repair Techniques Around Existing Solar Installations
Begin with an assessment of mounting depth, flashing condition, and any cracks around fasteners. Identify movement stress risks and plan for preserved drainage as you repair. Understand how existing hardware influences your patch strategy.
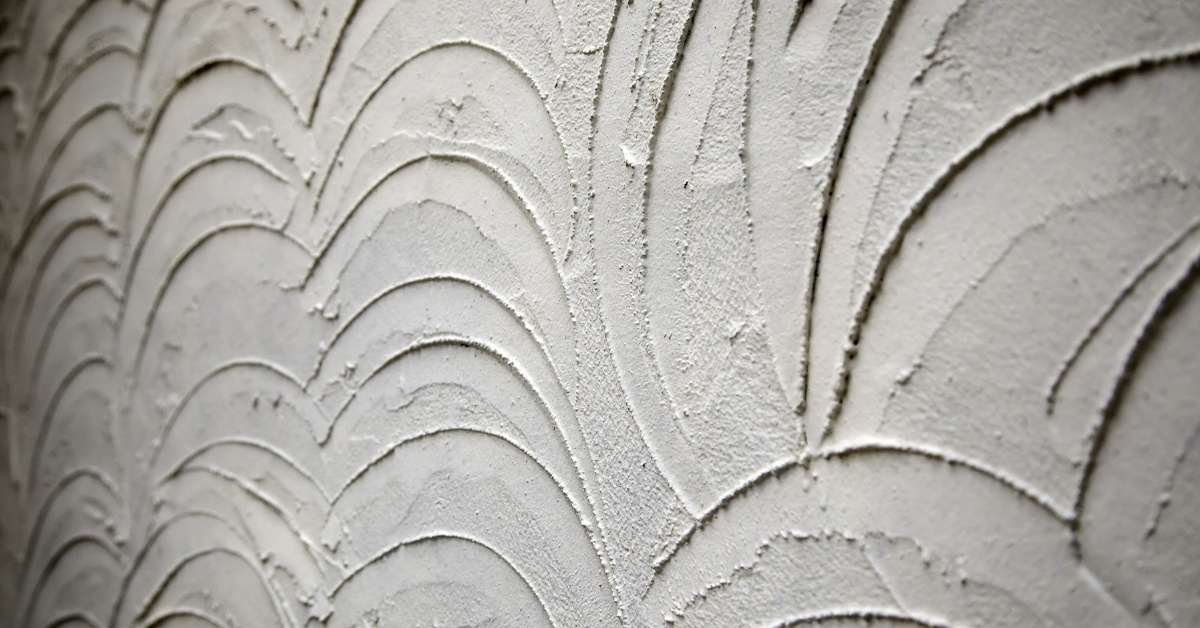
Outline surface preparation, patching texture, and feathering edges to blend with surrounding finish. Describe sealant placement, joint sealing, and re-sealing around flashing after repairs. Consider how to maintain waterproofing and drainage through the patchwork.
Cutting, backer support, and bonding around mounts
Before you start patching, ensure a solid bond between your new stucco and the existing structure. Here’s how:
First, cut cleanly around each mount using a utility knife or oscillating tool. Remove any loose glaze or damaged material.
Next, install backer support. For small repairs, use fiberglass mesh tape. For larger areas, apply a layer of setting-type joint compound or thinset mortar before embedding the mesh.
When applying new stucco, ensure it bonds well to the backer but doesn’t have rigid contact with the mount hardware. This prevents stress concentrations and reduces the risk of cracking.
Texture matching and minimizing stress concentrations
Matching your new stucco to the existing texture is crucial for a seamless repair. Here’s how:
Start by feathering the edges of your patch, blending it into the surrounding texture. Use a hawk and trowel to apply the stucco, working from the center outwards.
To avoid hard joints that can crack under movement, use flexible transitions. For example, you can create a ‘bullnose’ or ‘cove’ joint at the edge of your patch. This