
Introduction
Filling the hollow cores of an existing concrete masonry unit (CMU) wall is not, by itself, a dependable strengthening method. A successful structural retrofit depends on the wall’s condition, continuous cells, reinforcement, connections to the footing and roof or floor, foundation capacity, actual loads, and the complete load path. In reinforced masonry, grout helps the masonry and reinforcing steel act as one designed system; filling random cells may only add weight.
A DIYer can document the wall, make non-destructive observations, perform designer-approved preparation, and handle cleanup or nonstructural patching. Do not independently select reinforcing steel, splice lengths, dowels, grout lifts, bracing, or a grout-fill pattern intended to make a wall structural. Start by determining what the wall is, what loads it carries, and whether a local permit, engineer, or inspection is required.
Key takeaways
- Grout fill may be part of an engineered masonry retrofit; it is not a universal repair for an existing block wall.
- Identify the wall type, loads, cell layout, existing reinforcement, connections, and foundation before selecting a method.
- Use specified structural masonry grout, not tile grout, acrylic grout, or a generic repair product.
- Do not drill a footing or slab, add dowels, or choose bar spacing, lap lengths, or embedment without an engineered detail.
- Use the approved placement sequence and grout product instructions; do not alter the mix with arbitrary water or cement.
- Stop immediately for movement, widening cracks, unexpected obstructions, leakage, face-shell movement, or a utility strike.
- Visual observations can flag trouble but cannot prove that cells are continuously filled or structurally adequate.
Table of Contents
- Introduction
- Key takeaways
- When Grout-Filling an Existing Block Wall Is Appropriate
- Codes, Permits, and When to Consult an Engineer
- Tools and Materials Checklist for Grout-Filling a Block Wall
- Preparing the Wall: Inspection, Repairs, and Cleaning
- Reinforcement Planning: Rebar, Bond Beams, and Dowels
- Mixing, Placing, and Consolidating Grout Safely
- Curing, Finishing, and Visual Checkpoints for a Successful Job
- Common DIY Mistakes, Troubleshooting, and Deciding When to Hire a Pro
- Conclusion
- FAQ
When Grout-Filling an Existing Block Wall Is Appropriate
Grout can contribute to capacity in a properly designed and successfully filled masonry system. Its benefit depends on the existing units and mortar, continuous grout paths, reinforcement, wall connections, foundation, and loads. Structural masonry grout is intended to bond reinforcement and masonry within that system; it is not a generic way to make an unknown wall safe.
First identify whether the wall is hollow, partially or fully grouted reinforced masonry, dry-stack or surface-bonded construction, a veneer, a freestanding garden wall, a retaining wall, a basement wall, a shear wall, or load-bearing. Record its block thickness, height, bond pattern, openings, pilasters, bond beams, wall returns, and accessible cell locations. Also identify actual loads: retained soil or water, wind, seismic demand, roof or floor reactions, vehicle surcharge, or a proposed new load.
Typical DIY-friendly scenarios
A small, sound, non-load-bearing garden-wall infill may be a manageable DIY placement task only after the wall is confirmed stable and the intended work does not alter structural behavior or require reinforcement. Even then, use a product appropriate for masonry cores and follow its current instructions.
DIY work is more reasonably limited to documenting dimensions and defects, photographing accessible cells, removing loose debris from an approved grout path, protecting adjacent finishes, and cleaning splatter. Do not treat a wall as nonstructural merely because it is short or because its purpose is unclear.
Scenarios that usually require a professional
Get an engineer or qualified masonry professional before work on a load-bearing, retaining, basement, tall, freestanding, flood-exposed, or seismic-resisting wall. The same limit applies to walls with unknown reinforcement or footing connection, limited core access, thin or damaged face shells, active water issues, structural cracking, or any need for temporary bracing, scaffolding, post-installed bars, or dowels.
Do not work beside a leaning, bulging, actively moving, or inadequately supported wall. Grout pressure and added weight can worsen an existing instability rather than correct it.
Codes, Permits, and When to Consult an Engineer
Changing a wall’s structural behavior can trigger permit, design, inspection, and documentation requirements. Ask the local building department whether the work is considered a structural alteration, whether homeowner work is allowed, and whether sealed drawings or special inspection are required. Keep the answer, approved drawings, product data, and inspection records with the project.
Check Permits and Code Compliance
- Describe the actual wall: its location, height, use, damage, retained soil or water, and any intended new loads.
- Ask what must be submitted: permit application, drawings, engineering, product information, and inspection schedule.
- Confirm the approved scope: do not assume that repairing mortar joints authorizes structural grouting, reinforcement, or drilling into concrete.
When to Consult an Engineer for a Stamped Design
Engineering is needed where grout is expected to strengthen the wall, change load paths, connect the wall to a footing or slab, resist soil or water pressure, support a roof or floor, or address observed distress. The design must establish bar size and grade, cell spacing, cover, clear grout space, splice and development requirements, anchorage, grout type, placement sequence, bracing, and verification. These values are project-specific; there is no safe universal “30 bar-diameter lap” or “12-inch dowel” rule.
Post-installed reinforcing bars are structural connections, not ordinary holes to fill with adhesive. Their design depends on the existing concrete’s condition and thickness, reinforcement, edge distances, spacing, loads, and the approved anchoring system. Post-installed reinforcing-bar design requires different considerations from ordinary anchor design. Do not drill, cut, scan around, or add dowels to an existing footing or slab until utilities, embedded steel, dimensions, and the engineered detail have been verified.
Tools and Materials Checklist for Grout-Filling a Block Wall
Gather equipment only after the design, placement method, and product are selected. The required tools may include a suitable grout mixer; bucket, chute, pump, or other placement equipment; approved cleanout forms and leakage control; specified bar positioners; and approved consolidation equipment when conventional grout requires it. Larger placements need equipment that can deliver grout without segregation.
Essential tools and safety equipment
- Inspection and access tools: flashlight, camera, measuring tools, and only the approved means of opening, cleaning, or closing cells.
- Placement equipment: sized for the approved pour route, working height, and batch volume; do not improvise pressurized placement into an unknown wall.
- Protection and cleanup: forms or seals for authorized openings, covers for adjacent finishes and drains, brooms, buckets, and disposal arrangements for cementitious waste and wash water.
- PPE: impervious gloves, eye protection, protective clothing, and dust or respiratory protection selected from the product safety data sheet. Cementitious grout can injure skin and eyes and create harmful dust during handling.
Grout types and material specs to verify
For structural masonry work, use the specified fine or coarse structural masonry grout that complies with the project specification, applicable code, and ASTM C476, or an approved self-consolidating masonry grout. Fine versus coarse grout is a design and clear-space decision, not a finish choice.
Do not substitute tile grout—sanded or unsanded—polymer-modified tile grout, acrylic grout, or non-shrink precision grout for structural masonry grout unless the licensed designer specifically approves that exact product and use. Confirm the product’s permitted water range, minimum clear grout space, placement limits, consolidation method, curing requirements, and hot- or cold-weather instructions before delivery.
Preparing the Wall: Inspection, Repairs, and Cleaning
Assess stability before preparation. Map accessible cells, existing grout, visible reinforcement, wall-to-footing and wall-to-roof or floor connections, openings, intersecting walls, cracks, displacement, corrosion, moisture, and previous repairs. Visually aligned openings do not prove that cells are continuous from top to bottom.
Remove finishes, soil, coatings, loose material, or obstructions only where the approved detail allows. Access openings and cleanouts must be located so they do not compromise the wall and so the intended grout path can be cleaned and inspected. Protect openings, utilities, drains, occupied areas, and adjacent finishes from leakage before grout arrives.
Inspecting block units, joints, and foundations
- Check both wall faces: note new, widening, stepped, horizontal, or diagonal cracks; leaning; bulging; rotation; displaced units; and deteriorated joints.
- Check the base and connections: look for a cracked or moving footing or slab, separation at the wall base, and failed roof, floor, or return-wall connections.
- Inspect accessible cores: use a flashlight to identify debris, obstructions, existing fill, water, or visible steel. Do not assume unseen cells match the cells you can see.
- Investigate moisture: identify active leaks, retained water, drainage failures, efflorescence, corrosion staining, and wet soil before proceeding.
- Document rather than diagnose by tapping: tapping or probing may reveal an obvious anomaly, but it cannot verify continuous filling, reinforcement position, bond, or structural capacity.
Stop and obtain professional direction for significant cracking, loose or displaced units, foundation distress, corrosion, movement, or uncertain load paths.
Cleaning, wetting, and sealing openings
- Clean the approved grout path: brush or vacuum loose debris where access is authorized; do not force tools into unknown cells or disturb existing reinforcement.
- Address obstructions: loose fill, incompatible material, and blocked cells require evaluation rather than guesswork. Do not assume existing grout or mortar must be removed or can safely remain.
- Follow the product instructions on pre-wetting: do not automatically saturate cavities or add standing water. Requirements vary by grout and existing masonry condition.
- Control leakage: install approved temporary forms or seals and protect drains and finishes. Confirm that the wall can resist the proposed construction pressure before placement.
Reinforcement Planning: Rebar, Bond Beams, and Dowels
Reinforcement can improve tensile and lateral performance only when it is designed, positioned, developed, grouted, and connected as part of the complete wall system. An engineer’s drawings—not generic advice—must state where vertical and horizontal bars, bond beams, dowels, and connections go and how forces reach a footing, return wall, roof, or floor diaphragm.
Selecting Reinforcement and Layout Principles
Before closing any approved access opening, verify the detail’s bar size and grade, cell locations, cover, clear grout space, position control, laps, development, anchorage, and required inspection. Lap splice and development lengths depend on bar diameter and grade, masonry and grout strength, cover, confinement, splice location, loading, and the adopted code. Do not use a rule of thumb.
Integrating Dowels and Tying into Footings or Slabs
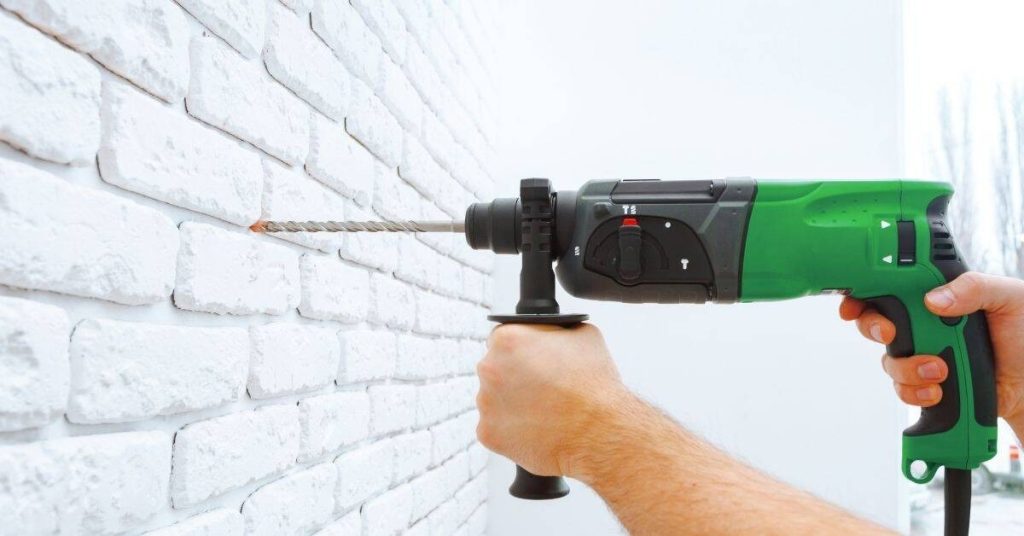
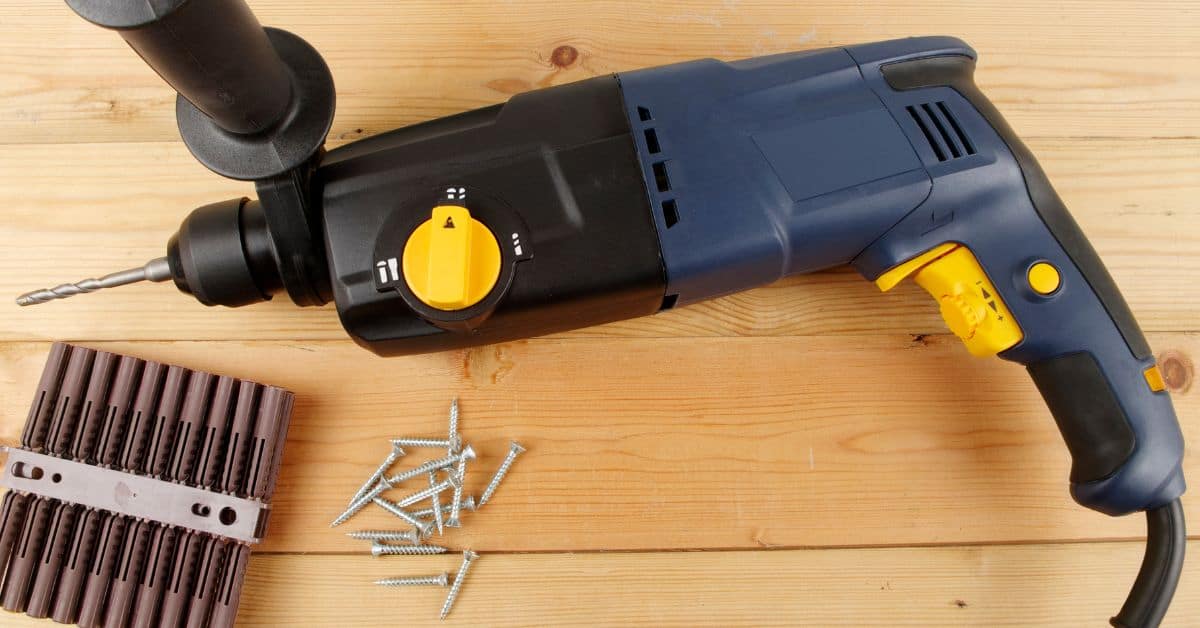
Do not drill into an existing footing or slab based on a presumed embedment depth. A footing may be too thin, damaged, poorly located for the proposed load, or reinforced where drilling would be unsafe. Verify utilities, embedded reinforcement, concrete condition, thickness, edge distance, and the footing’s ability to transfer the intended forces before any drilling. Install only the engineered post-installed bar system and exactly to its approved cleaning, adhesive, curing, and inspection requirements.