
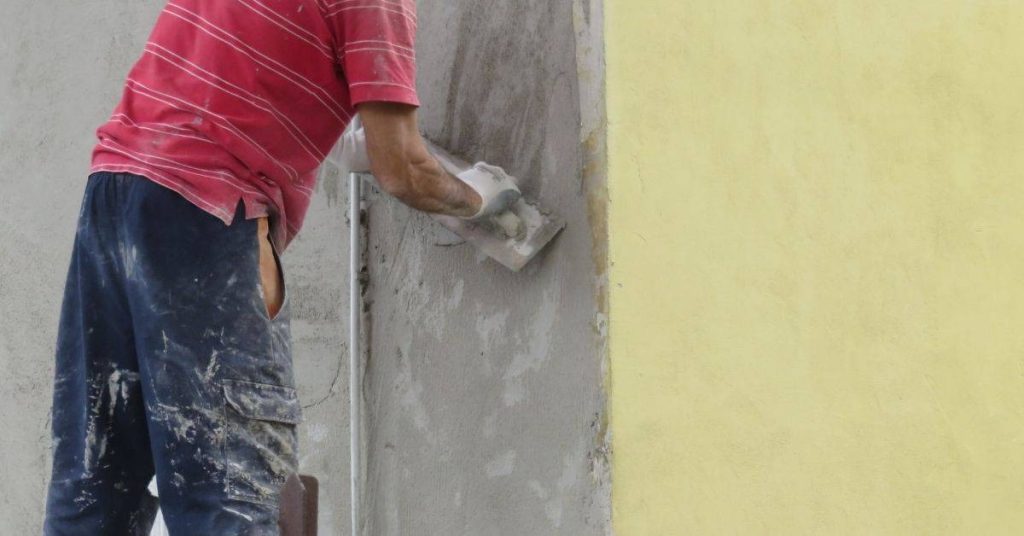
Introduction
This article covers how to stop parapet leaks with stucco through coping caps and top-edge detailing. You’ll approach this as a hands-on project, not a textbook lesson. Expect practical steps you can check on site and adjust for your wall setup.
Plan for proper flashing, sealants, and coping cap installation, and verify what your materials require. Check product labels and manufacturer instructions, and follow any local code or weather guidance. If in doubt, consult the best practice for your climate and wall assembly and schedule time for curing and inspection.
Key takeaways
- Inspect parapet top for cracks, rust, or loose coping before stucco work.
- Choose coping caps with slope and proper flashing integration per manufacturer guidance.
- Integrate flashing into stucco wall interface to shed water away.
- Detail top-edge stucco to prevent cap water intrusion and cracking.
- Follow retrofit or new-construction checklists; document exact sequence and cures.
- Schedule inspections after rain, after plaster cures, and during annual wear checks; safety first.
Table of Contents
- Introduction
- Key takeaways
- Why Parapet Tops Leak — Common Failure Modes
- Design Principles for a Watertight Parapet Top
- Coping Cap Types and Material Selection
- Flashing and Waterproofing Integration with Stucco Walls
- Top-Edge Stucco Detailing and Interfaces
- Step-by-Step Retrofit and New-Construction Detailing Checklist
- Common Installation Mistakes and Troubleshooting Leaks
- Inspection, Maintenance Schedule, and Visual Checkpoints
- Conclusion
- FAQ
Why Parapet Tops Leak — Common Failure Modes
Parapet tops fail for several practical reasons that you can see and feel. Water often finds its way in at cap joints, through cracked stucco, or where flashing isn’t tied to the wall plane. You’ll notice staining, damp patches, or efflorescence near the parapet as symptoms begin to show.
Wind-driven rain, ponding on the cap, and thermal movement accelerate leaks by stressing seals and joints. Look for loose caps, open joints, or lines where water appears to back up and creep into the wall assembly. Different failure modes tend to interact, so inspect the entire detail rather than just the obvious leak spots.
Typical leak pathways and visual clues
Water finds its way into parapets through several common entry points. Inspect these areas both inside and out to spot leaks.
Cap joints: Check for cracks, gaps, or missing sealant. Water can seep in here and travel downwards.
End dams: These are the vertical edges of the parapet wall. Cracks, delamination, or poor installation can lead to leaks at these points.
Through-wall flashings: Flashing should direct water outwards and away from the wall. If it’s damaged, improperly installed, or missing, water can enter through here.
Delaminated stucco: Stucco that has separated from its substrate can allow water to penetrate behind it and into the parapet.
How materials and detailing interact to fail
Choosing the right materials and understanding how they work together is crucial for a durable, leak-free parapet. The wrong choices can create stress points and seal failures.
- Cap material: Using a rigid cap on a flexible stucco wall can cause cracking at the interface due to thermal movement. Spec: use a flexible cap or one with built-in expansion joints.
- Stucco type: Traditional three-coat stucco is more prone to cracking than one-coat systems. Spec: consider a one-coat system for parapets.
- Sealant: Using a low-quality or incompatible sealant can lead to failures at cap joints. Spec: use a high-quality, compatible, and UV-resistant sealant.
- Flashing material: Some flashings are more susceptible to corrosion or damage than others. Spec: use durable, long-lasting materials like stainless steel or copper.
- Detailing at cap termination: Incorrect detailing at the top of the parapet can allow water to pond and find its way in. Spec: ensure proper sloping and diversion details are used.
Design Principles for a Watertight Parapet Top
Start with the goal of shedding water away from the wall and directing it toward a safe termination. The details should stay secure under wind and thermal movement. Do not rely on a single seal as the sole protection against leaks.
In practice, build redundancy into the system. Provide clear drainage paths and secondary containment where water could accumulate. Ensure terminations are solid and tied into the wall with compatible flashing and barriers.
Slope, overhang, and drip details
The key to a watertight parapet top is minimizing water contact with the wall. Here’s how:
Slope: Create a slight slope (1/4″ per foot) away from the building. This directs water off the coping cap and prevents it from sitting on the surface.
Overhang: Ensure your coping cap has enough overhang to keep water from running down the face of the parapet. A minimum of 2″ is recommended.
Drip edge: Include a drip edge at the end of the coping cap to prevent water from wicking back up under the stucco. If retrofitting, check existing conditions and adjust as needed.
Movement accommodation and termination transitions
Parapets expand and contract with temperature changes and structural movement. Here’s how to accommodate this:
Joints: Install control joints in the stucco at intervals (every 8-10 feet) to allow for expansion and contraction.
Flexible sealants: Use flexible sealants at transitions between copings, end dams, and stucco. This allows movement without breaking the seal.
Backer rods: Insert backer rods into joints before applying sealant to maintain a consistent joint width and prevent overfilling.
Coping Cap Types and Material Selection
Common coping options include metal, precast concrete, stone, and fiber cement. Each type has different durability and maintenance needs when used with stucco. Compatibility with the wall and environmental exposure should guide your choice.
Always check manufacturer instructions and product labels for guidance on installation, expansion requirements, and recommended coatings or sealants. Verify what the spec says about movement joints and weather resistance before committing to a material.
Metal copings — profiles, coatings, and compatibility
Metal coping caps offer durability and longevity. Choose from various profiles like flat, beveled, or bullnose to match your design.
Coating is crucial for corrosion resistance. Galvanized steel, aluminum, or stainless steel are common choices. Painted metal may need periodic touch-ups.
Detail laps, expansion joints, and end dams properly to prevent water intrusion. Overlap laps and seal with a suitable caulk. Use neoprene washers at screw holes to maintain the seal.
Non-metal copings — concrete, stone, and composite options
Heavier materials like precast concrete, natural stone, or fiber cement provide a robust look. They’re compatible with stucco but need proper integration.
Secondary drainage is essential for porous materials to prevent water buildup behind the coping. Install a drip edge and weep holes at the bottom of the coping to allow water to escape.
Concrete and stone copings may require additional support due to their weight. Ensure your wall can handle the load. Regular cleaning is needed to remove dirt and debris from porous surfaces.
Flashing and Waterproofing Integration with Stucco Walls
Flashing must be integrated with the parapet and stucco to create a continuous drainage plane. Through-wall flashing and concealed fasteners help minimize visible penetrations. Sealants should be compatible with both stucco and coping materials.
Wrap the barrier layers so that they tie into the coping details and extend to a visible drip or termination point. Do not rely on a single layer to stop water; ensure the system provides redundant paths for drainage. Always verify compatibility with WRB and local installation guides.
Through-wall flashings and termination points
Flashings must extend from the top of your wall, up under the coping cap. This directs water out and away.
Proper termination is crucial. Flashing should end with a visible drip or at a termination bar. Never let it stop flat.
Stucco goes over flashings, not under. Ensure your WRB (water-resistive barrier) is in place before you start stuccoing.
Sealants, adhesives, and backer rods — choosing the right system
At joints and transitions, use compatible sealants. They keep water out and bond to your coping and stucco.
Backer rods fill gaps before sealing. Choose a size that fits snugly but lets you still apply pressure evenly with your trowel or caulking gun.
Check compatibility. Ensure your sealant works well with your chosen coping material and stucco mix.
Top-Edge Stucco Detailing and Interfaces
The finish at the coping edge should be clean and continuous to prevent cap-driven stress. Use anchor beads, reglets, and proper scarification where required to create controlled joints. Control joints help accommodate movement without opening new leak paths.
Inspect the interface where stucco meets the coping and sealants. Ensure the joint is properly backed and that sealant placement won’t trap water. When in doubt, confirm with the stucco and coping manufacturers about compatible detailing.
Reglet and receiver details for copings
The reglet is a crucial detail at the top edge of your stucco wall. It’s a horizontal groove that receives the coping’s flashing. Here’s how to do it right:
Placement: Install the reglet about 2 inches below the top edge of your wall. This allows for proper water runoff and keeps the reglet out of sight.
The receiver, or anchor bead, goes into this reglet. It’s a metal strip that holds the coping in place. Make sure it’s securely fastened with screws every 6 to 8 inches.
Control joints and crack mitigation near the top edge
Control joints are your first line of defense against cracking. They direct where cracks will form, preventing random cracking that could compromise your weather barrier.
Location: Install control joints every 6 to 8 feet along the top edge of your wall. Run them vertically down from the reglet.
Use proper reinforcement in these areas. Embed a vertical rebar into the joint every 12 inches for added strength. This will help prevent cracking and keep your stucco looking good for years to come.
Step-by-Step Retrofit and New-Construction Detailing Checklist
Plan with a logical sequence that covers design, inspection, removal, and installation tasks. Verify material specs and local code requirements before starting. A clear plan helps keep the project watertight from the first day.
During retrofit, inspect existing flashing and joints and replace worn components. For new construction, install the drainage path and flashing first, then finish the stucco to integrate the coping. Always cross-check against manufacturer instructions and local rules before work begins.
Step-by-Step Process
Use this checklist for both retrofit and new construction parapet detailing. It ensures a watertight finish, protecting your structure from leaks.
- Preparation: Check weather forecast, gather tools, and set up safety measures like barriers around work area.
- Safety check: Ensure no live electrical lines or other hazards near work zone. Wear appropriate PPE.
- Remove old coping (retrofit): Carefully pry off existing coping using a flat bar, preserving it if reusable.
- Inspect substrate (new construction): Ensure concrete is cured and structurally sound before proceeding.
- Install WRB and flashing: Apply water-resistive barrier and flashing according to manufacturer’s instructions. Seal all seams and edges.
- Set coping: Position coping on proper seats, ensuring it’s level and plumb. Use shims if necessary.
- Seal joints: Apply appropriate sealant to coping joints, following manufacturer’s guidelines for application and tooling.
- Finish stucco termination: Install reglet or receiver detail, then apply top coat of stucco, ensuring it’s flush with coping.
- Cleanup: Remove all debris, dispose of materials properly, and inspect work area for any missed spots.
Quick rule: Always double-check your work. A few minutes spent re-inspecting can save hours in rework later.
Pre-work inspection and moisture diagnosis
Before starting any work, inspect the para