Search Results for: weep

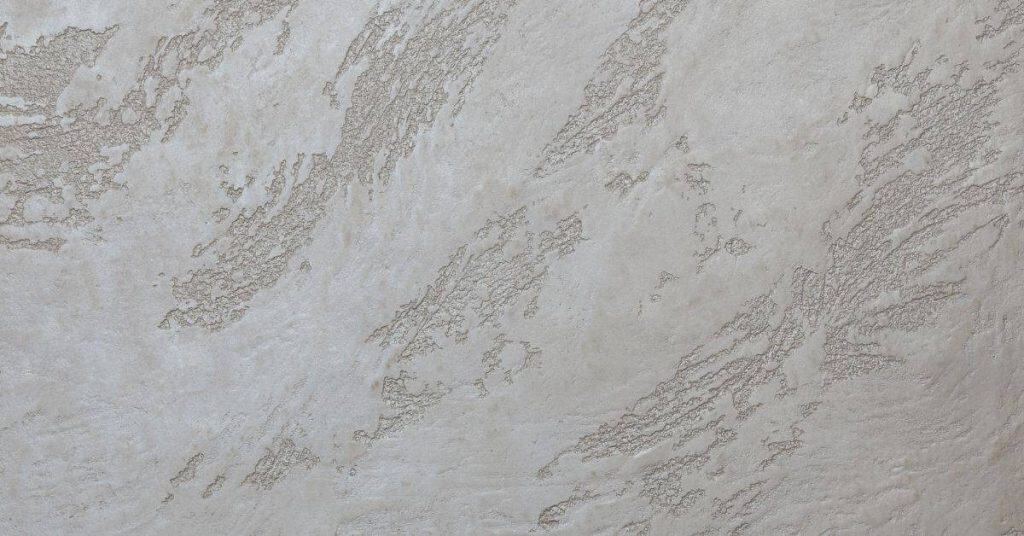
close-up of textured plaster wall with subtle sheen

Primers for Plaster Before Paint: What Stops Suction and Gives Uniform Sheen

Introduction Primers for plaster before paint are coatings that seal the surface and even out suction so paint goes on smoothly. In plain words, you dampen any dry areas, fill small flaws, and create a uniform base. Choose a primer labeled for plaster and follow the label for surface prep and drying times. Prepare the […]

Primers for Plaster Before Paint: What Stops Suction and Gives Uniform Sheen Read More »

Worker smoothing plaster wall wearing blue overalls and helmet

How to Test Painted Plaster Before Skim Coating

Introduction Before skim coating painted plaster, establish two separate things: whether the existing paint is firmly attached to the plaster, and whether your chosen skim product will bond to the prepared painted surface. A clean-looking wall can still have weak paint layers, contamination, gloss, moisture damage, or incompatible coatings. Related guidance: A Simple Test to

How to Test Painted Plaster Before Skim Coating Read More »

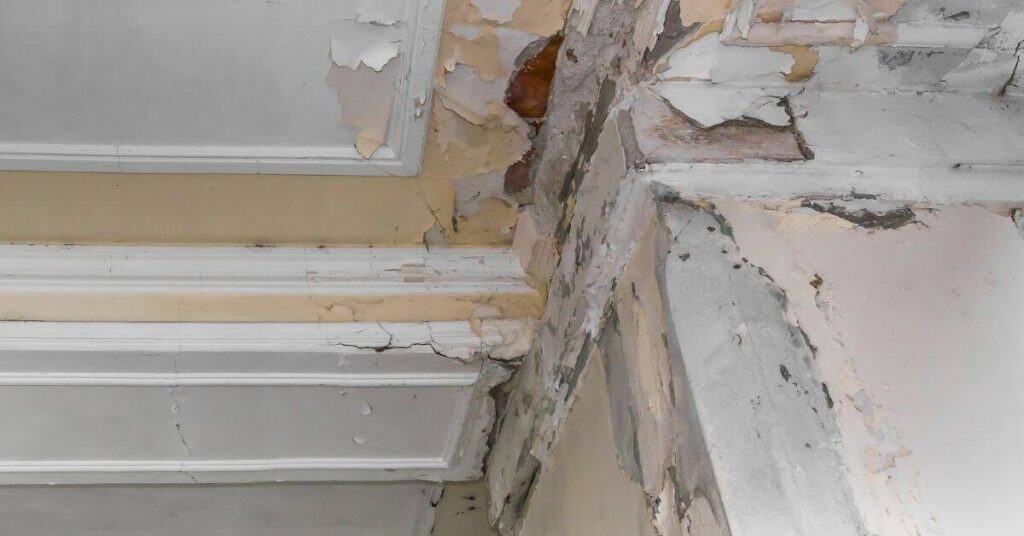
Cracked and peeling plaster near ceiling and crown molding

Repairing Water-Damaged Plaster: Drying Steps and What Must Be Cut Out

Introduction Repairing water-damaged plaster means removing the wet, compromised material and drying the area before patching. You should cut out all obviously damaged plaster and lath, and then dry the wall cavity with ventilation and heat as needed. Stay alert for mold, structural clues, and electrical hazards, and follow safe practices on the job site.

Repairing Water-Damaged Plaster: Drying Steps and What Must Be Cut Out Read More »

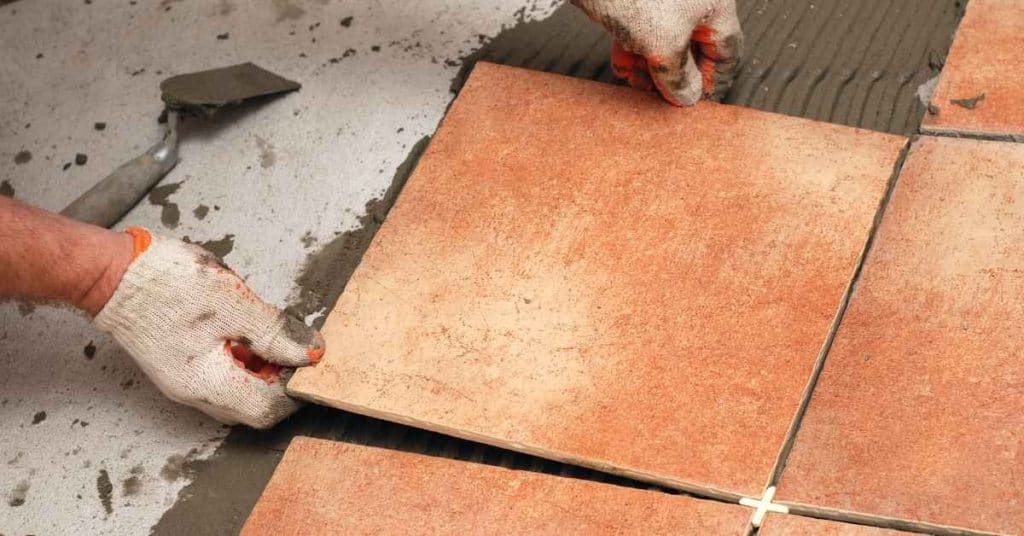
Hands installing square reddish ceramic floor tiles

Dealing with Bowed Tiles: Layout Tricks That Reduce Visible Lippage

Introduction Bowed tiles are not perfectly flat, so an edge or corner can sit higher than the neighboring tile. That height difference is lippage. Layout can make minor, acceptable bow less conspicuous, but it cannot make defective tile, poor mortar coverage, or an uneven substrate acceptable. Before setting tile, inspect representative pieces, check the substrate

Dealing with Bowed Tiles: Layout Tricks That Reduce Visible Lippage Read More »

Tools and open toolbox on wooden floor near damaged wall

Tile Cleaners That Damage Grout: What to Avoid and Safer Alternatives

Introduction Tile cleaners that damage grout are products that break down the cementitious grout or its seal, causing staining or crumbling. They can be overly acidic, abrasive, or leave residues that attract dirt. Always check labels and test on a small area first. Safer options include pH-neutral cleaners, mild dish soap with water, or grout-safe

Tile Cleaners That Damage Grout: What to Avoid and Safer Alternatives Read More »

Worn mallet resting on gray natural stone paving slabs

Sealing Natural Stone: How to Test Absorption and Avoid Blotchy Results

Introduction Sealing natural stone means applying a treatment to reduce absorption and prevent blotchy stains. This guide shows how to test how much liquid the stone takes in and how sealing changes that. Keep in mind that different stones behave differently and results depend on stone type and finish. You’ll learn a simple, real‑world test

Sealing Natural Stone: How to Test Absorption and Avoid Blotchy Results Read More »

Rubber mallet on tile floor with level tool nearby

Lippage at Outside Corners: How to Plan and Cheat It so It Looks Intentional

Introduction Lippage at outside corners happens when tile edges don’t line up cleanly at the corner. This guide explains how to plan the layout and adjust the cut to make it look intentional. Think ahead by dry-fitting pieces, marking where you will cut, and adjusting your layout to hide small gaps. Check local guidelines and

Lippage at Outside Corners: How to Plan and Cheat It so It Looks Intentional Read More »

Parapet Caps and Stucco: Where Water Gets in and How to Detail the Top Edge

Parapet Caps and Stucco: A Step-by-Step Timeline for Installation and Top-Edge Detailing

Introduction The installation of parapet caps is a critical step in protecting your building’s exterior from water intrusion. But how long does it take, and what are the key steps involved? In this guide, we’ll walk you through a detailed timeline for installing stucco parapet caps, ensuring that each stage is completed efficiently and effectively.

Parapet Caps and Stucco: A Step-by-Step Timeline for Installation and Top-Edge Detailing Read More »

Stucco Texture Options That Hide Repairs: Sand Float Vs Lace Vs Dash Vs Skip Trowel

Stucco Repair Timeline: Step-by-Step Guide to Hiding Repairs with Sand Float, Lace, Dash, and Skip Trowel Textures

Introduction Embarking on a stucco repair project? Understanding the timeline is crucial for planning your work efficiently. This guide walks you through the step-by-step process of hiding repairs using sand float, lace, dash, and skip trowel textures, ensuring you complete each task within the right timeframe. Whether you’re a seasoned DIYer or a first-timer, this

Stucco Repair Timeline: Step-by-Step Guide to Hiding Repairs with Sand Float, Lace, Dash, and Skip Trowel Textures Read More »