Search Results for: prime dusty plaster

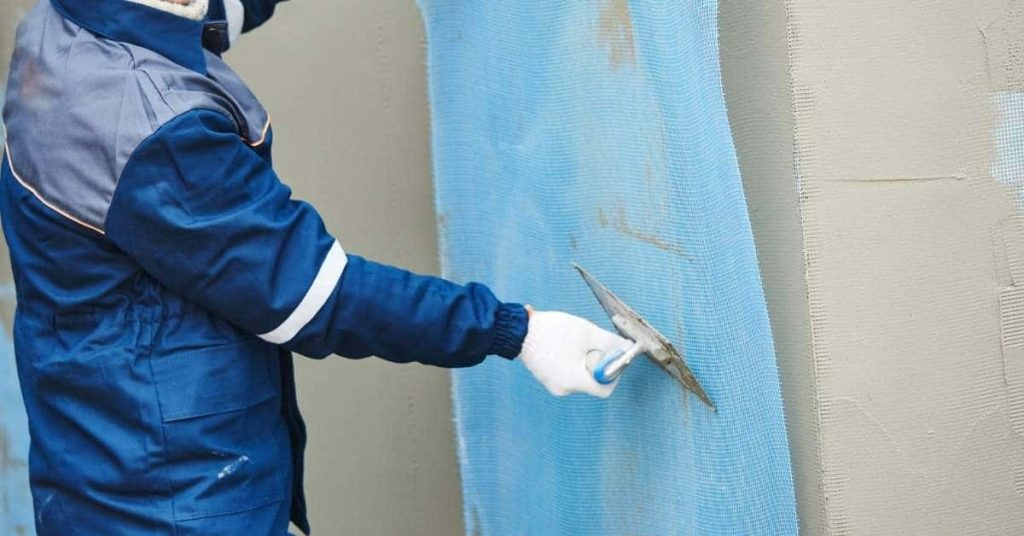
Man applying plaster over rough stone wall wearing gloves

Salts in Masonry Plaster: Efflorescence, Spalling, and Compatible Repair Materials

Introduction Salts in masonry plaster are soluble minerals that migrate to the surface as moisture moves through the wall, leaving white or powdery deposits called efflorescence and in worse cases causing spalling where the plaster flakes or crumbles. This usually comes from water intrusion, damp soils, or moisture wicking through masonry and carries salts via […]

Salts in Masonry Plaster: Efflorescence, Spalling, and Compatible Repair Materials Read More »
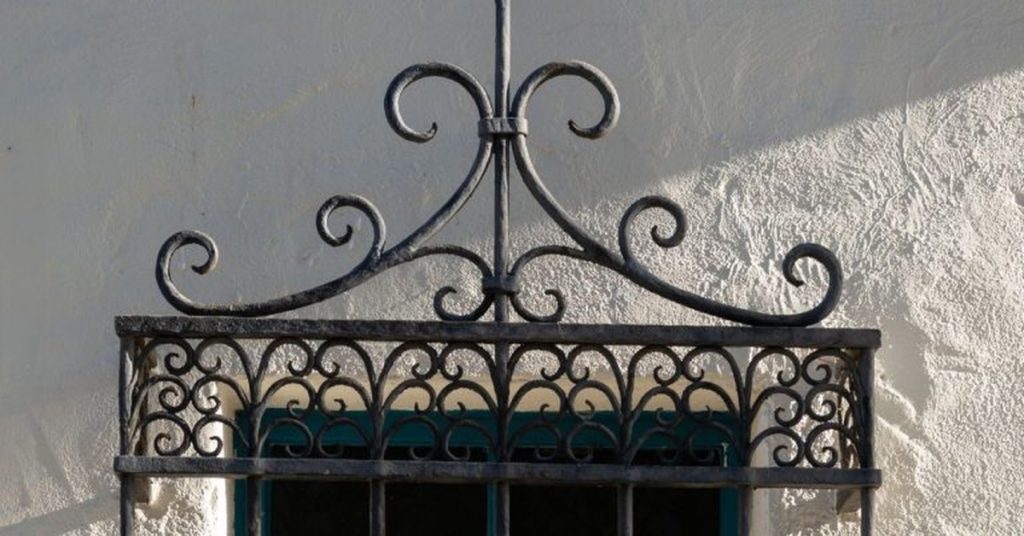
metal window grille on textured plaster wall

Fixing Rust Bleed Through Plaster: Metal Isolation and Stain-Blocking Strategy

Introduction Fixing rust bleed through plaster means stopping iron staining at the metal source and isolating it so stains don’t reappear through new finishes. In practice that means exposing the area, treating or replacing corroded metal, and using an appropriate isolation/stain-blocking primer before replastering or painting. Check product labels and manufacturer instructions for compatibility with

Fixing Rust Bleed Through Plaster: Metal Isolation and Stain-Blocking Strategy Read More »

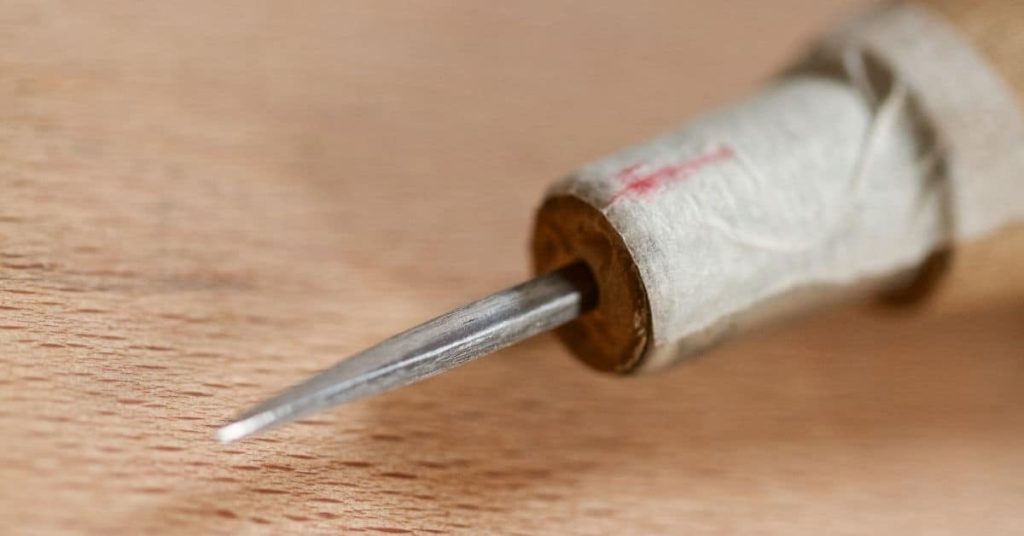
Close up of a pointed metal scratch tool tip wrapped in paper

Plaster Undercoats on CMU: Scratch Keys, Moisture Control, and Cure Timing

Introduction Plaster undercoats on CMU are the first bonded layers of cement or gypsum-based material applied to concrete masonry units to create a flat, sound surface for finish coats. They include types like cementitious scratch coats and bonding or leveling coats; check the product label and manufacturer instructions to pick the right one for your

Plaster Undercoats on CMU: Scratch Keys, Moisture Control, and Cure Timing Read More »

Green paint roller applying green paint on white wall

Plastering Over Old Calcimine Paint: Identification Tests and Bonding Fixes

Introduction Plastering over old calcimine paint means confirming the paint is the flaky, powdery lime-based finish that repels new plaster and then removing or treating it so plaster can bond. I’ll show simple tests to identify calcimine and practical fixes for adhesion problems you can do with common tools. If a product or spec matters,

Plastering Over Old Calcimine Paint: Identification Tests and Bonding Fixes Read More »

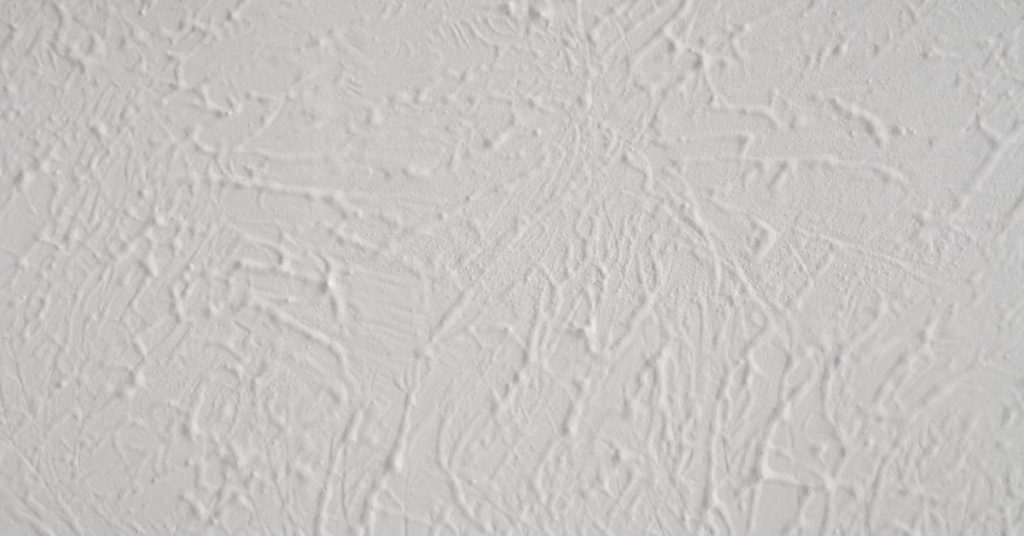
Close-up of textured white plaster wall finish

Plaster Feather Edges That Don’t Flake: Keying, Wetting, and Finish Timing

Introduction Plaster feather edges that don’t flake are thin finish edges keyed and bonded to the existing surface, wetted and timed correctly so the new plaster grabs without lifting. Check whether the area needs repair by tapping or scraping loose material and by checking for movement; if substrate is dusty, crumbling, or contaminated you must

Plaster Feather Edges That Don’t Flake: Keying, Wetting, and Finish Timing Read More »

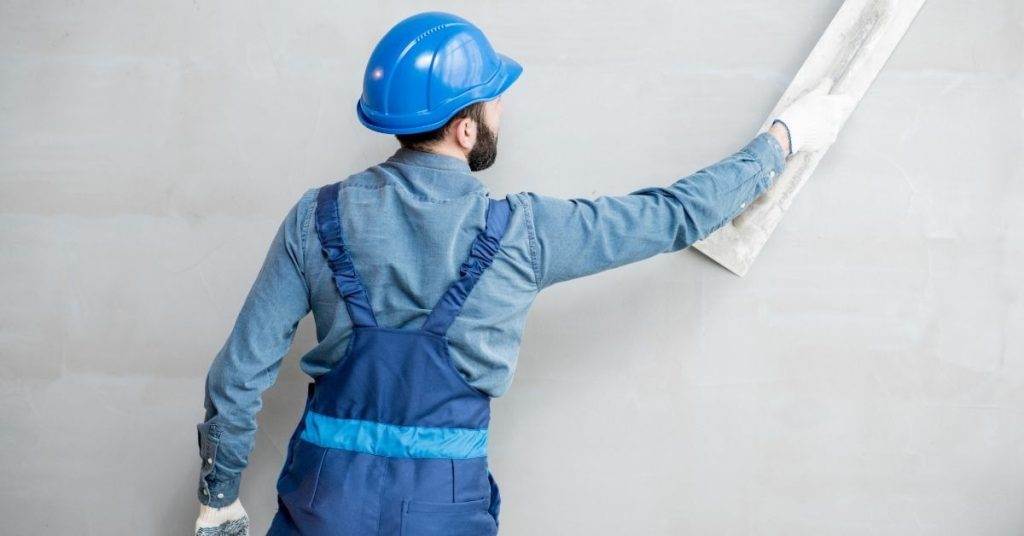
Construction worker smoothing plaster on wall wearing blue helmet

Repairing Polished Plaster Chips: Patch Blending Without Visible ‘Halos’

Introduction Repairing polished plaster chips means filling and feathering the damaged area so the patch matches surrounding sheen and texture without a visible ring. Start by cleaning and undercutting loose edges, use compatible repair material, and build thin layers that are troweled and polished to blend into the existing finish. Check product labels and manufacturer

Repairing Polished Plaster Chips: Patch Blending Without Visible ‘Halos’ Read More »

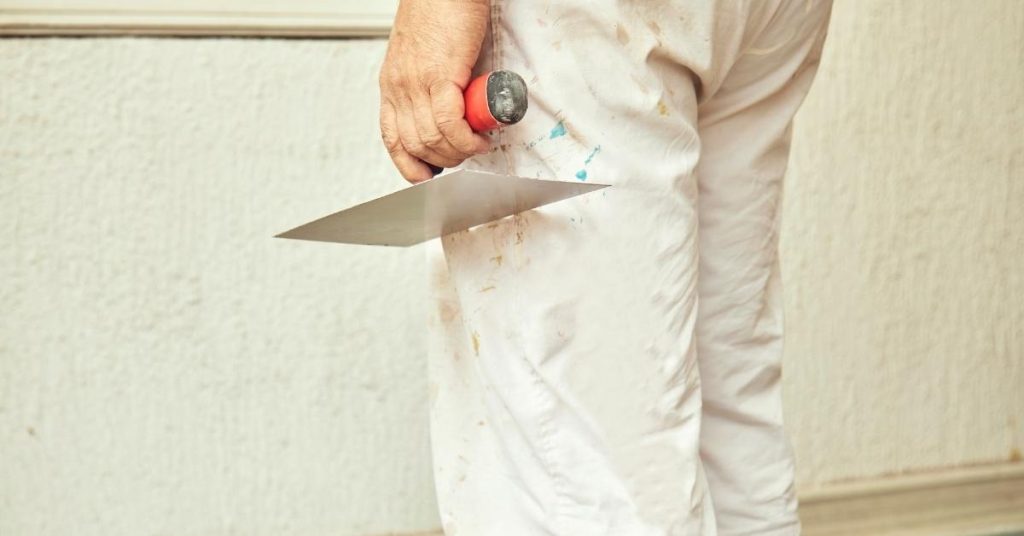
Hand holding plastering trowel against white wall background

Venetian Plaster Burnishing: Tool Choice, Timing, and How to Avoid Black Marks

Introduction Venetian plaster burnishing is the final rubbing of a polished plaster surface to compact and shine it using the right tools at the right moment. Pick flexible trowels or burnishers suited to your plaster type and check the product label for recommended tools, and make sure the base coat is dry and sound before

Venetian Plaster Burnishing: Tool Choice, Timing, and How to Avoid Black Marks Read More »

Worker applying plaster over blue reinforcing mesh on wall

Reinforcing Plaster at Material Transitions: A Step-by-Step Timeline to Avoid Telegraphing

Introduction Embarking on a DIY plaster reinforcement project? Understanding the timeline is crucial for successful results. Reinforcing plaster at material transitions involves careful planning and execution, with each step building upon the last. To avoid common mistakes and ensure your finished surfaces don’t telegraph through, follow this comprehensive step-by-step timeline tailored to your specific transition

Reinforcing Plaster at Material Transitions: A Step-by-Step Timeline to Avoid Telegraphing Read More »

Close-up of cracked and peeling veneer plaster on wall

Veneer Plaster Repairs: Step-by-Step Timeline and Duration Guide

Introduction Repairing veneer plaster can be a time-sensitive task, especially when dealing with cracks or holes that expose underlying structures to moisture and damage. This step-by-step guide walks you through the process from start to finish, helping you understand how long each stage takes so you can plan your repair timeline effectively. Whether you’re a

Veneer Plaster Repairs: Step-by-Step Timeline and Duration Guide Read More »

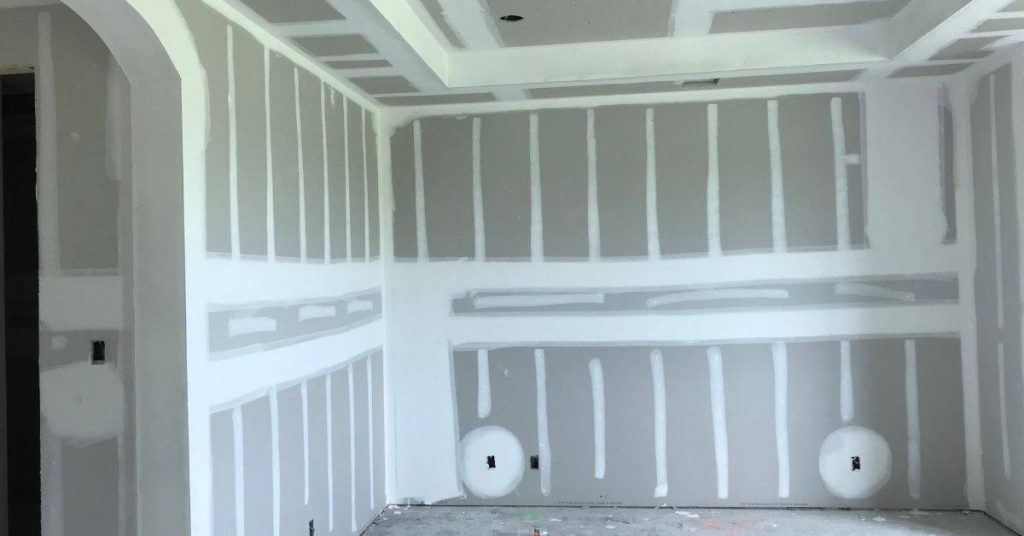
Interior room with drywall seams covered in joint compound

Plaster Over Blueboard: Timeline & Steps for a Smooth Finish

Introduction The process of applying veneer plaster over blueboard can seem daunting, but understanding the timeline and steps involved can help you plan your project effectively. This guide walks you through the duration of each stage, from preparation to finishing, ensuring you stay on track and achieve a smooth, professional-looking result. Before we dive into

Plaster Over Blueboard: Timeline & Steps for a Smooth Finish Read More »