Search Results for: finishing

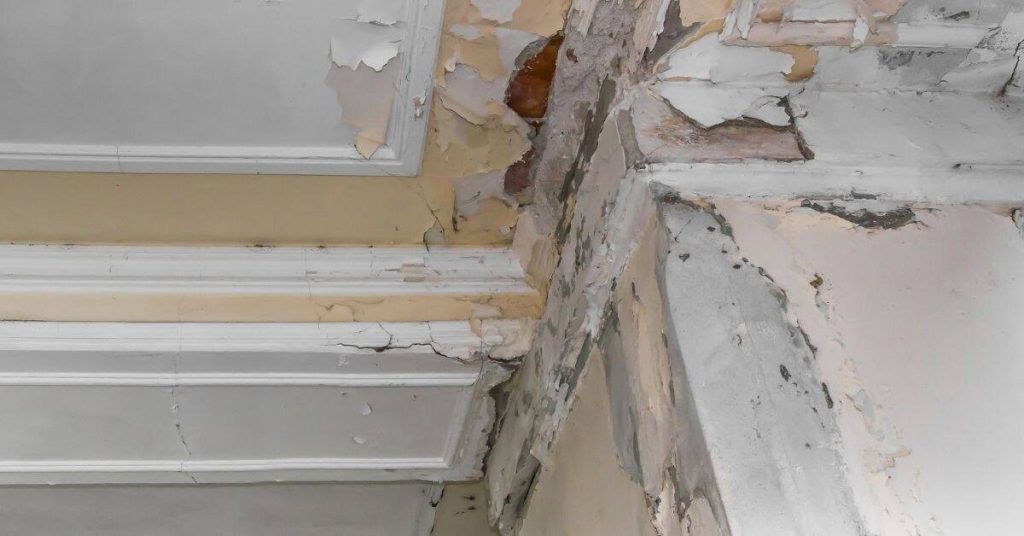
Close-up of cracked and peeling plaster ceiling with crown molding

Water-Damaged Plaster: What to remove, what to dry, and what to rebuild

Introduction Water-damaged plaster needs to be removed, dried, and rebuilt in a practical, step-by-step way. You’ll determine what to remove, what to dry, and what to replace based on how far the damage has spread. This article keeps the tone hands-on and avoids fluffy theory. Start by inspecting the area to judge how much material […]

Water-Damaged Plaster: What to remove, what to dry, and what to rebuild Read More »
Smooth white plastered ceiling with single hanging light bulb

Blistering Plaster Finish Coats: Causes and a cleaner re-skim approach

Introduction Blistering plaster finish coats are finish layers that lift or bubble because moisture or poor adhesion gets trapped under the surface. In DIY work, heat, humidity, or applying a coat too thick can start blisters. A cleaner re-skim approach means removing the loose skin and reflowing the coat while following the product’s instructions. Begin

Blistering Plaster Finish Coats: Causes and a cleaner re-skim approach Read More »

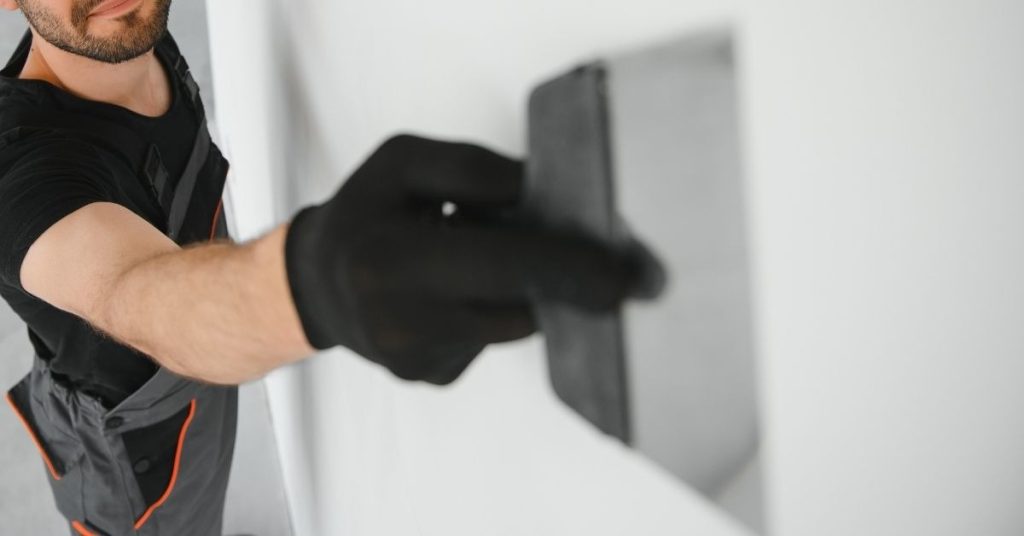
Worker smoothing plaster on wall with trowel

High-Suction Walls: Preventing plaster from flash-drying and tearing

Introduction High-suction walls pull moisture out of plaster too quickly, causing flash-drying and tearing. To work effectively, you need to control the wall’s thirst and pace your plastering. Keep the work steady and watch the surface for signs of fast drying. Control the suction by misting the wall lightly or using a wet bonding step

High-Suction Walls: Preventing plaster from flash-drying and tearing Read More »

Worker applying textured plaster with paint roller

Controlling Plaster Dry Time: Moisture management without soft surfaces

Introduction Controlling plaster dry time means managing moisture so the surface sets firm and doesn’t stay soft. In DIY work, you adjust humidity, ventilation, and application thickness to guide the cure. Keep an eye on how the room feels and how the plaster responds as it dries. Keep the work area within a steady temperature

Controlling Plaster Dry Time: Moisture management without soft surfaces Read More »

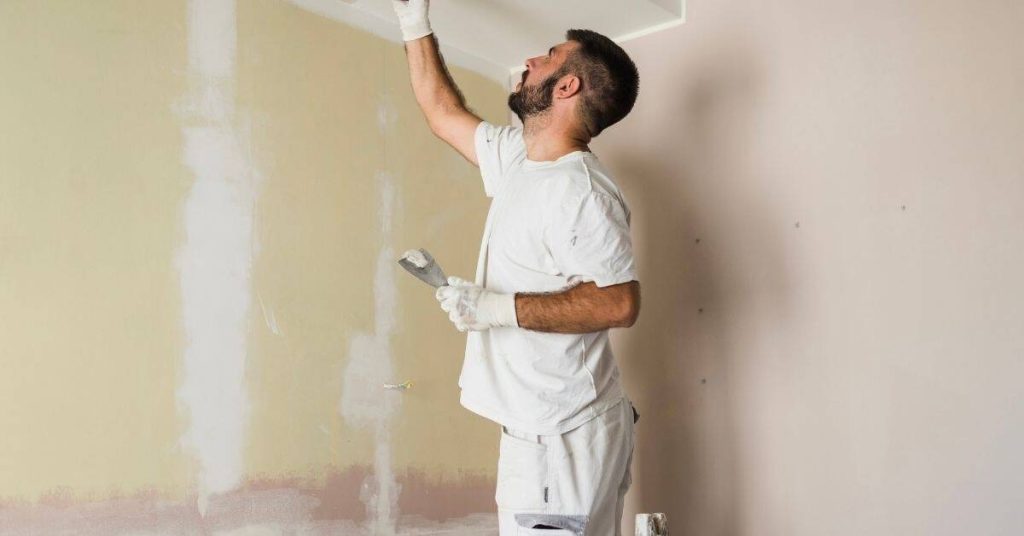
Man patching interior wall with plaster using putty knife

Patching Lime Plaster: Blending repairs without a color mismatch

Introduction Patching lime plaster is the process of repairing damaged areas so the new work matches the old finish. Work with lime plaster that matches the existing mix and color, and test color while it’s still workable to avoid a mismatch. Use feathered, gradual transitions and don’t overfill; the goal is a seamless repair. Prepare

Patching Lime Plaster: Blending repairs without a color mismatch Read More »

paintbrush resting on yellow paint bucket with roller tray and colorful paint buckets

Limewash Streaks: Preventing lap marks and uneven color

Introduction Limewash streaks are uneven color patches that appear as lap marks when the coating dries. This article explains practical, hands-on steps to prevent them while you’re working with limewash. You’ll learn simple checks and common-sense methods you can do on a DIY project. Start by preparing the surface well and applying limewash in consistent

Limewash Streaks: Preventing lap marks and uneven color Read More »

closeup of hollow clay bricks showing texture and edges

Repairing Roman Clay Scratches: Fixes that don’t leave shiny spots

Introduction Repairing Roman clay scratches means restoring the smooth, even look of the surface without creating new shiny spots. The goal is a natural finish that blends with the surrounding texture and tone. Start by evaluating the scratch, then choose a patching method that won’t leave a glossy patch and test it on a hidden

Repairing Roman Clay Scratches: Fixes that don’t leave shiny spots Read More »

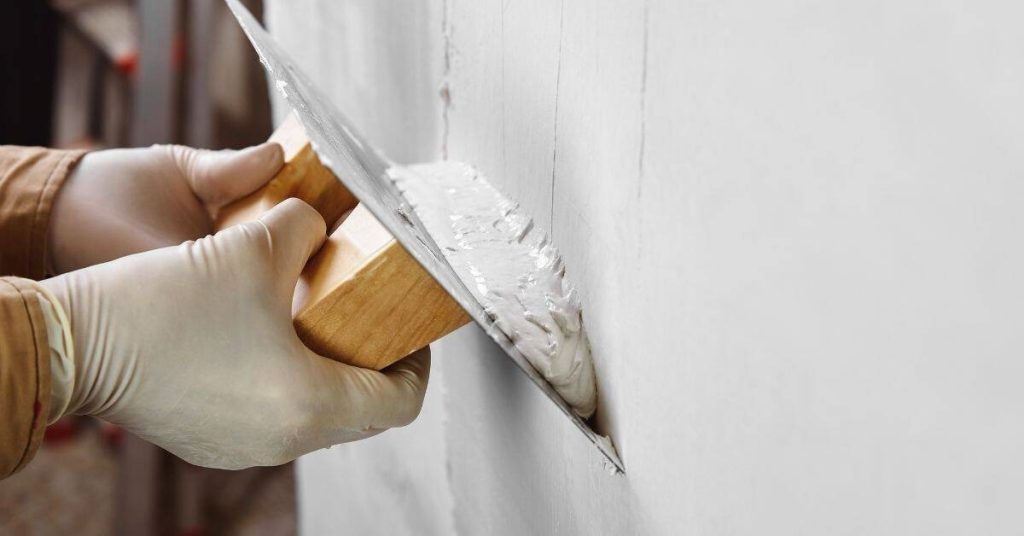
Hands applying plaster to wall with trowel and knife

Dark Trowel Lines in Polished Plaster: Why they appear and how to fix them

Introduction Dark trowel lines in polished plaster are color variations that show up where the finish was pushed or pulled during leveling. They happen when moisture movement, air pockets, or inconsistent setup affect pigment distribution. Keep in mind this is common in DIY work and can be corrected with careful technique. To fix them, work

Dark Trowel Lines in Polished Plaster: Why they appear and how to fix them Read More »

Hands applying plaster on wall with trowel

Pinholes in Venetian Plaster: Causes and application tweaks to prevent them

Introduction Pinholes in Venetian plaster are small surface holes that appear when the plaster or glaze dries with trapped air. They usually come from air pockets formed during mixing, application, or drying, especially if coats are too thick or work is too wet. Filling them after the fact is harder than preventing them. To prevent

Pinholes in Venetian Plaster: Causes and application tweaks to prevent them Read More »