Search Results for: control joint

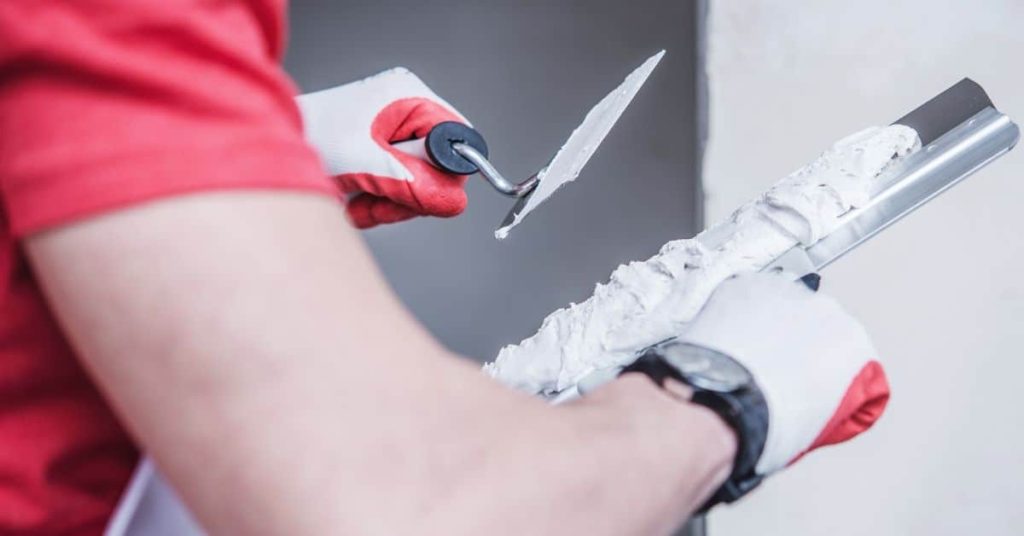
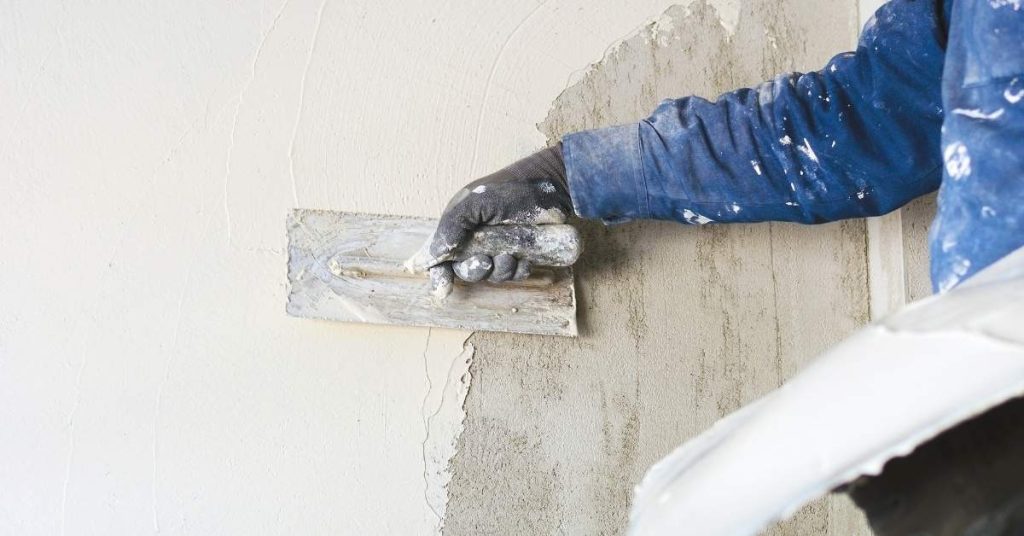
Hand applying plaster to wall with trowel

Veneer Plaster Repairs: Feathering, Timing, and Avoiding Hollow Spots

Introduction Veneer plaster repairs are the process of fixing damaged plaster by feathering new material into the old so the wall looks continuous and solid. This means assessing whether the existing veneer is well-bonded, cleaning and wetting the surface, and choosing a compatible patching mix and bonding method. I’ll focus on practical steps you can […]

Veneer Plaster Repairs: Feathering, Timing, and Avoiding Hollow Spots Read More »
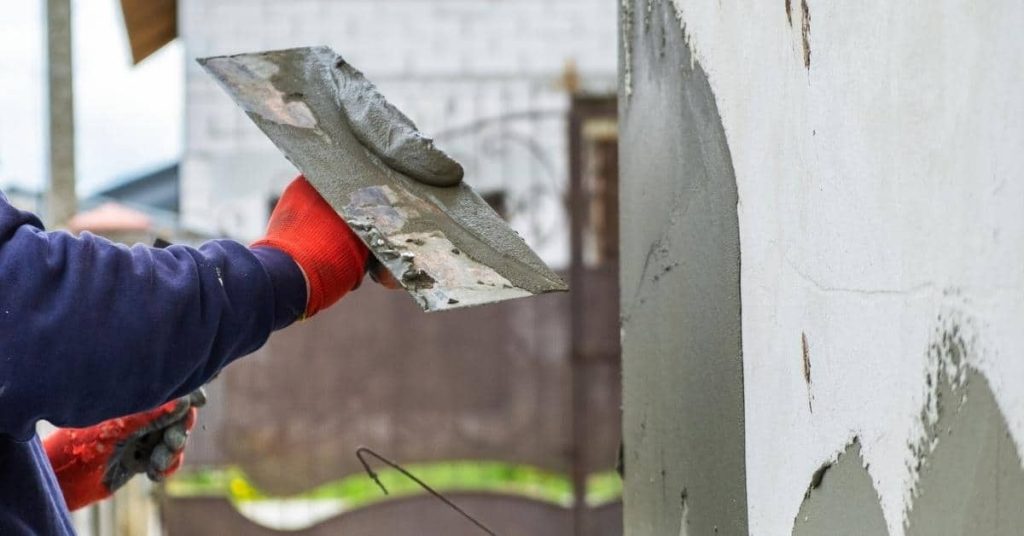
Worker applying stucco to exterior wall with trowel

Galvanic Corrosion at Stucco Accessories: Why Beads Rust and How to Stop Repeat Staining

Introduction Galvanic corrosion is a common issue that affects stucco accessories, particularly metal beads and trims. This process causes rust stains on your otherwise pristine exterior, marring its appearance and potentially leading to more serious damage over time. The good news? Understanding the cause of this problem can help you prevent it from happening again.

Galvanic Corrosion at Stucco Accessories: Why Beads Rust and How to Stop Repeat Staining Read More »

Hand with glove smoothing lime plaster on wall with straightedge

Microcracks in Lime Plaster: Normal Crazing vs Movement and How to Decide

Introduction Microcracks in lime plaster are usually small surface crazing that forms as the plaster dries and shrinks; they are often cosmetic and not a structural failure. Look at crack width, depth, and whether it goes into the substrate to decide; if unsure, check the product label or manufacturer guidance for allowed hairline cracking. In

Microcracks in Lime Plaster: Normal Crazing vs Movement and How to Decide Read More »

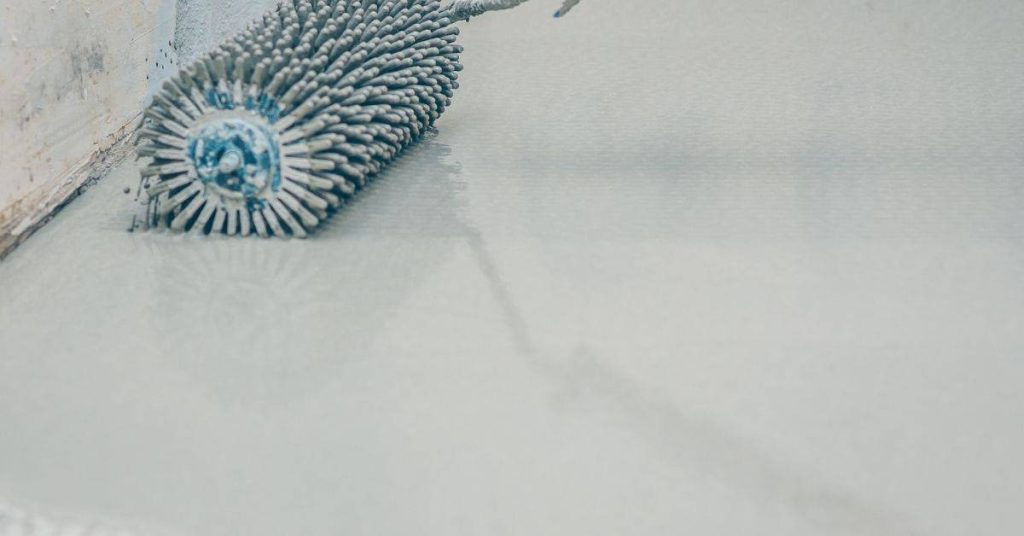
Spiked roller tool on wet floor coating surface

Polyaspartic Floor Coatings for DIY: Working Time, Odor, and Surface Prep Requirements

Introduction Polyaspartic floor coatings are fast-curing two-part coatings used to protect and finish concrete, and for a DIYer that means short working time, noticeable odor, and careful surface prep. Think like a tradesperson: plan your mixing and application in short, deliberate steps and check the product label for working time, recommended respirators, and substrate requirements.

Polyaspartic Floor Coatings for DIY: Working Time, Odor, and Surface Prep Requirements Read More »

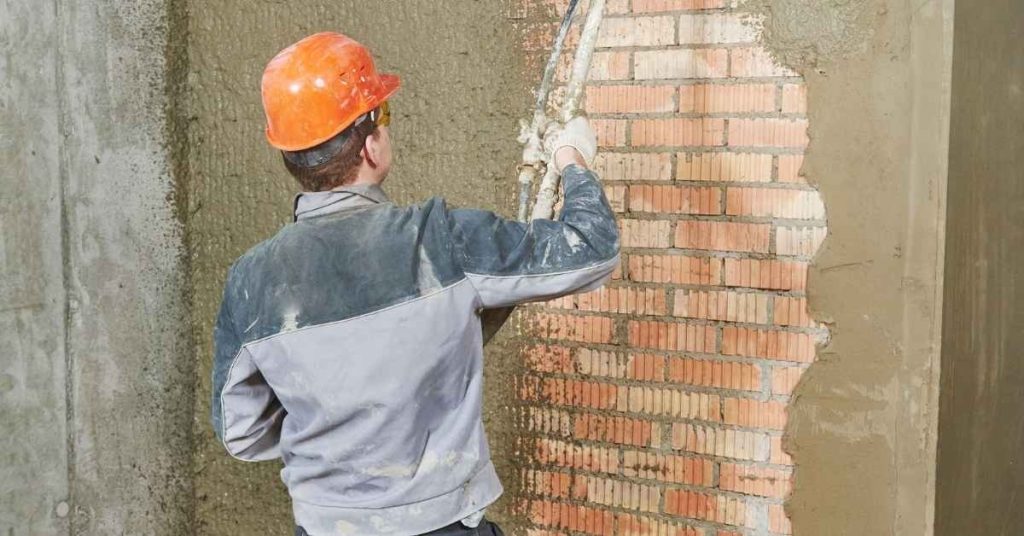
Worker applying stucco onto brick wall wearing orange hard hat

Rust Stains at Stucco Beads: Find the Cause and Make a Lasting Repair

Rust Stains at Stucco Beads: Start With the Source Orange or brown streaks at a stucco bead, casing bead, reveal, weep screed, or fastener do not prove galvanic corrosion. Ordinary corrosion of exposed or cut steel, water leaking from flashing, and rust bleeding from concealed lath can produce similar stains. Treat galvanic corrosion as a

Rust Stains at Stucco Beads: Find the Cause and Make a Lasting Repair Read More »

Open can of white paint and scattered pastel color swatch cards

Caulk and Paint Compatibility: Choosing Paintable Sealants That Don’t Crack

Introduction Paintable sealant compatibility means choosing a caulk that will accept paint without cracking, pulling away, or staying tacky once cured. In plain terms: pick a sealant labeled paintable and match it to the paint type you plan to use, and check the manufacturer’s instructions and recommended drying time. For DIYers, that means buying the

Caulk and Paint Compatibility: Choosing Paintable Sealants That Don’t Crack Read More »

Person holding plaster on hawk and applying with trowel

Restoring Plaster Picture Rails: A Step-by-Step Timeline to Preserve Shadow Lines

Introduction Preserving the original character of your home’s plaster picture rails involves careful repair and restoration. Understanding the timeline for this project helps you plan effectively, ensuring a successful outcome that maintains the shadow lines. From initial assessment to final touches, let’s break down the process into manageable steps, focusing on how long each task

Restoring Plaster Picture Rails: A Step-by-Step Timeline to Preserve Shadow Lines Read More »

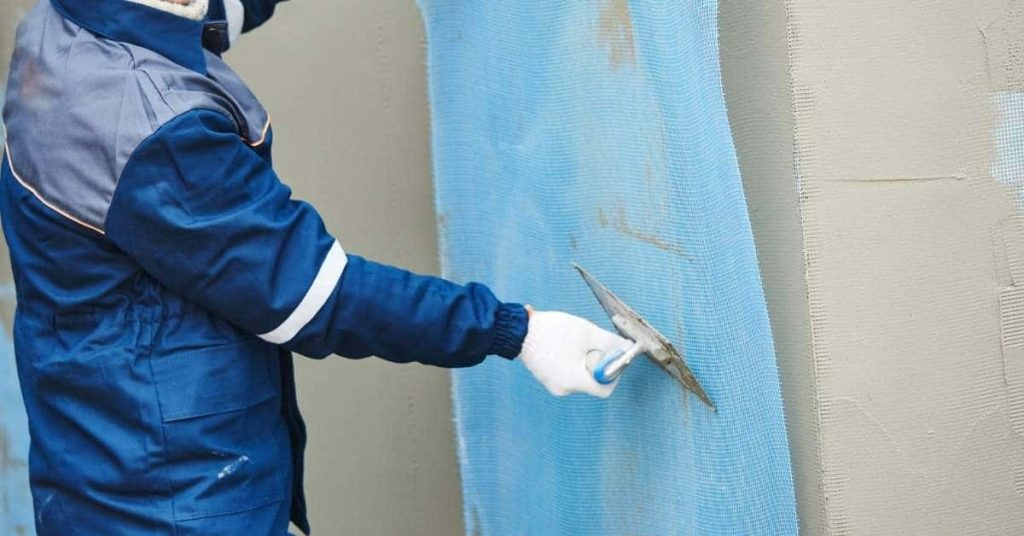
Worker applying plaster over blue reinforcing mesh on wall

Reinforcing Plaster at Material Transitions: A Step-by-Step Timeline to Avoid Telegraphing

Introduction Embarking on a DIY plaster reinforcement project? Understanding the timeline is crucial for successful results. Reinforcing plaster at material transitions involves careful planning and execution, with each step building upon the last. To avoid common mistakes and ensure your finished surfaces don’t telegraph through, follow this comprehensive step-by-step timeline tailored to your specific transition

Reinforcing Plaster at Material Transitions: A Step-by-Step Timeline to Avoid Telegraphing Read More »

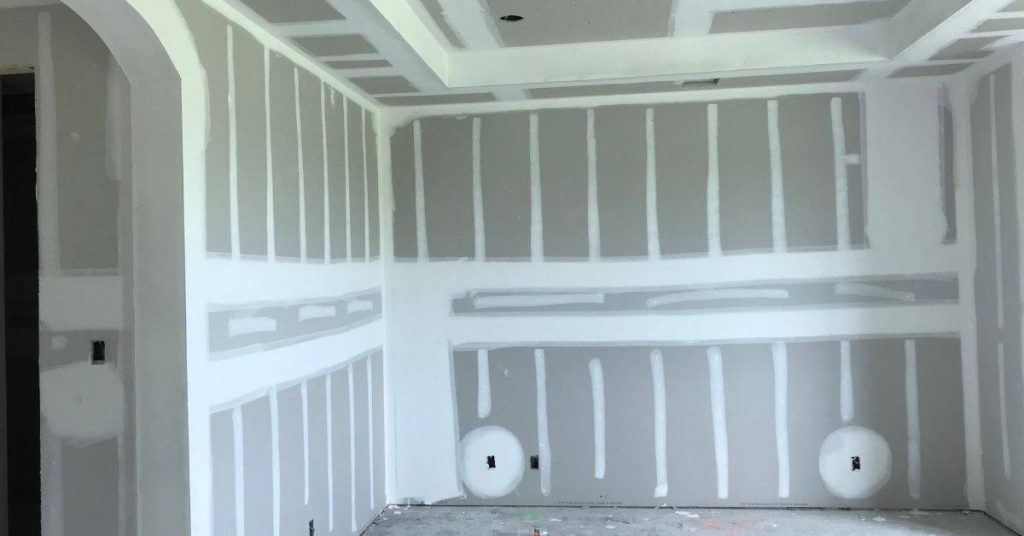
Interior room with drywall seams covered in joint compound

Plaster Over Blueboard: Timeline & Steps for a Smooth Finish

Introduction The process of applying veneer plaster over blueboard can seem daunting, but understanding the timeline and steps involved can help you plan your project effectively. This guide walks you through the duration of each stage, from preparation to finishing, ensuring you stay on track and achieve a smooth, professional-looking result. Before we dive into

Plaster Over Blueboard: Timeline & Steps for a Smooth Finish Read More »

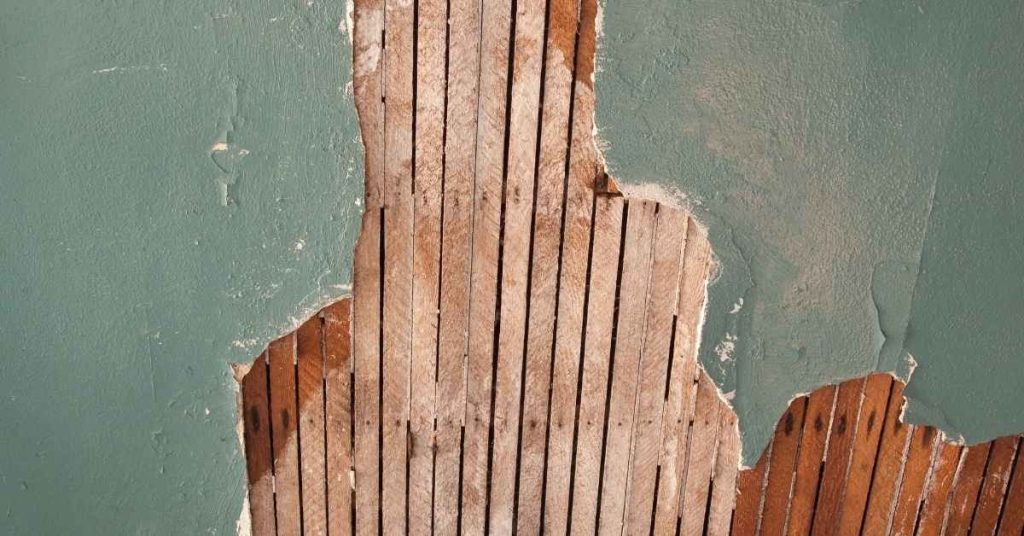
Exposed wooden lath behind partially damaged plaster wall

Plaster Key Failure on Wood Lath: Step-by-Step Repair Timeline and Duration

Introduction The timeline for repairing plaster key failure on wood lath can vary depending on the extent of damage, but understanding the process will help you plan effectively. This guide walks you through each step, from diagnosis to completion, with approximate time frames. Before starting, gather your tools and materials, ensuring everything is in good

Plaster Key Failure on Wood Lath: Step-by-Step Repair Timeline and Duration Read More »