
Introduction
A sealant for stucco joints is a flexible filler placed in joints with primer and backer rod to move with the wall.
It helps keep water out and avoids cracking as the stucco expands and contracts. Always check the product label for surface prep and curing times.
Proper tooling and backer rod selection make the sealant last. Use a backer rod suitable for the joint width and apply a smooth finish with a compatible tool and consistent pressure. For longevity, inspect substrate prep, follow manufacturer instructions, and confirm local rules.
Key takeaways
- Confirm primer, backer rod, and sealant compatibility with your stucco system.
- Place backer rod correctly to control sealant depth and prevent three-point joints.
- Tooling technique matters: tool edges, pressure, and finishing texture affect durability.
- Prepare substrates properly: clean, dry, and sound surfaces before sealant application.
- Check local codes and manufacturer instructions for primers and joint materials.
- Inspect joints regularly; wear PPE and repair cracks early to extend sealant life.
Table of Contents
- Introduction
- Key takeaways
- Why Sealing Stucco Joints Matters
- Types of Sealants and Complementary Products
- Tools and Materials Checklist
- Surface Preparation for Durable Bonds
- Joint Design and Backer Rod Placement Best Practices
- Step-by-Step Application: Primer, Sealant, and Tooling
- Common Mistakes, Troubleshooting, and Repairs
- Maintenance, Longevity Factors, and Cost Planning
- Conclusion
- FAQ
Why Sealing Stucco Joints Matters
Stucco joints are critical lines of defense on exterior walls. They seal against water intrusion, limit drafts, and help joints tolerate movement without cracking. A good seal preserves appearance as well as structure by preventing visible staining and interior moisture damage over time.
Backing rods and primers work together with the sealant to control depth, modulus, and adhesion. Skipping or misusing either can lead to premature failure, especially where substrates expand and contract with temperature and moisture cycling. Understand that improper seals invite water, air leakage, and hidden decay that may not be obvious until later repairs.
Common failure modes to watch for
Stucco joint sealants can fail over time, leading to water intrusion and energy loss. Here are common issues to look out for:
Adhesion Loss: Sealant peels or lifts off the surface, often due to improper priming or substrate prep.
Cracking: Fine hairline cracks or large gaps can appear due to insufficient elasticity, improper tooling, or movement stress.
UV Degradation: Prolonged sun exposure can cause sealants to harden, crack, and discolor. Some sealants are more UV-resistant than others.
How stucco joints differ from other substrates
Stucco presents unique challenges when it comes to sealing joints. Here’s why:
Porosity: Stucco is porous, meaning it absorbs water and moisture. This requires a sealant that can bridge this porosity without breaking down.
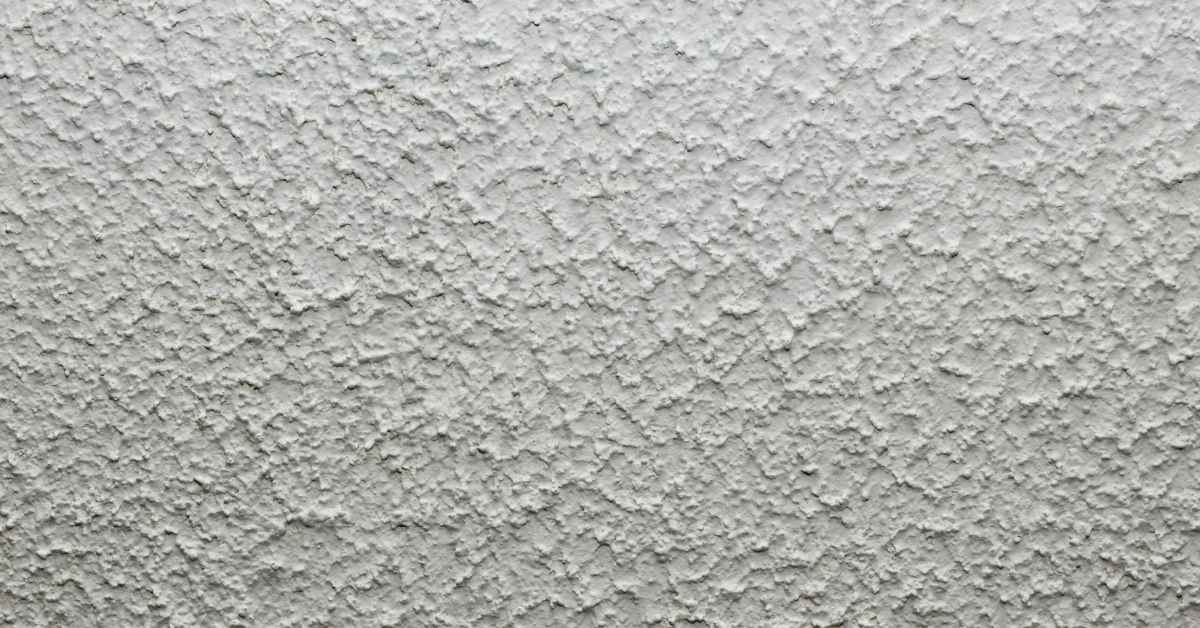
Texture: Stucco has a rough, textured surface. Sealants must adhere well to this texture and fill any voids effectively.
Movement: Stucco expands and contracts with temperature changes more than other substrates like concrete or brick. Sealants must accommodate this movement to prevent cracking.
Types of Sealants and Complementary Products
Sealant chemistries vary in performance and suitability for stucco joints. Silicone offers high elasticity and weather resistance, polyurethane provides strong adhesion and durability, and hybrids try to balance properties. Each type has typical project scopes and tradeoffs you should verify with product labels and manufacturer data before choosing.
Primer and backer rod are not afterthoughts. Primers improve adhesion on porous surfaces when required, while backer rods control joint depth and allow the sealant to perform within its designed movement range. Always check surface prep steps and compatibility notes in the data sheet before proceeding.
Sealant chemistries: pros and cons for stucco
The choice of sealant chemistry is crucial for your stucco joint’s longevity. Here are the main types, their advantages, and drawbacks:
Pros
- Silicone: Excellent weather resistance, movement capability, and paintability.
- Polyurethane: Superior adhesion, durability, and resistance to abrasion and chemicals.
- Silyl-modified: Combines the best of silicone and polyurethane, offering good adhesion, flexibility, and weathering resistance.
- Acrylic: Economical, easy to apply, and paintable. Suitable for interior joints with minimal movement.
- Polysulfide: Highly flexible, ideal for large movements but less durable than other options.
Cons
- Silicone: Can be difficult to paint and may not adhere well to all substrates without a primer.
- Polyurethane: Sensitive to moisture during application, requiring careful timing and weather conditions.
- Silyl-modified: More expensive than other options. May require a primer for optimal adhesion.
- Acrylic: Less durable and flexible than other options, not suitable for exterior or high-movement joints.
- Polysulfide: Prone to yellowing over time and has a strong odor during application.
Choose the sealant chemistry based on your project’s specific needs, considering movement, weather exposure, and budget.
Primers: when and why to use them
A primer can significantly improve adhesion and performance of your sealant. Use it in the following cases:
Porous surfaces: Primers help seal porous stucco, preventing excessive sealant absorption and ensuring a strong bond.
Dusty or contaminated surfaces: Primers promote better adhesion by creating a clean, uniform surface for the sealant to bond with.
Previously coated surfaces: Primers can help improve adhesion on existing coatings and prevent peeling or delamination. Before applying, perform an adhesion test: apply a small amount of primer, let it dry, then try to scratch it off. If it doesn’t peel easily, the surface is ready for sealant application.
Backer rods and bond-breakers explained
Backer rods and bond-breakers play a crucial role in controlling sealant depth and preventing three-sided adhesion, which can lead to joint failure.
Backer rods: These foam or polyethylene rods are inserted into the joint before sealant application. They control sealant depth, prevent overfilling, and allow for joint movement. Choose the right size based on your joint width and desired sealant depth. Most backer rods have a minimum compression (MA) rating; ensure it’s suitable for your project.
Bond-breakers: These thin, flexible strips or tapes are applied to one side of the joint before inserting the backer rod. They prevent three-sided adhesion, allowing the sealant to bond only to the substrate and backer rod. Choose between closed-cell (foam) or open-cell (sponge-like) options based on your project’s needs:
- Closed-cell: Ideal for wide joints with minimal movement, providing better control over sealant depth.
- Open-cell: Suitable for narrow joints with moderate movement, offering more flexibility and conformability.
Tools and Materials Checklist
Keep essential surface prep tools ready: a stiff brush, scraper, vacuum or compressed air, and a damp cloth for debris. Have a utility knife handy for trimming backing materials and cleaning joints before sealing.
Stock core materials: a compatible primer, backer rod sized to the joint, the sealant type you’ve chosen, and masking tape if neat edges are needed. Include PPE and basic applicator tools to ensure clean, safe work and consistent bead formation.
Installation tools and their purposes
Before you start, gather these tools to make your sealant application smooth and efficient.
- Caulk gun: Applies consistent pressure for even bead placement. Wrong: Inconsistent pressure leads to uneven beads.
- Bulk dispenser: For large projects, speeds up application by holding sealant cartridges securely in place. Wrong: Inefficient for small jobs.
- Joint knives: Smooths and tools the sealant bead. Wrong: Uneven beads lead to poor adhesion and aesthetics.
- Tooling spoons: Helps apply backer rod and tool sealant into narrow joints. Wrong: Incomplete joint filling causes water intrusion.
- Sponges: Cleans tools and work surfaces. Wrong: Contaminated tools can ruin the sealant bead.
- Cleaners: Removes excess sealant and prepares surface for tooling. Wrong: Residual dirt or sealant affects adhesion.
Quick rule: The right tool makes the job easier, faster, and better-looking.
Safety and PPE essentials
Protect yourself from potential hazards with these safety measures and personal protective equipment (PPE).
- Gloves: Protect hands from chemicals and sharp edges. Wrong: Hand injuries slow down work.
- Safety glasses: Shield eyes from debris and chemical splashes. Wrong: Eye injuries can be serious and long-lasting.
- Respirator or dust mask: Protects against harmful particles, especially when sanding or grinding. Wrong: Inhaling dust can cause respiratory issues.
- Long sleeves/pants: Protect skin from chemicals and sharp edges. Wrong: Skin irritation can be uncomfortable and distracting.
- Proper ventilation: Essential for indoor work to prevent fume buildup. Wrong: Inadequate ventilation can cause dizziness, headaches, or worse.
Quick rule: Always check product safety data sheets (SDS) for specific hazards and follow recommended PPE guidelines.
Material specs and standards to verify
Check these material specifications to ensure longevity, compatibility, and performance in your specific application.
- Movement capability: Sealant must accommodate substrate movement. Wrong: Insufficient movement allowance leads to cracking or failure.
- Service temperature: Ensure sealant performs within expected temperature range. Wrong: Incorrect service temp can cause premature failure.
- VOC content: Check for compliance with local environmental regulations. Wrong: Exceeding VOC limits may result in fines or penalties.
- Cure characteristics: Allow sufficient cure time before exposure to weather or water. Wrong: Premature exposure can hinder sealant performance.
Quick rule: Understanding and verifying material specs ensures your sealant job lasts as long as your stucco.
Surface Preparation for Durable Bonds
Begin by assessing the joint for movement, depth, width, and substrate integrity. Note any cracking or moisture signs that could affect bonding. This quick check helps tailor prep steps and product choices for durability.
Remove old sealant and contaminants with care, avoiding damage to stucco. Clean oils, dust, and efflorescence thoroughly, then verify the surface is dry and ready for adhesion. Plan compatible primers or adhesion promoters if needed and follow label directions exactly.
Cleaning methods and moisture control
Start by brushing away loose dust and debris with a stiff-bristle brush. Use a soft-bristle brush for more delicate areas.
Moisture is your enemy here, so ensure the surface is completely dry before sealing. Use a moisture meter if you’re unsure. Acceptable surface moisture levels vary by sealant type, but generally, it should be below 15%.
For tougher grime, use a damp cloth with mild detergent or a suitable solvent wipe. Rinse thoroughly and allow to dry completely.
Repairing substrate defects before sealing
Inspect your stucco for any loose, crumbling, or cracked areas. These need fixing before you apply sealant.
For minor cracks, use a repair mortar specifically designed for stucco. For larger issues, consult a professional to ensure structural integrity isn’t compromised.
Once repaired, allow the area to dry completely before proceeding with sealing. This could take anywhere from a few days to a couple of weeks, depending on humidity and temperature.
Joint Design and Backer Rod Placement Best Practices
Think through joint geometry to accommodate anticipated movement and exposure. A well-sized joint with a proper profile minimizes edge stress on the sealant and promotes a long-lasting bond. This planning saves trouble down the line.
Choose backer rod diameter carefully and install it clean and dry. Depth should place the sealant within its bonding range, not sunk too deep. Bevel edges if the project requires a good finish and ensure the joint is free of debris before tooling.
Joint shape and depth considerations
The shape of your joint and its depth significantly impact sealant life. Here’s what you need to know:
Bead profile